
In this enchanting journey through the realm of Wi-Fi wizardry with NodeMCU, we’ll embark on an exploration of the Internet of Things (IoT), where everyday objects become interconnected through the power of the internet. Our guide? The NodeMCU, a versatile development board featuring the ESP8266 chipset, renowned for its robust Wi-Fi capabilities.
As we delve deeper into this magical world, we’ll unveil the secrets of leveraging both the ESP8266 Wi-Fi library and the WebServer library. These libraries serve as our trusty spell books, empowering us to weave intricate webs of connectivity and communication. So gather your courage, sharpen your wits, and prepare to unlock the mysteries of Wi-Fi wizardry with NodeMCU!
Getting Started
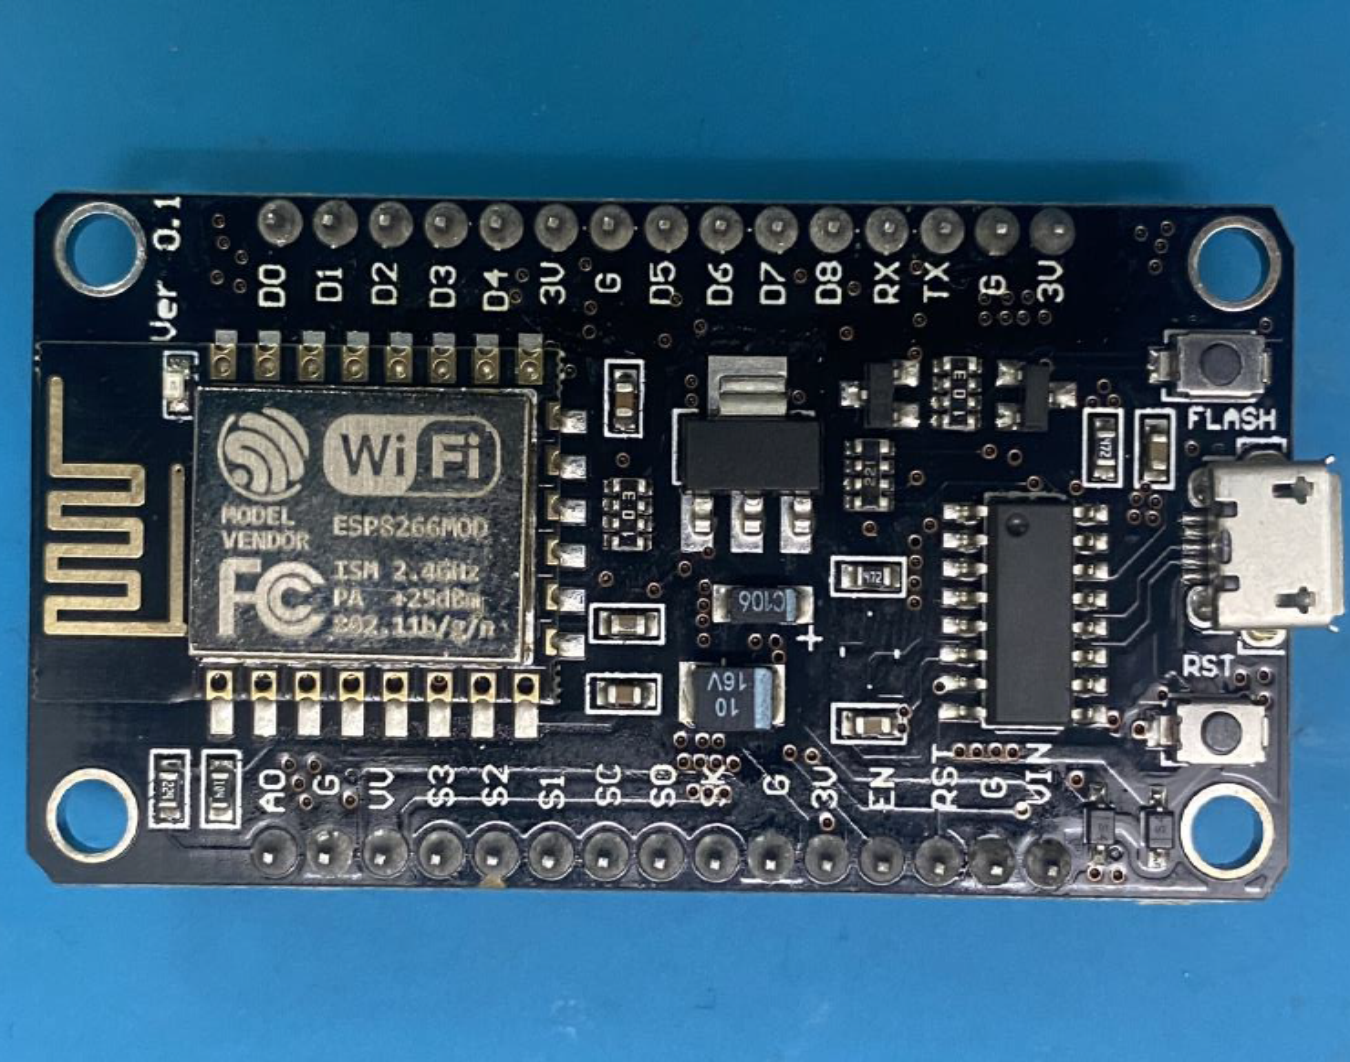
1. NodeMCU Board: NodeMCU is a low-cost open-source IoT platform based on the ESP8266 Wi-Fi module. It’s perfect for prototyping IoT projects due to its built-in Wi-Fi capabilities and GPIO pins for connecting sensors and actuators.
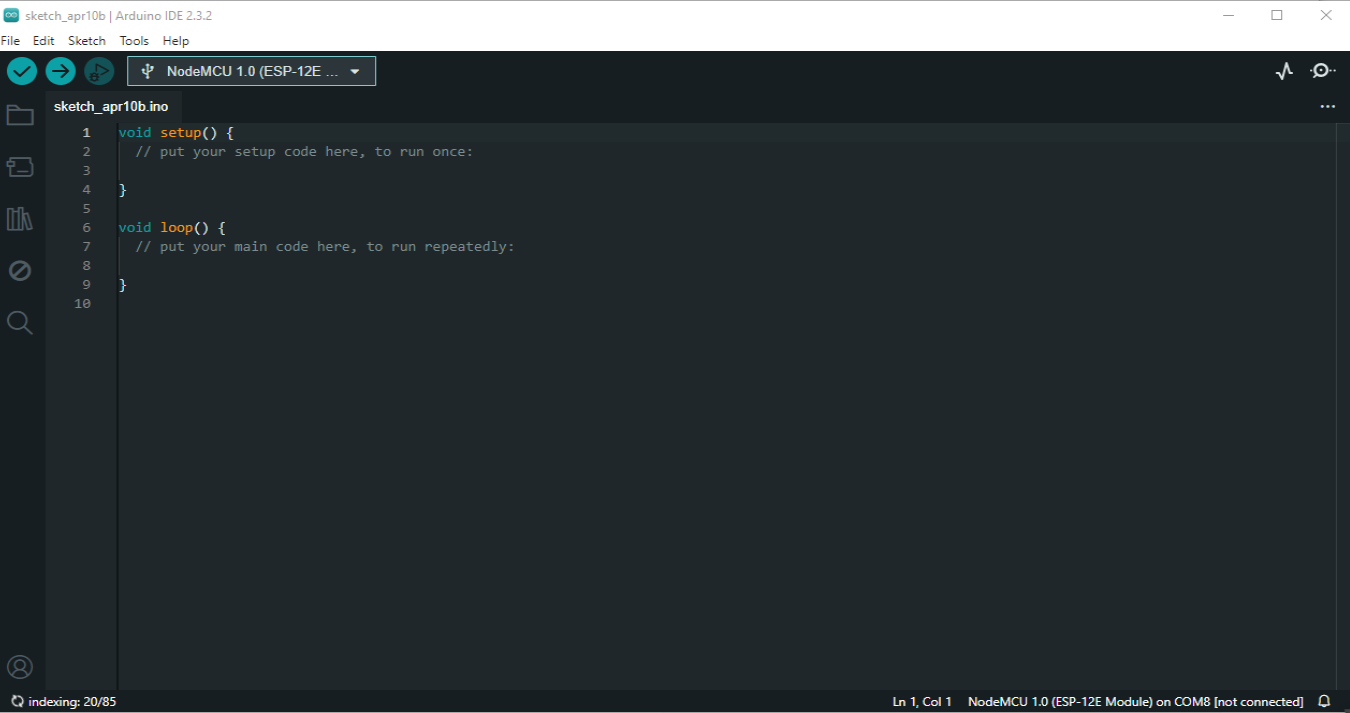
2. Arduino IDE: We will use the Arduino IDE to write, compile and upload code onto the NodeMCU board. Make sure you have it installed on your computer.
3. ESP8266WiFi and ESP8266WebServer Libraries: These libraries provide the necessary functions and classes to establish Wi-Fi connections and create a web server on the NodeMCU board.
Diving into the procedure
Before adding the code to turn your NodeMCU into a Wi-Fi hotspot, ensure you’ve correctly set up your Arduino IDE and NodeMCU board. Here are the steps you should follow:
1) Install Arduino IDE: If you haven’t installed the Arduino IDE already on your computer, download and install it from the official Arduino website: Arduino Software. https://www.arduino.cc/en/software
2) Install ESP8266 Board: Install the ESP8266 board package in the Arduino IDE for NodeMCU compatibility. Launch the Arduino IDE, navigate to File > Preferences and paste this URL in the “Additional Board Manager URLs” field: http://arduino.esp8266.com/stable/package_esp8266com_index.json Then, go to Tools > Board > Board Manager, search for “esp8266” and install the board package.
3) Select NodeMCU Board: After installing the ESP8266 board package, choose NodeMCU 1.0 (ESP-12E Module) from Tools > Board.
4) Set Port: Go to Tools > Port and select the port to which your NodeMCU is connected.
5) Install Required Libraries (Optional): The code provided doesn’t require any additional libraries. However, if you plan to use any specific libraries in your project, you’ll need to install them via Sketch > Include Library > Manage Libraries.
Once you’ve completed these setup steps, you’re ready to enter the code provided in the previous response into the Arduino IDE, customize the SSID and password according to your requirements, and upload it to your NodeMCU board.
The Code
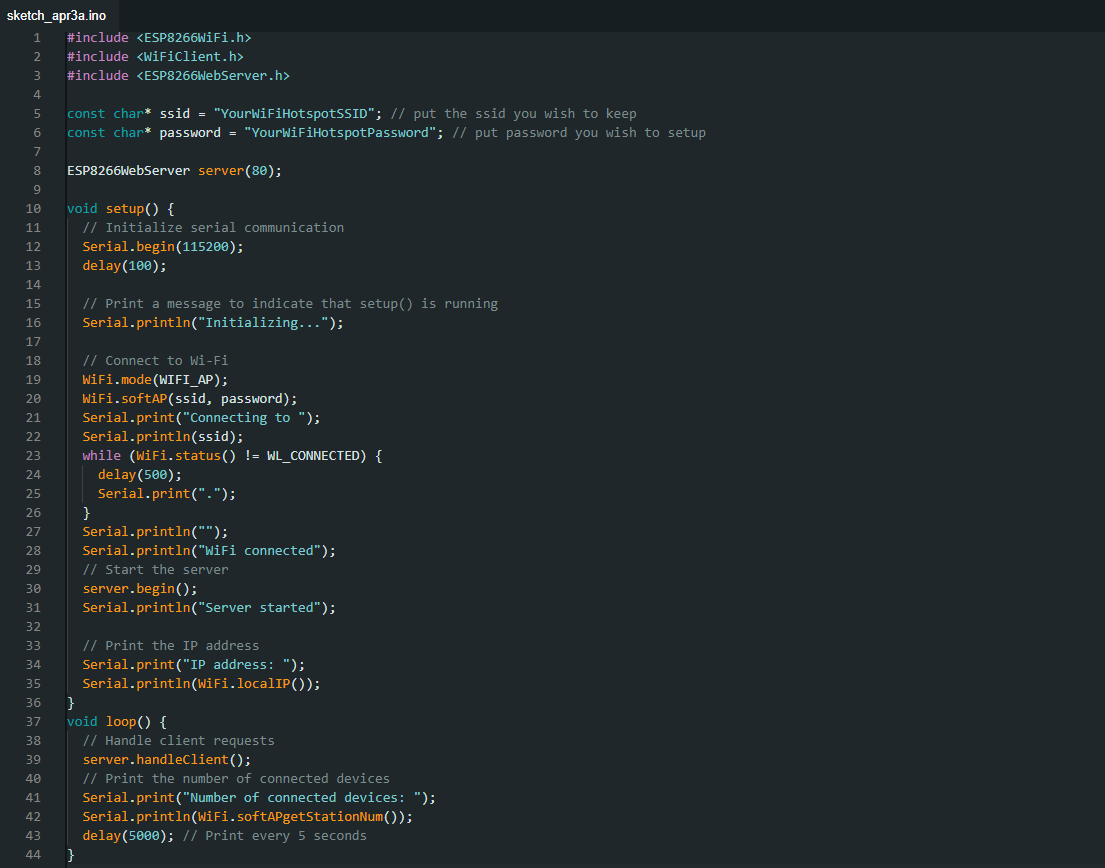
Let’s look at the code snippet provided:
Understanding the Code
Let’s break down what each part of the code does:
• Library Inclusions: We include the necessary libraries for Wi-Fi connectivity and web server functionality. For example, if you plan to incorporate sensors or actuators into your project, libraries like Adafruit or DHT may come in handy.
• Wi-Fi Configuration: While connecting to a Wi-Fi network is essential, you can also explore advanced features such as configuring the NodeMCU to connect to multiple Wi-Fi networks dynamically, handling network disconnections gracefully, or implementing secure Wi-Fi communication using protocols like WPA2.
• Server Initialization: Beyond simply creating a web server instance, consider customizing server settings such as setting up routes for different HTTP requests (GET, POST, etc.), implementing authentication mechanisms for secure access, or serving static files like HTML, CSS, and JavaScript for building richer web interfaces.
• Setup Function: In the setup() function, we initialize serial communication, connect to Wi-Fi, start the web server, and print the NodeMCU’s IP address. Expanding this function could involve tasks such as initializing sensors or actuators, setting up interrupts for handling external events, or performing self-diagnostics to ensure the board is functioning correctly.
• Loop Function: The loop() function handles client requests and prints connected device count every 5 seconds.
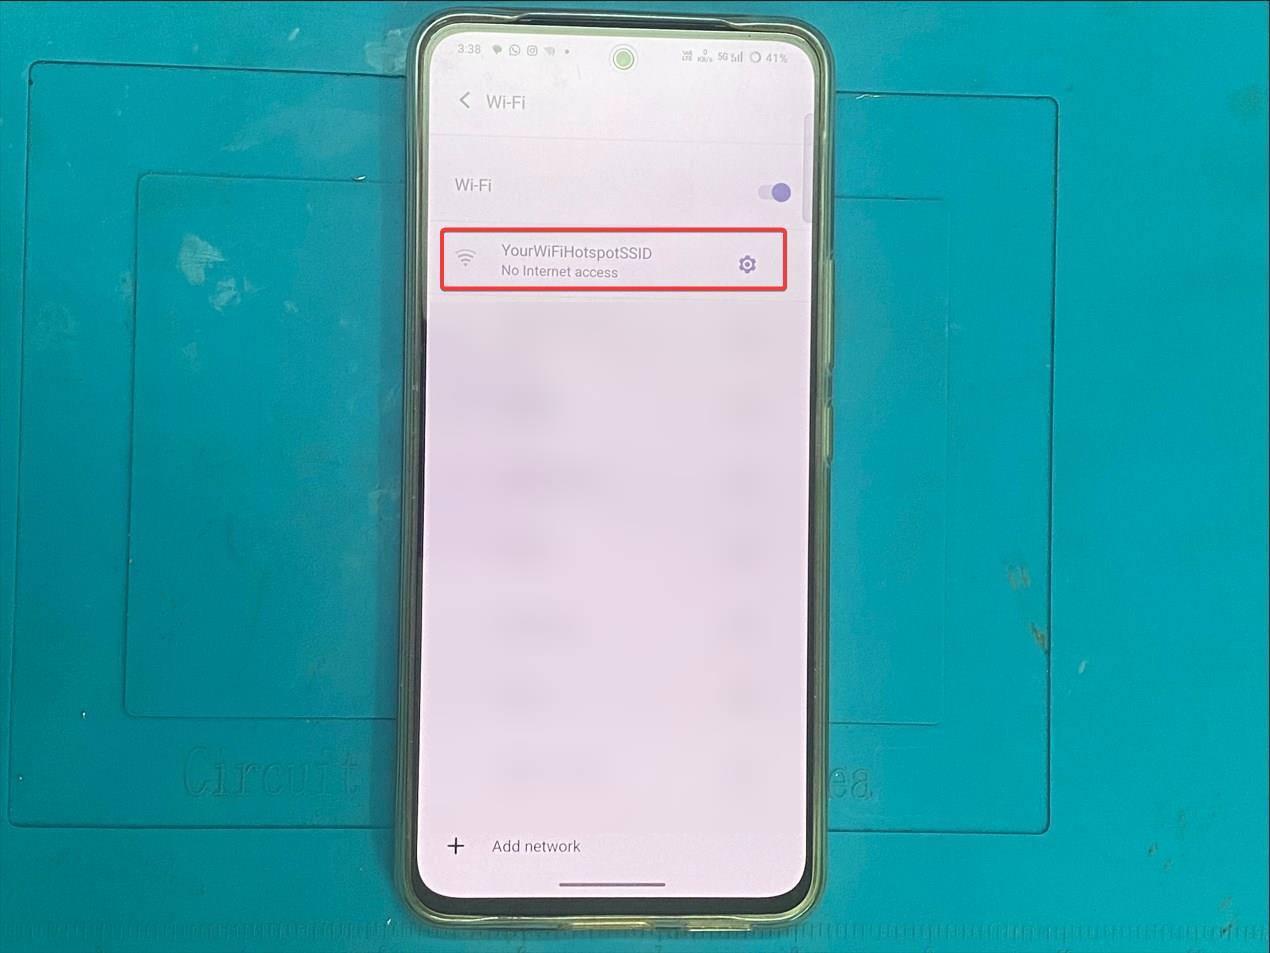
Serial Monitor:
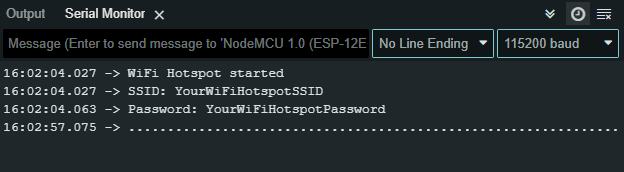
Output:
TL; DR
As you begin your IoT journey with NodeMCU’s Wi-Fi and web server capabilities, remember it’s just the start. With just a few lines of code, you’ve opened the door to a realm of infinite possibilities.
Now is the time to let your imagination soar and your creativity flourish. Experiment with sensors to gather data, control actuators, or connect with web services to expand your projects.
As you delve deeper into the world of Wi-Fi wizardry, remember to embrace the spirit of tinkering and exploration. Some of the most magical discoveries arise from curiosity and experimentation.
Redfox Security is a diverse network of expert security consultants with a global mindset and a collaborative culture. If you are looking to improve your organization’s security posture, contact us today to discuss your security testing needs. Our team of security professionals can help you identify vulnerabilities and weaknesses in your systems and provide recommendations to remediate them.
“Join us on our journey of growth and development by signing up for our comprehensive courses.”