
In this blog we are going to bypass SSL pinning on iOS devices, and test it on a vulnerable application aka DVIA V2.
One of the most important aspects of the whole design and development process for mobile apps has always been security. This alone has the power to create or ruin an app empire’s destiny and prosperity.
Worryingly, the number and types of security breaches are increasing in lockstep with the number of apps available in app stores. The SSL pinning bypass is one type of breach that has grown increasingly common in the mobile arena.
Before we get into the SSL pinning approach bypass techniques (to overcome SSL pinning on iOS devices), let’s set the stage by explaining what SSL pinning is.
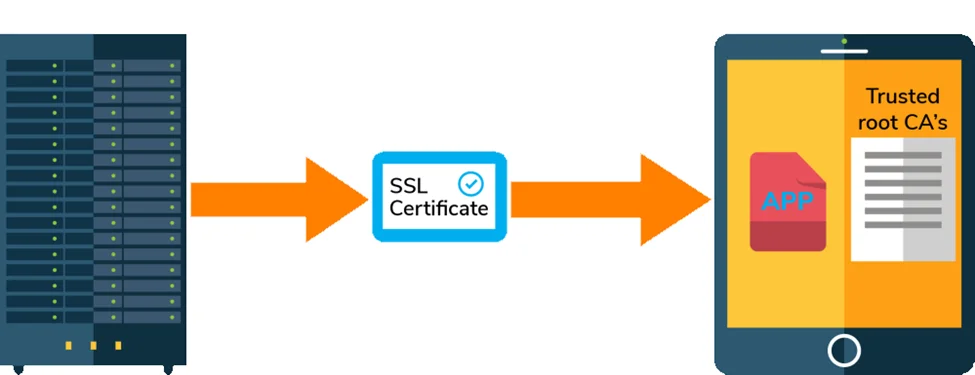
Mobile apps commonly use SSL to safeguard transmitted data from eavesdropping and tampering while communicating with a server. SSL implementations in apps trust a server that has a certificate, which in turn is trusted by the operating system’s trust store (by default). The operating system includes a list of certificate authorities in this storage.
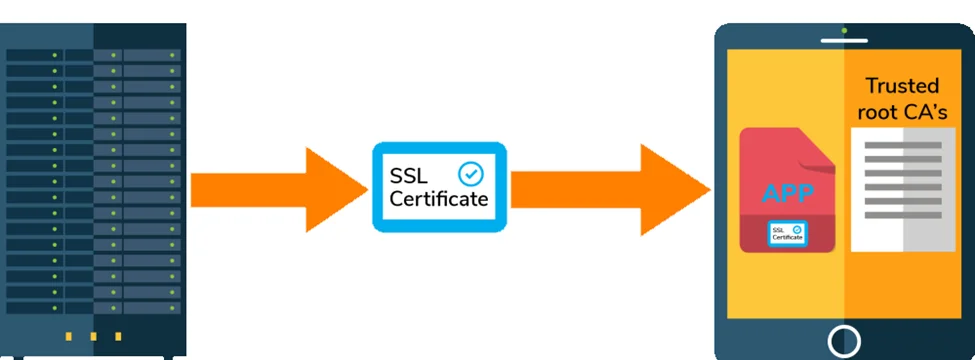
The developer configures SSL pinning to refuse all except one or a few predetermined certificates. The application validates the server certificate with the pinned certificate whenever it connects to a server(s). The SSL connection is made if and only if the server certificate & the pinned certificate match.
Now that we’ve covered the basics, let’s look at the some ways to get around iOS SSL pinning, which may also serve as solutions to making your iOS apps more secure using SSL pinning.
The first step is to install your CA. Installing your own CA on iOS is quite simple and can be done by an email attachment or a certificate download.
To begin, configure the iOS device as well as the web proxy to intercept web traffic. To access the Burp site, go to http://burp and choose “CA Certificate.”
Then, as seen below, an “Install” notification will appear, prompting you to execute the certificate on your iOS device.
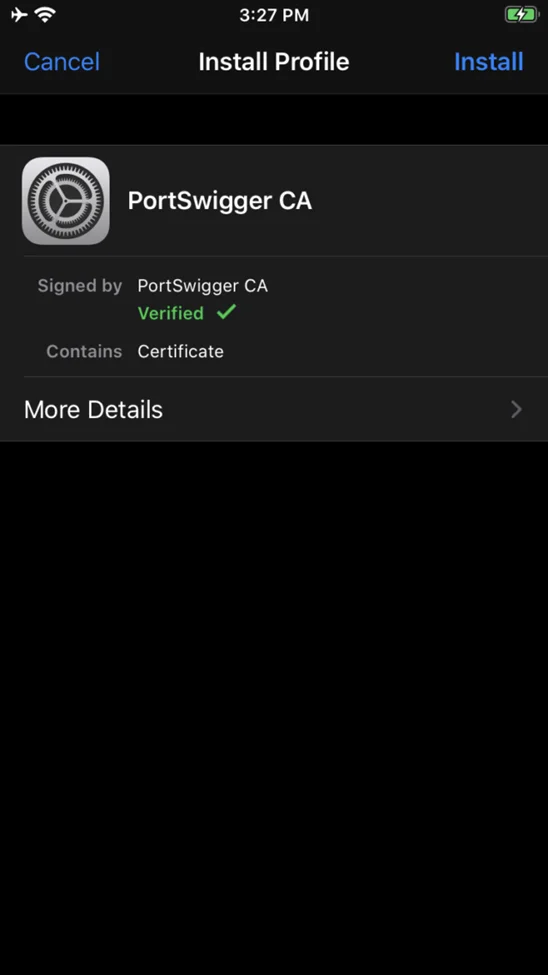
You’ll get a warning that the certificate will be added to the trusted certificates list when you click the “Install” option.
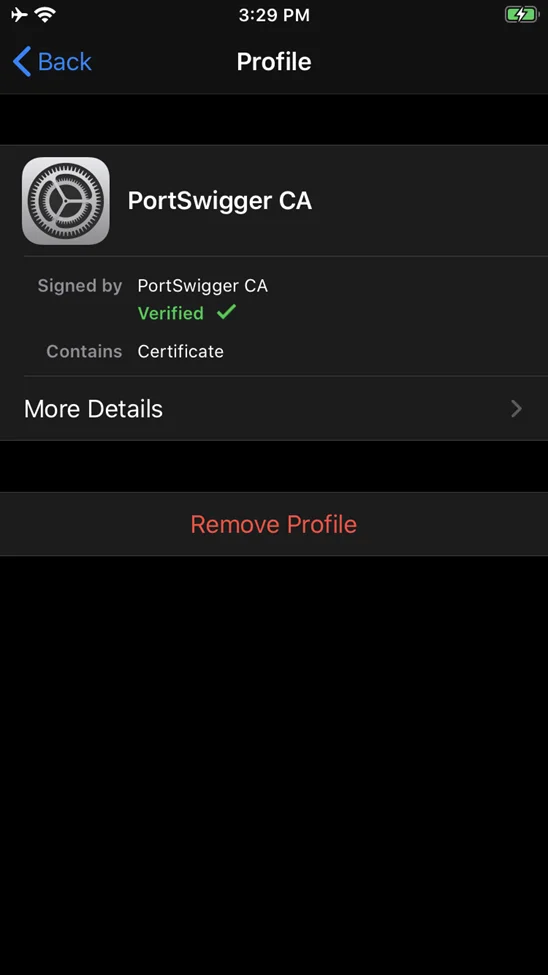
After that, go to Settings > General > Profile to see if the certificate was installed.
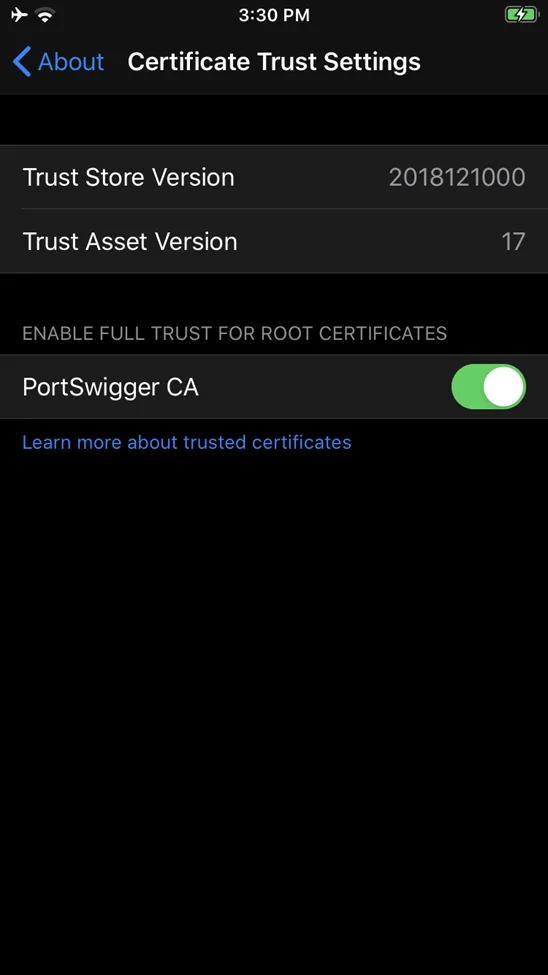
You must manually allow trust in the installed certificate on iOS 13.3.3 and later by going to Settings > General > About > Certificate Trust Settings and then activating trust for the certificate.
If the SSL issues persist or the app crashes while waiting for a connection, the server is most likely implementing TLS chain validation or SSL certificate pinning.
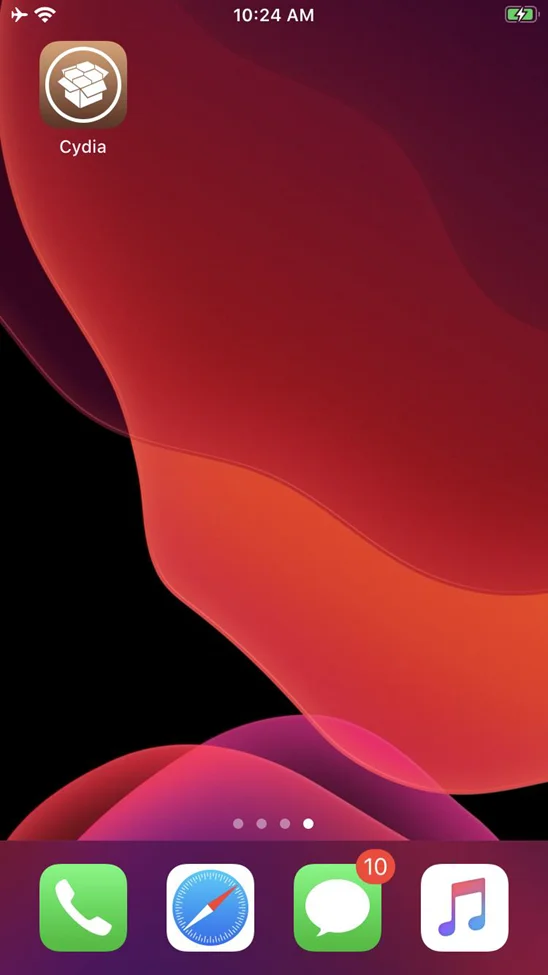
Open Cydia on your jailbroken iOS device.
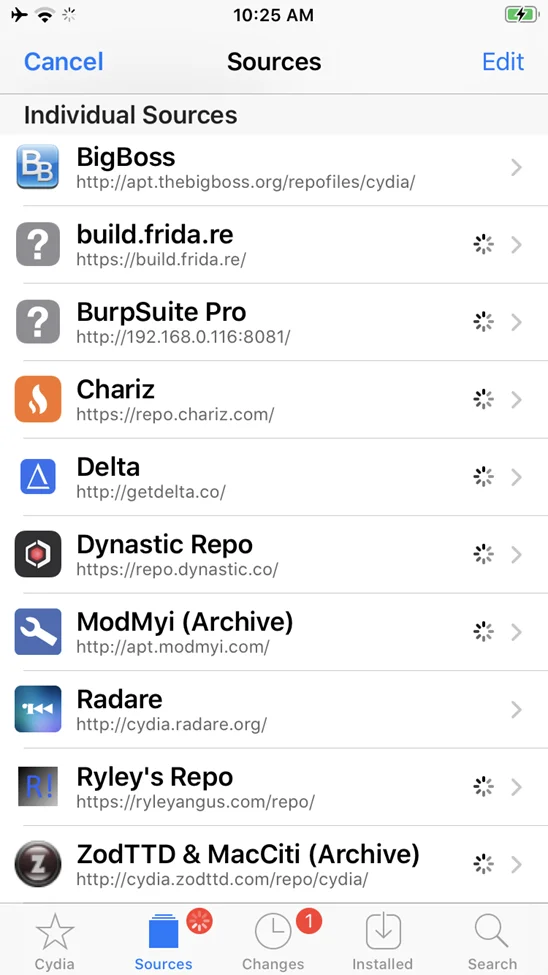
Select the Sources tab from the drop-down menu. In the upper right-hand corner, tap the Edit button.
In the top left-hand corner, tap the Add button. Enter the following: http://[burp-host-ip]:[burp-port]. Next, add Source.
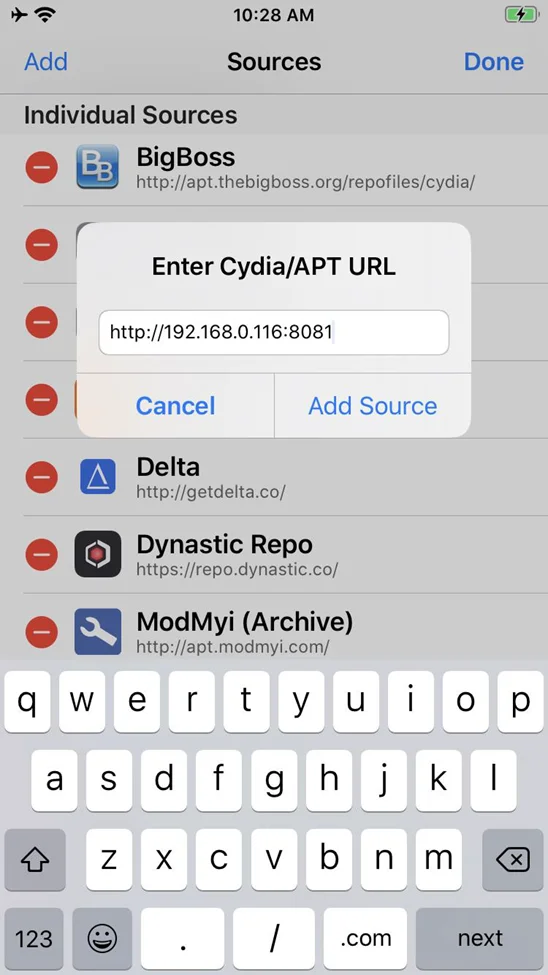
To conclude, press the “Done” button.
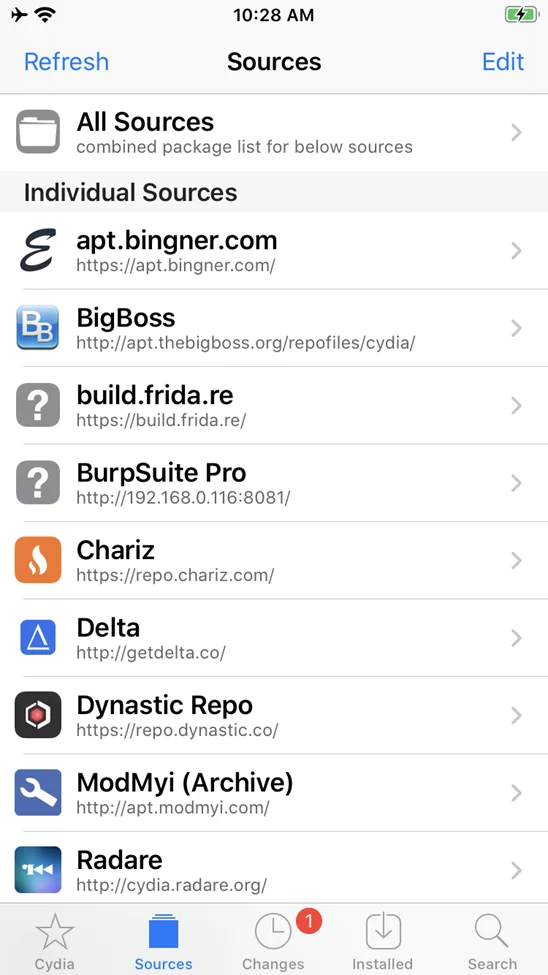
Burp Suite should now show up as a separate source. Select Burp Suite Pro from the drop-down menu.
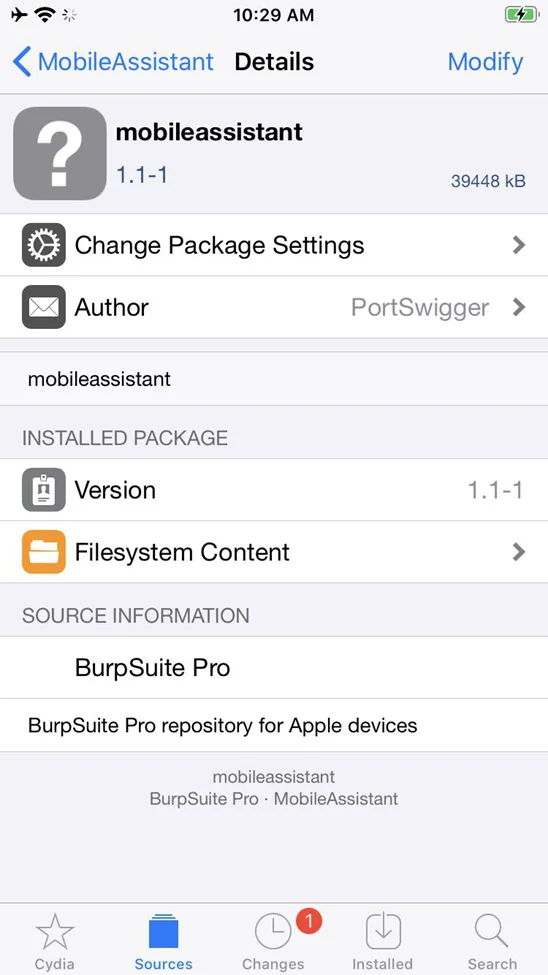
Install Mobile Assistant from the new Cydia package source. Search for “Mobile Assistant” or explore the packages in the new source.
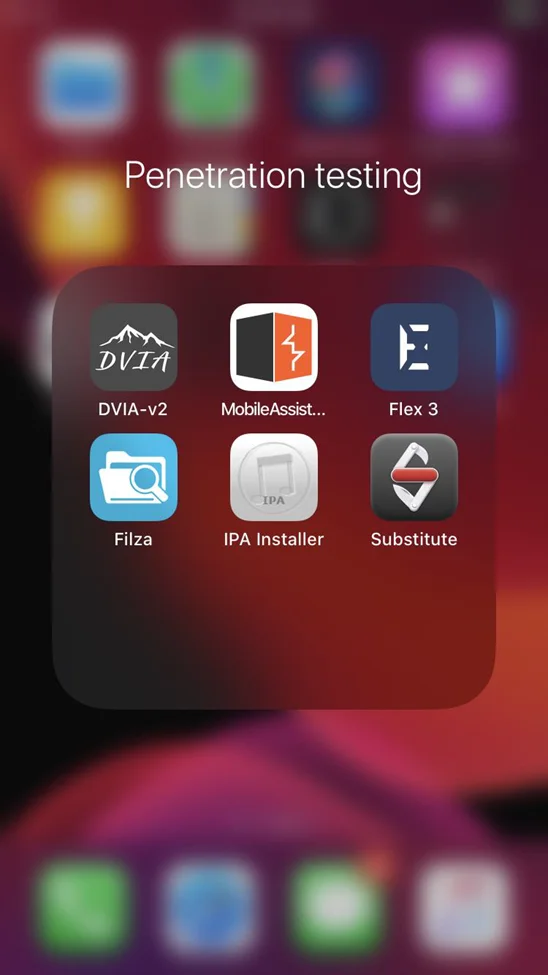
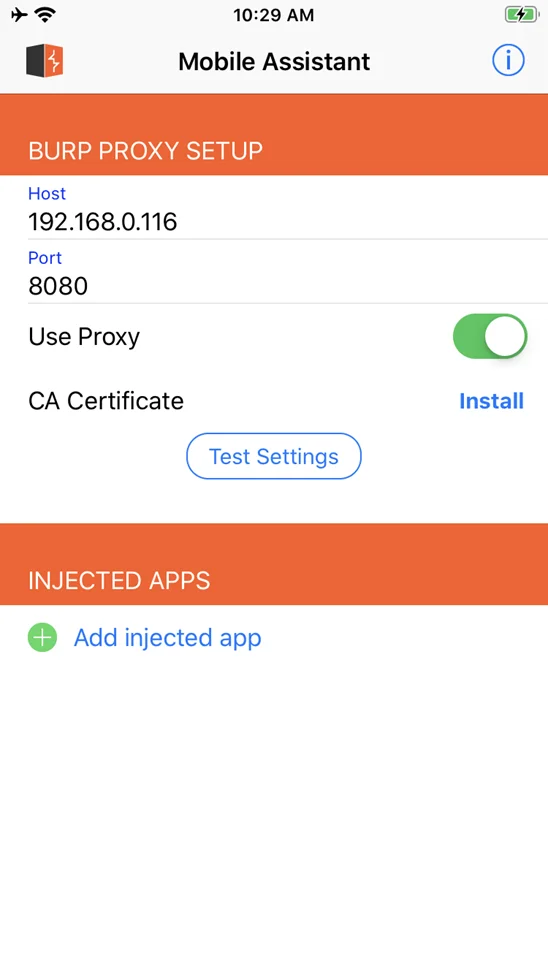
Open the Mobile Assistant application.
Insert the host and port details, also enable the Use Proxy.
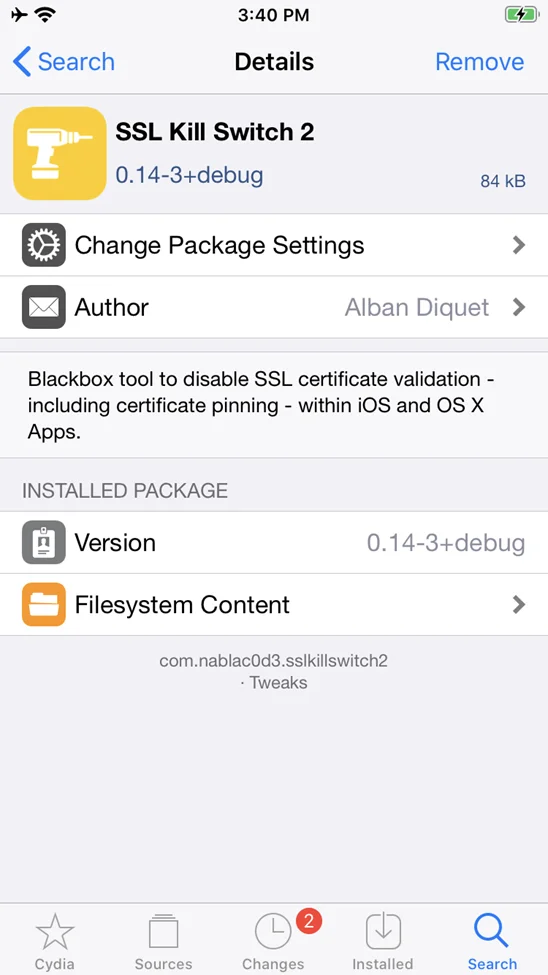
Search for the “SSLKillSwitch” in Cydia.
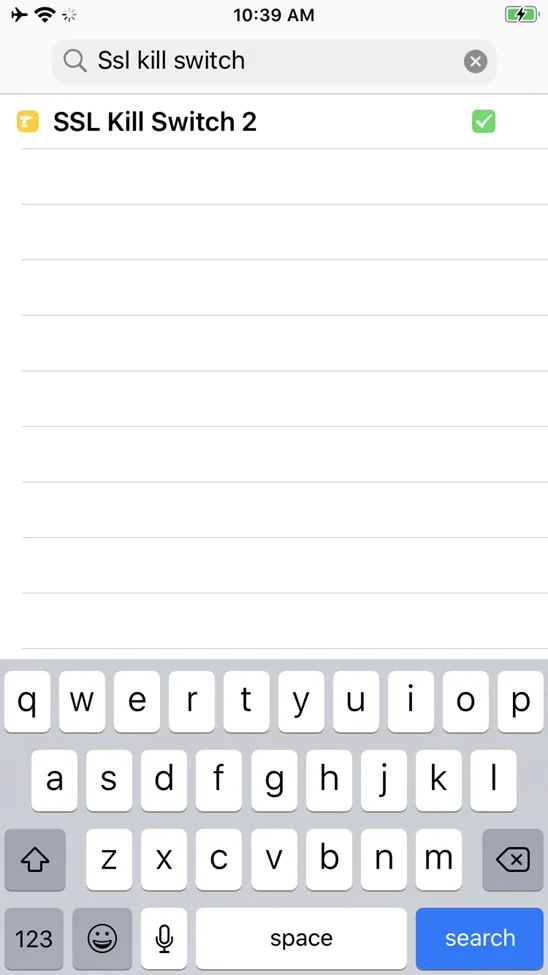
Install the SSLKillSwitch package.
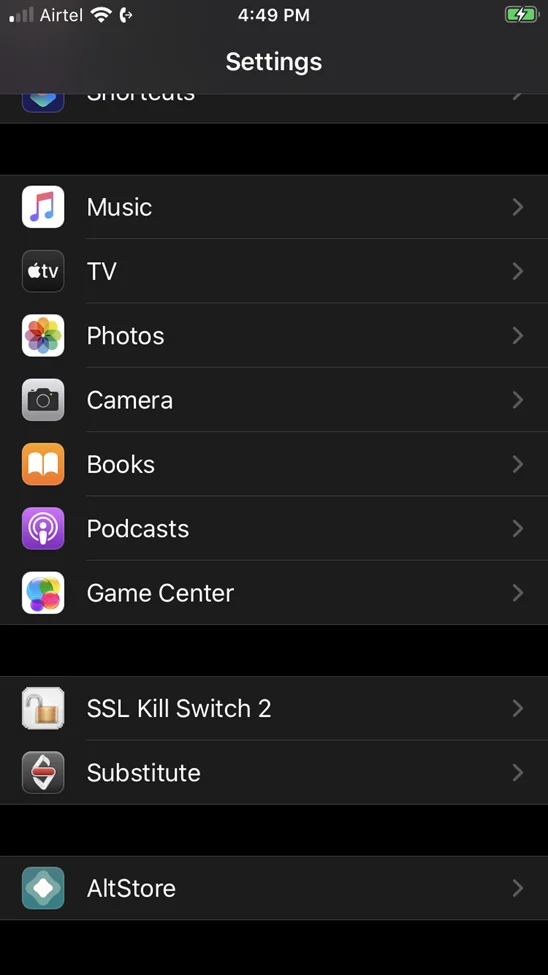
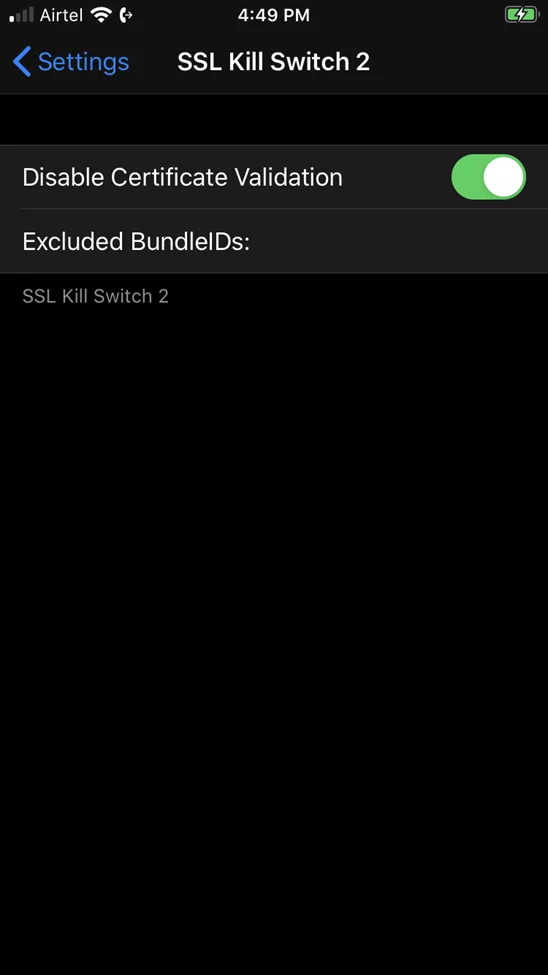
Now go to Settings > SSL Kill Switch 2.
Enable the Disable Certificate Validation setting.
Begin exploring the app on your iOS device and notice how the traffic is captured by the Burp Suite.
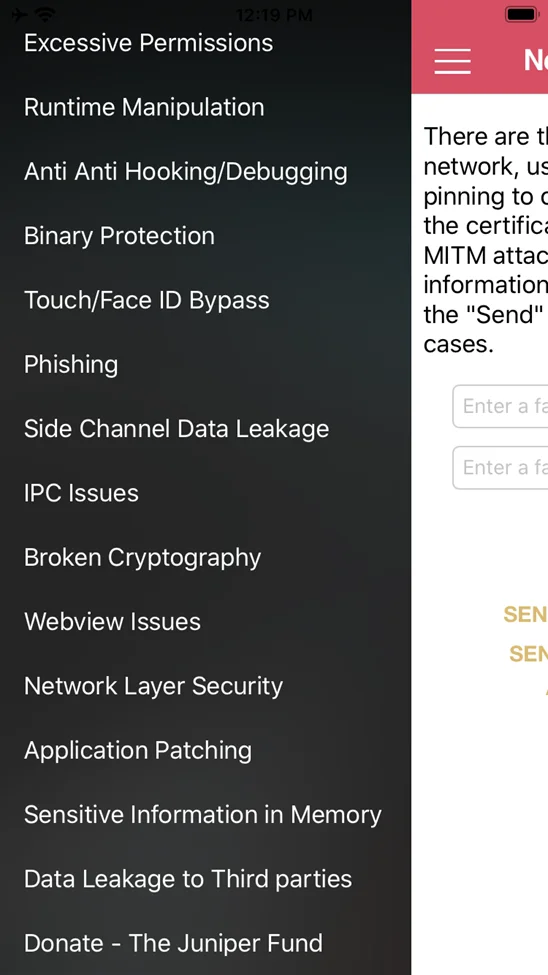
Let’s open the DVIA V2 application and test it.
Open “Network Layer Security”:
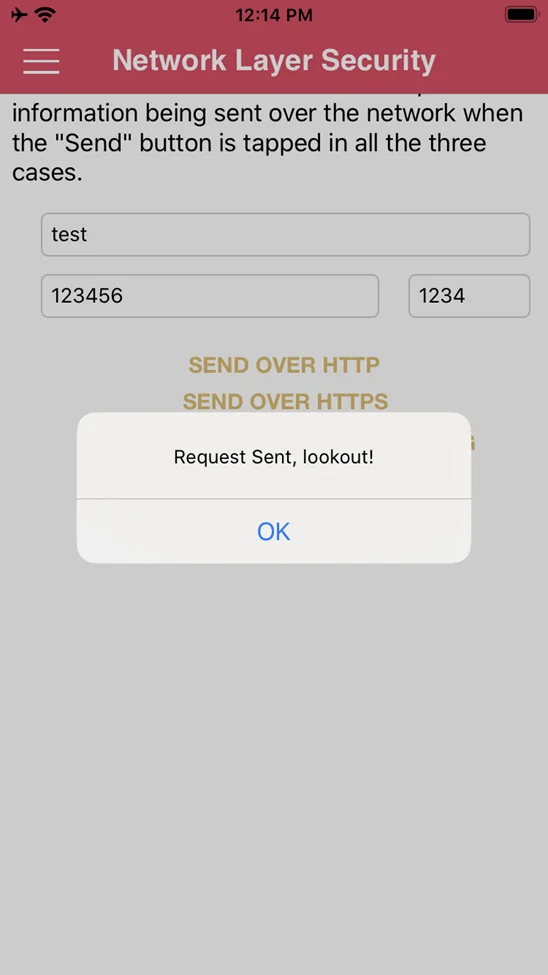
Now fill the required fields and “SEND OVER HTTPS”.
As can be seen below, the request has been captured by Burp Suite Pro.
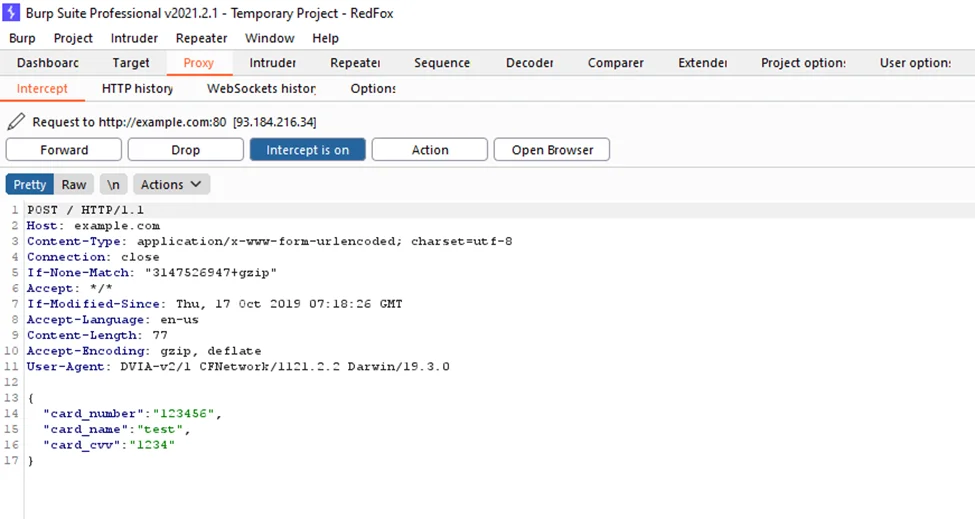
We can observe the logic behind the functions that are run when the mobile app establishes an SSL connection with the server once SSL Kill Switch loads the bypass SSL library into the application. It takes you through to the process where the iOS certificate pinning takes place. The signed application will be broken if the IPA is changed, and it will not be installed on any iOS device.
Understanding how to defeat SSL pinning in iOS is an excellent place to start when it comes to iOS penetration testing. We will be talking more about iOS app and device security in upcoming blogs.
By partnering with Redfox Security, you’ll get the best security and technical skills required to execute an effective and thorough penetration test. Our offensive security experts have years of experience assisting organizations in protecting their digital assets through penetration testing services. To schedule a call with one of our technical specialists, call 1-800-917-0850 now.
Redfox Security is a diverse network of expert security consultants with a global mindset and a collaborative culture. With a combination of data-driven, research-based, and manual testing methodologies, we proudly deliver robust security solutions.
“Join us on our journey of growth and development by signing up for our comprehensive courses, if you want to excel in the field of cybersecurity.”


Redfox Cyber Security Inc.
8 The Green, Ste. A, Dover,
Delaware 19901,
United States.
info@redfoxsec.com
©️2024 Redfox Cyber Security Inc. All rights reserved.