Android 7.0+ requires apps to explicitly allow user CAs but system certificates are trusted by default.
Installing Burp Suite CA (Android Version >= 11)
1. Android Version <= 11:
Before Android 11, security testers could gain root access and remount the “/system”partition as read-write, allowing them to manually copy Burp Suite’s CA certificate into “/system/etc/security/cacerts/”. Once placed there with proper permissions, the certificate would be treated as a system-level trusted certificate, meaning all apps including those that do not trust user-installed certificates would accept HTTPS traffic intercepted by Burp.
2. Android Version >= 11:
However, starting with Android 11, Google enforced stronger protections through mechanisms like system-as-root, dynamic partitions, and improved verified boot (Android Verified Boot 2.0). The “/system” partition is now more strictly read-only and tightly integrity-checked, even on many rooted setups. Simply remounting /system as read-write is no longer straightforward or sometimes not possible at all without using advanced methods like Magisk modules or modifying boot images.
Steps:
Export Burp suite Certificate (DER format)
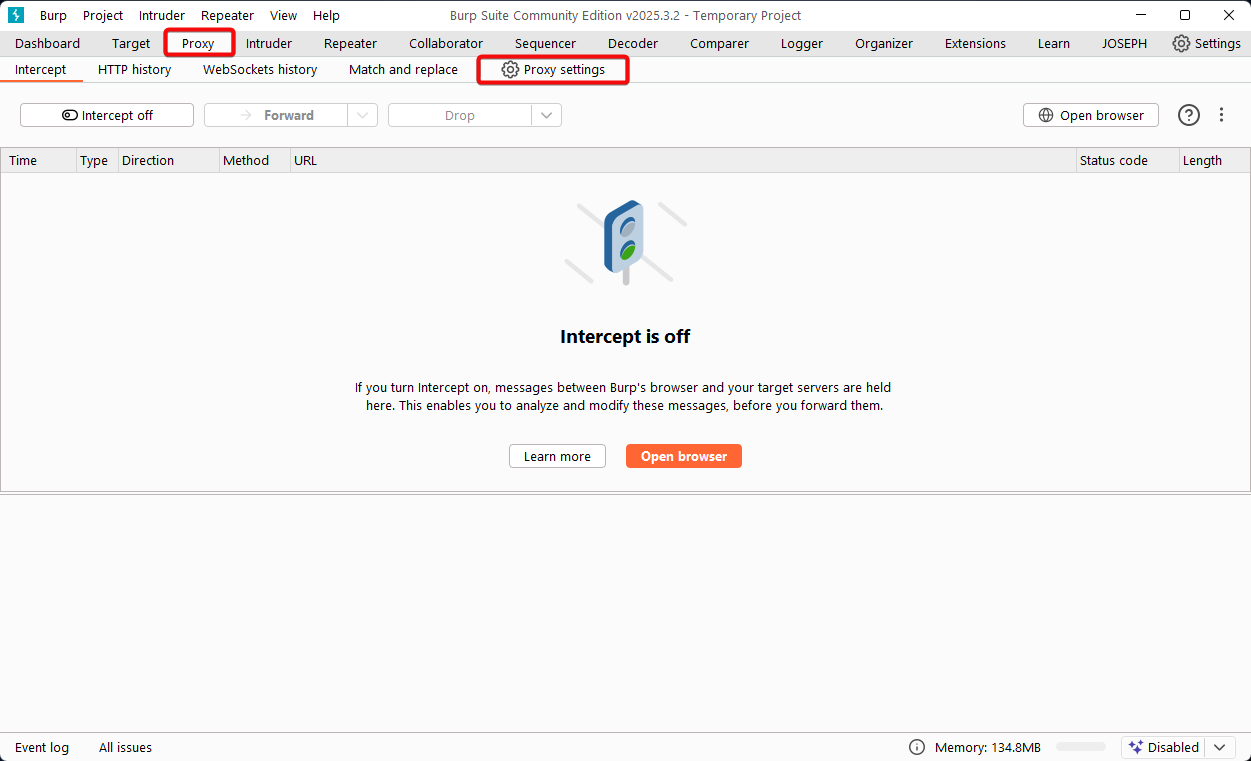
In Burp Suite, navigate to the “Proxy” > “Proxy Settings”.
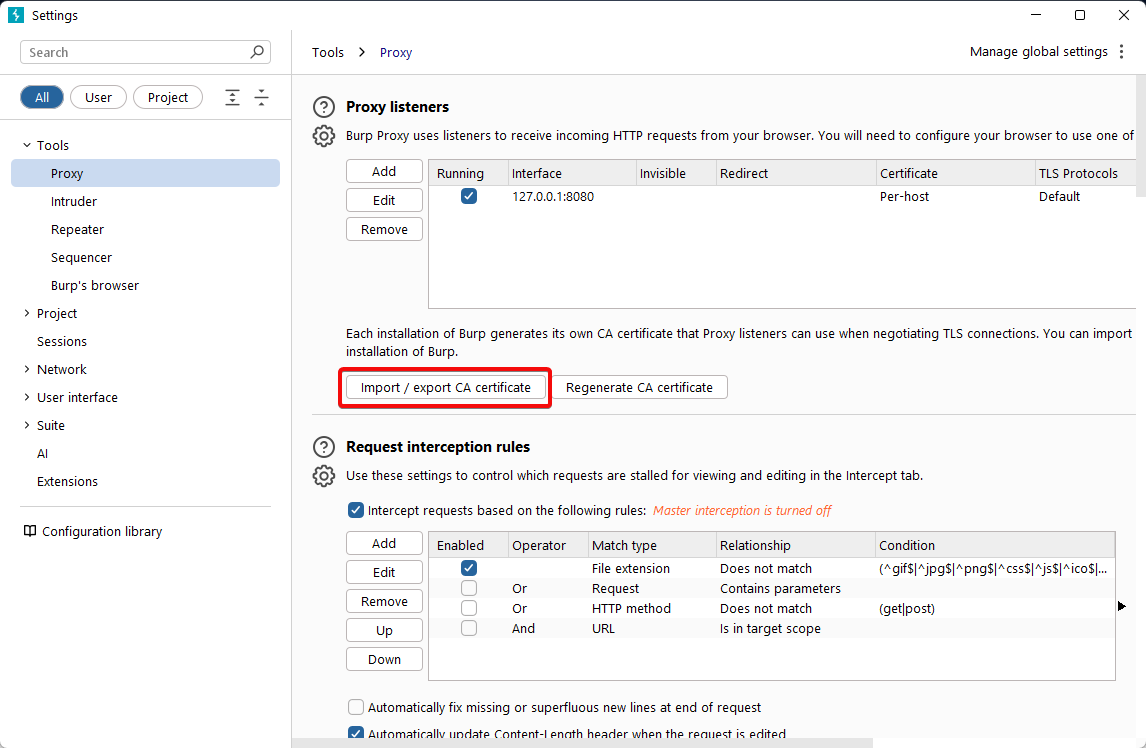
2. Select the “Import / export CA certificate” button.
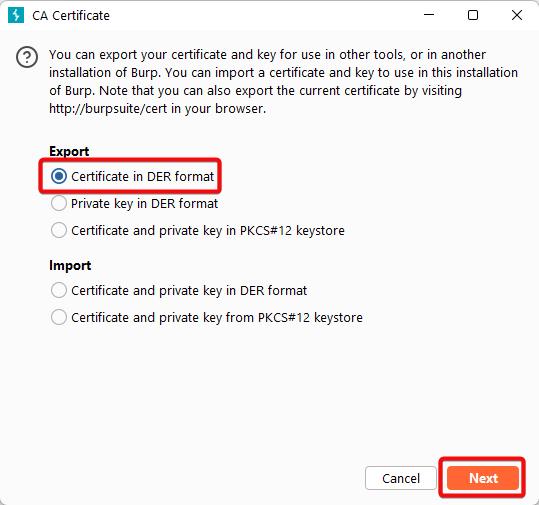
3. Choose “Certificate in DER format”, then click “Next”.
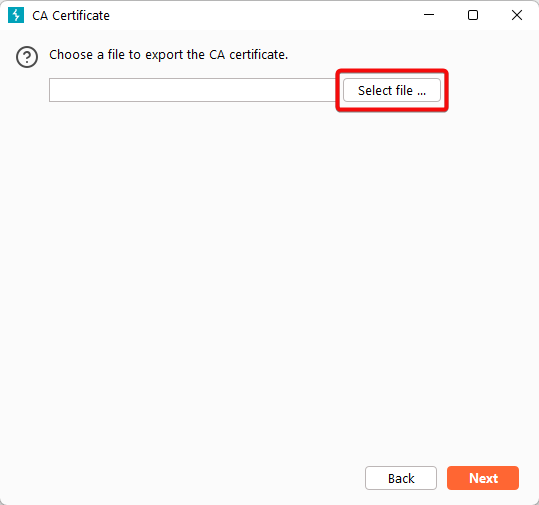
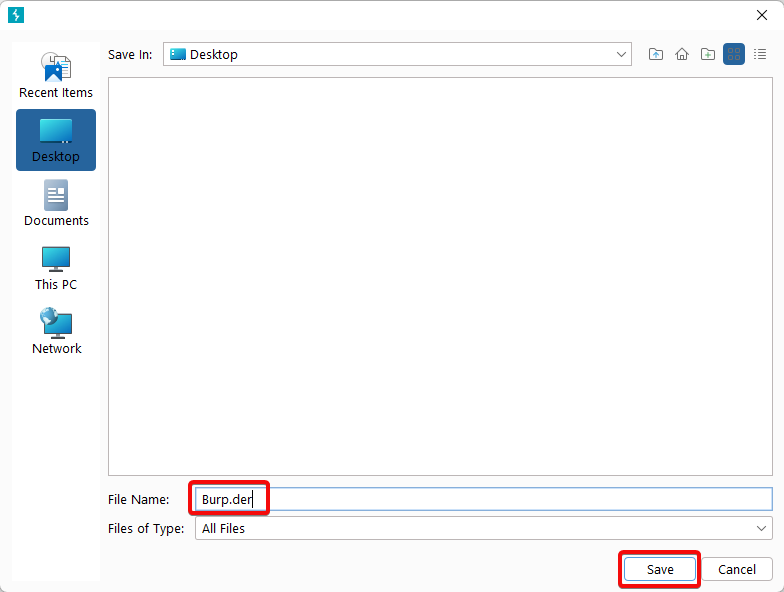
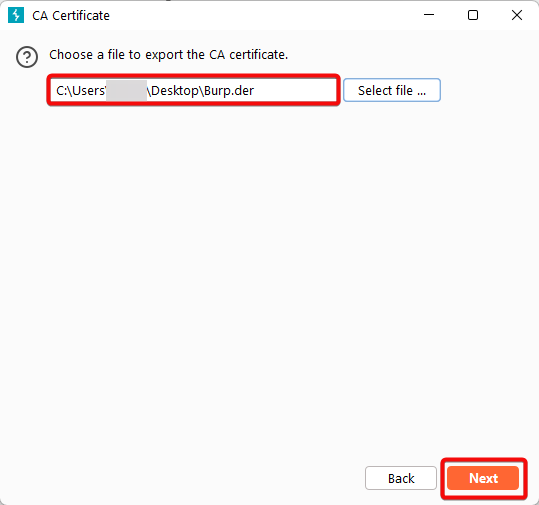
4. Click “Select file”, choose the location where you want to save the certificate, and name the file Burp.der.
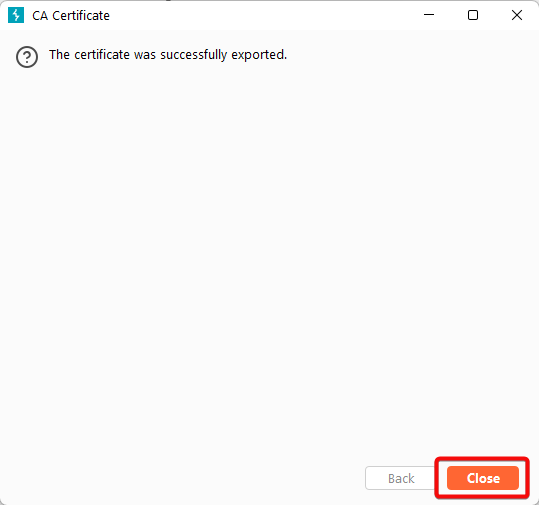
5. Click “Next” to complete the export process.
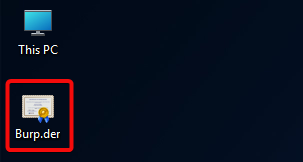
6. Navigate to the location where you saved the Burp.der file
Converting DER to PEM format
Copy Burp.der file in kali linux.
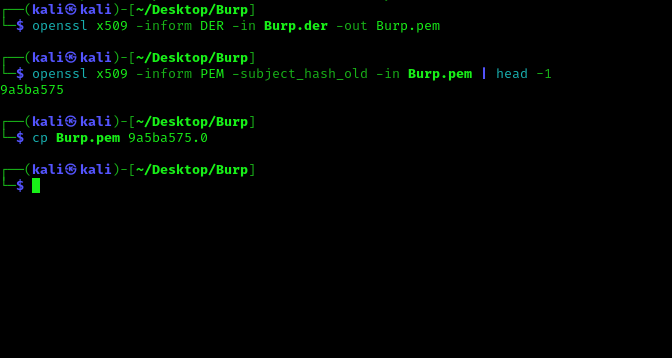
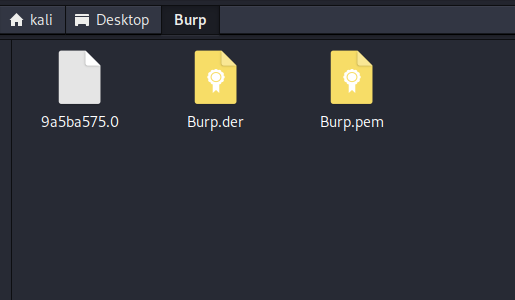
2. Open terminal and navigate to folder where you pasted (Burp.der) file and run command
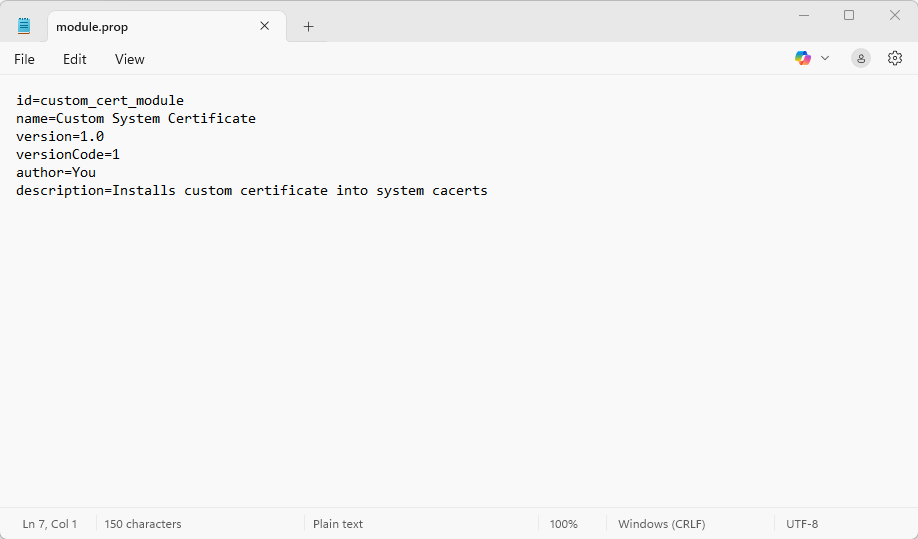
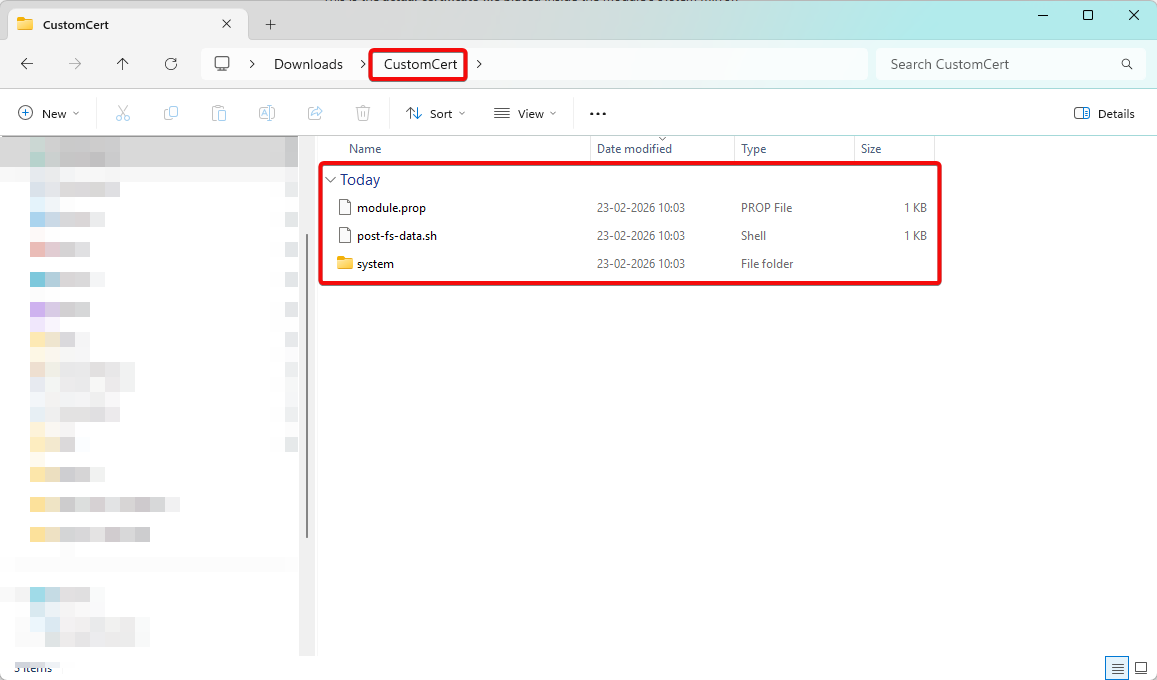
Without “module.prop”, Magisk will not recognize your folder as a valid module.
					id=custom_cert_module
name=Custom System Certificate
version=1.0
versionCode=1
author=You
description=Installs custom certificate into system cacerts
2. post-fs-data.sh:
It tells Android which interpreter should execute the script.
#! -> indicates this is a script interpreter directive
/system/bin/sh -> path to Android’s default shell
#!/system/bin/sh
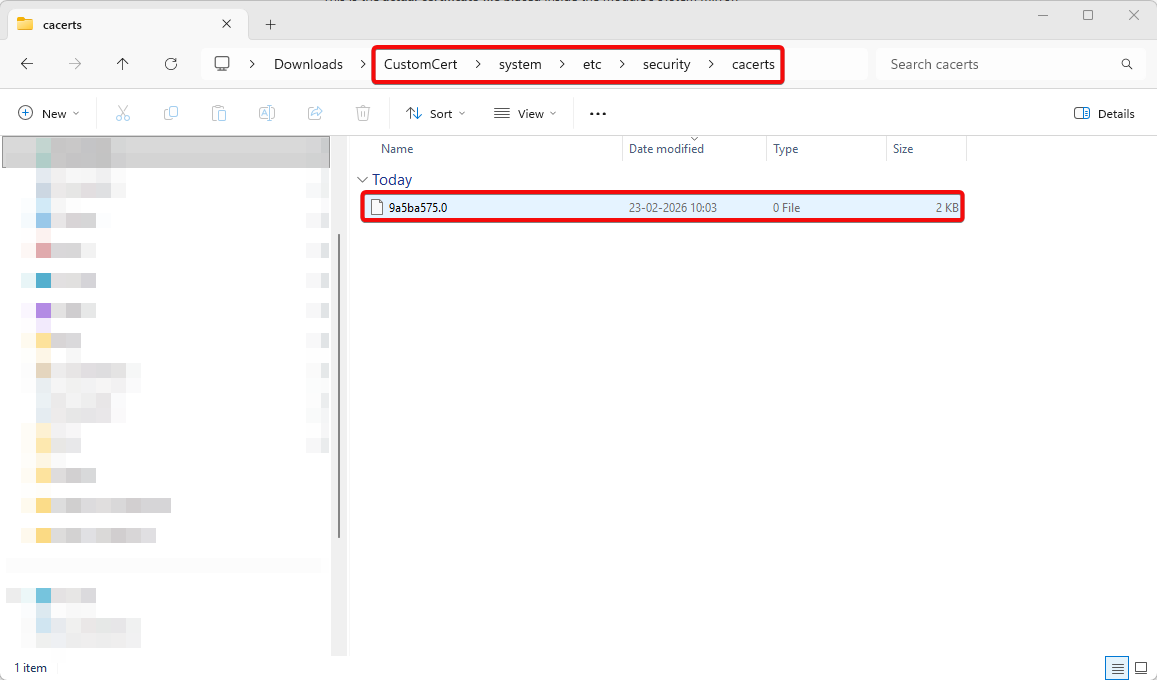
3. /system/etc/security/cacerts/9a5ba575.0:
This is the actual certificate file placed inside the module’s system mirror.
Why this exact path?
Android’s system CA store is located at: /system/etc/security/cacerts/
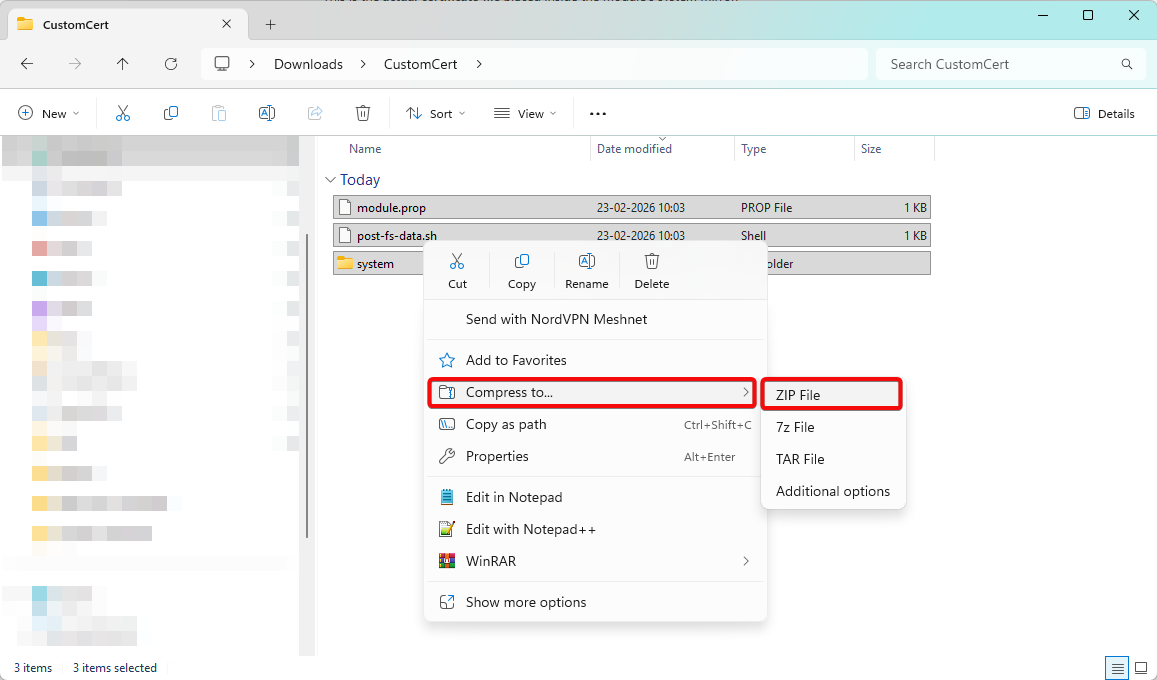
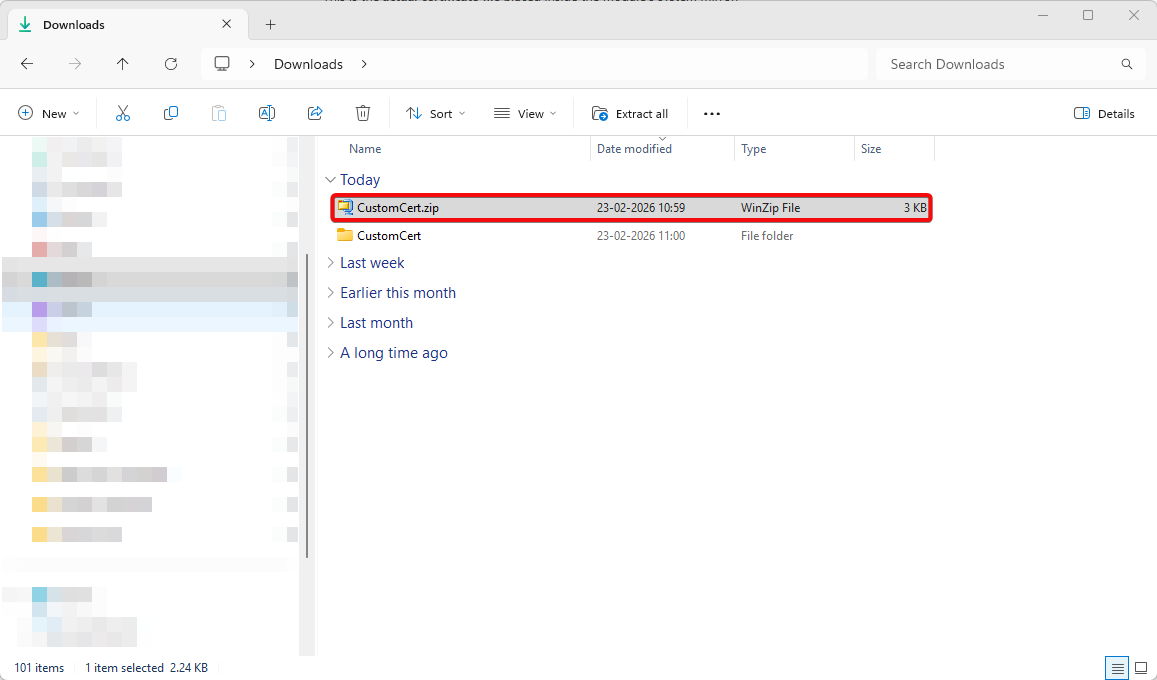
Loading Magisk Module
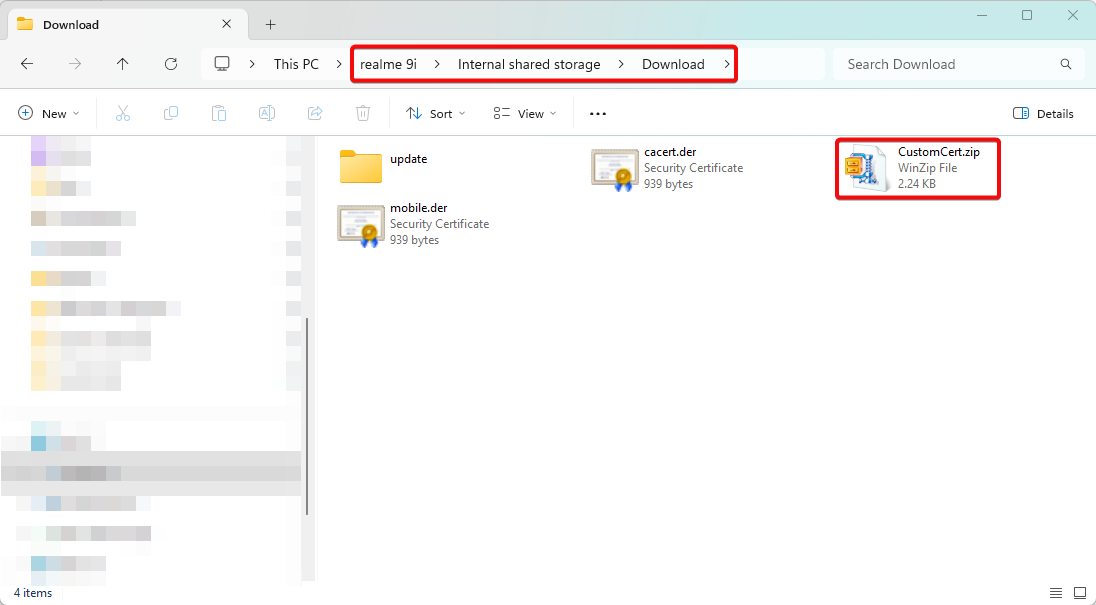
1. Transfer CustomCert.zip to Android device (version 11+).
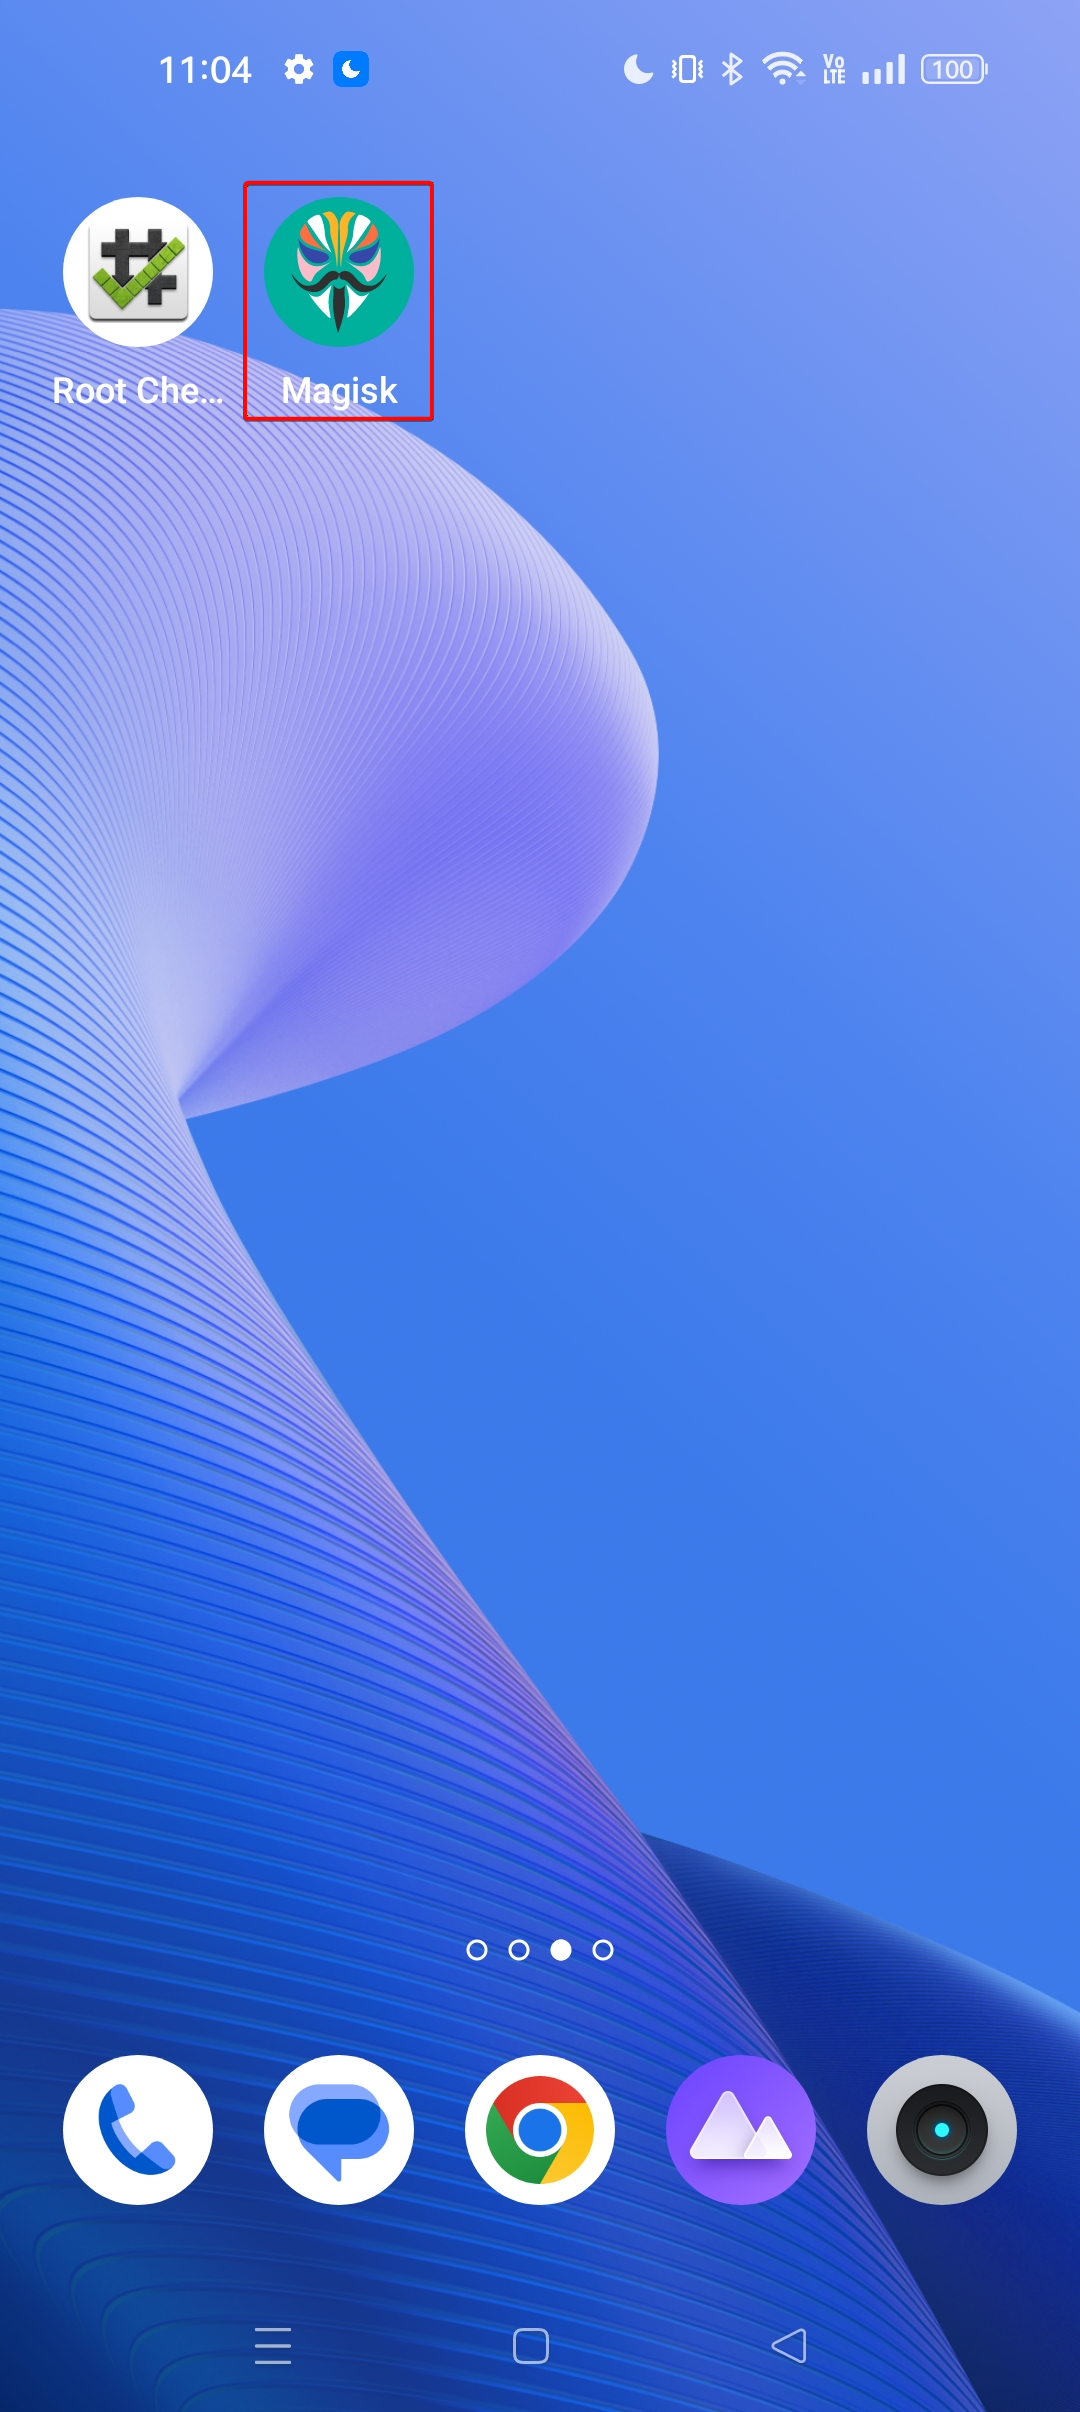
2. Open “Magisk”application.
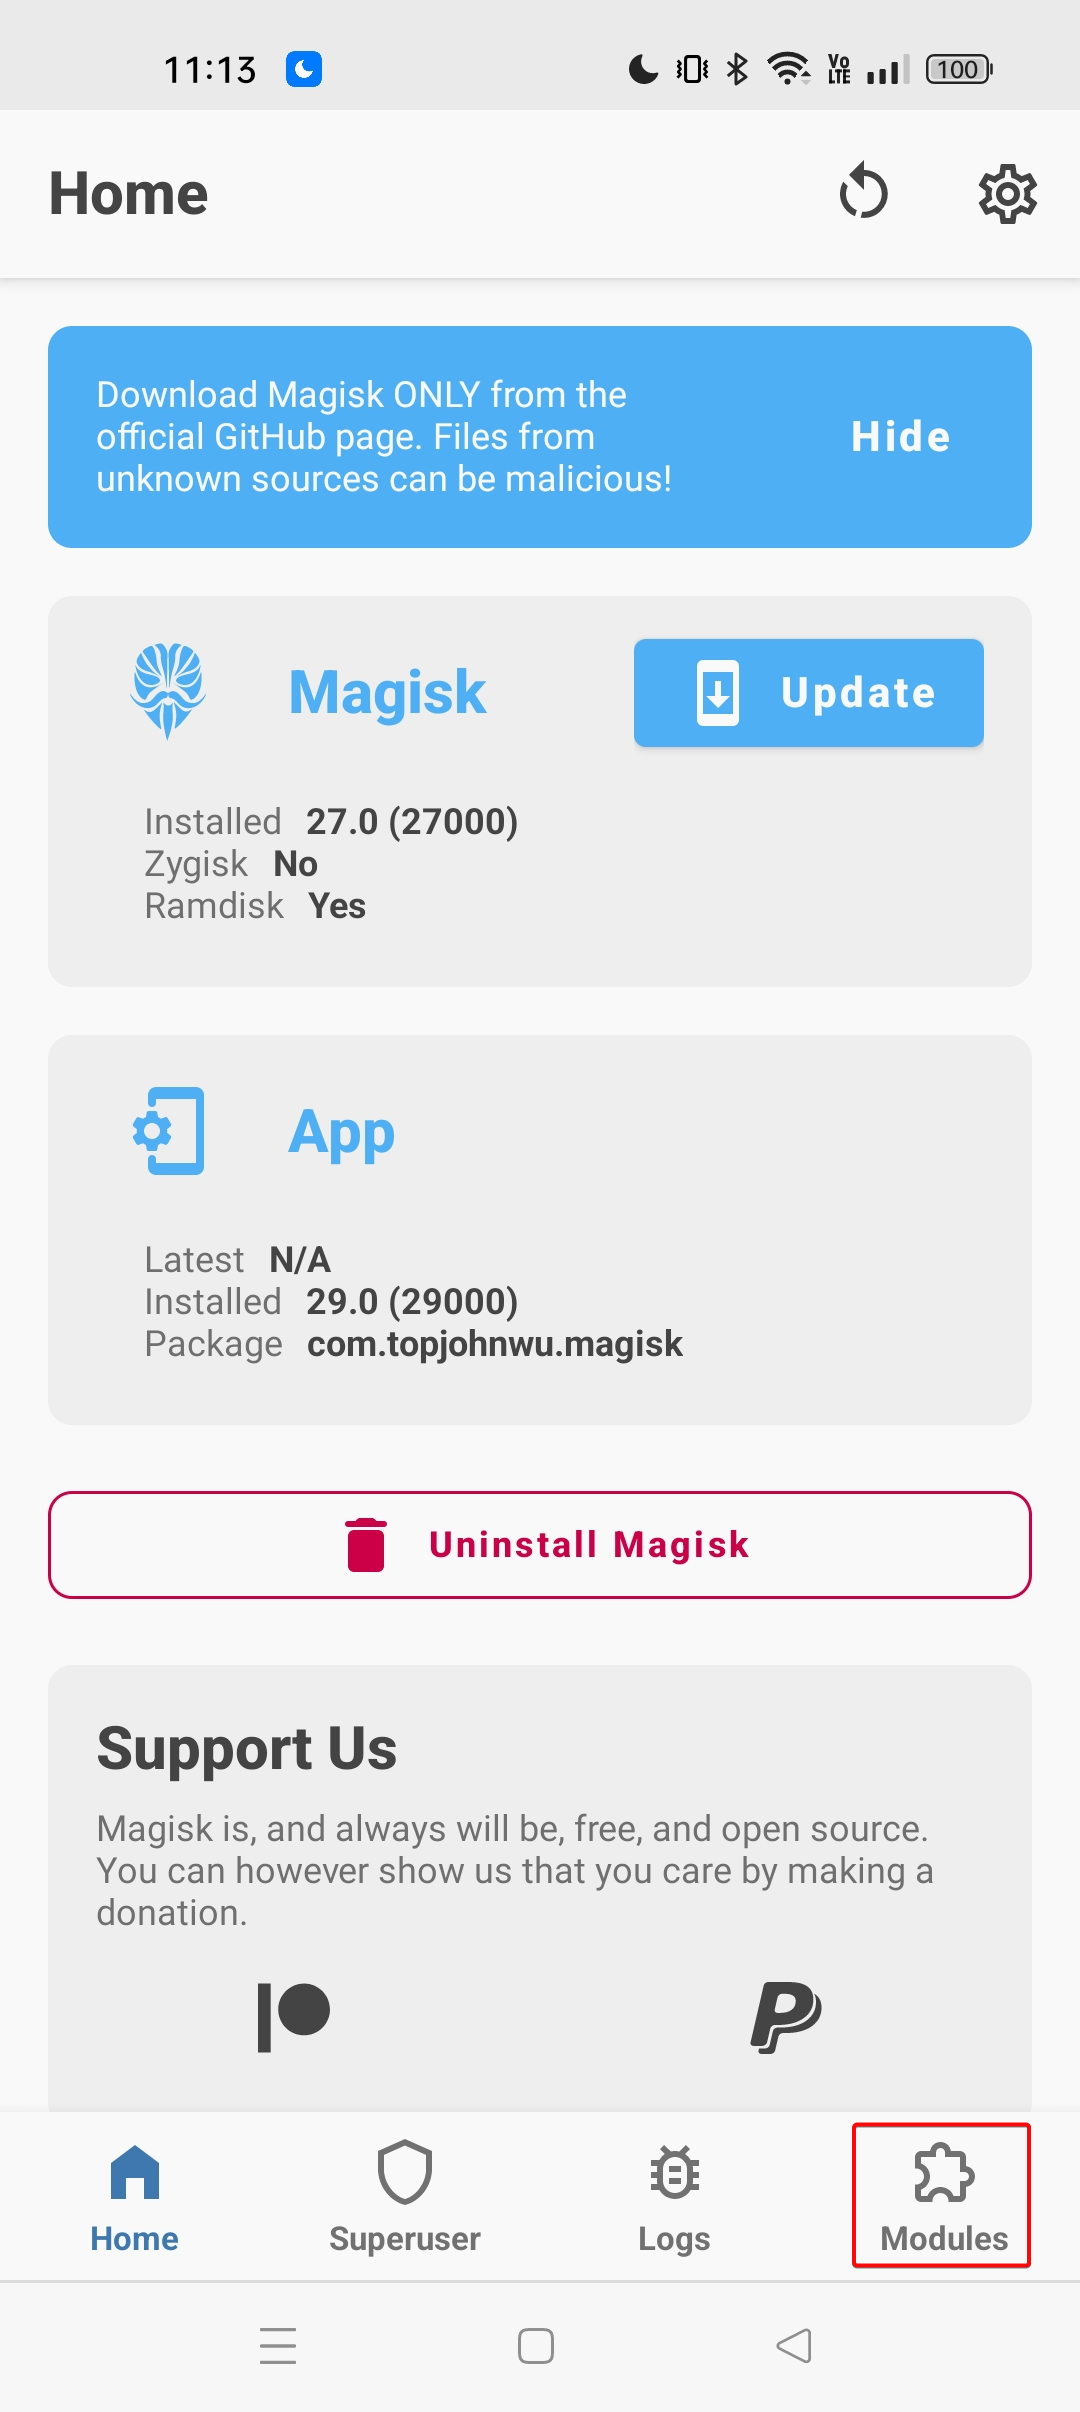
3. Navigate to “Modules” tab.
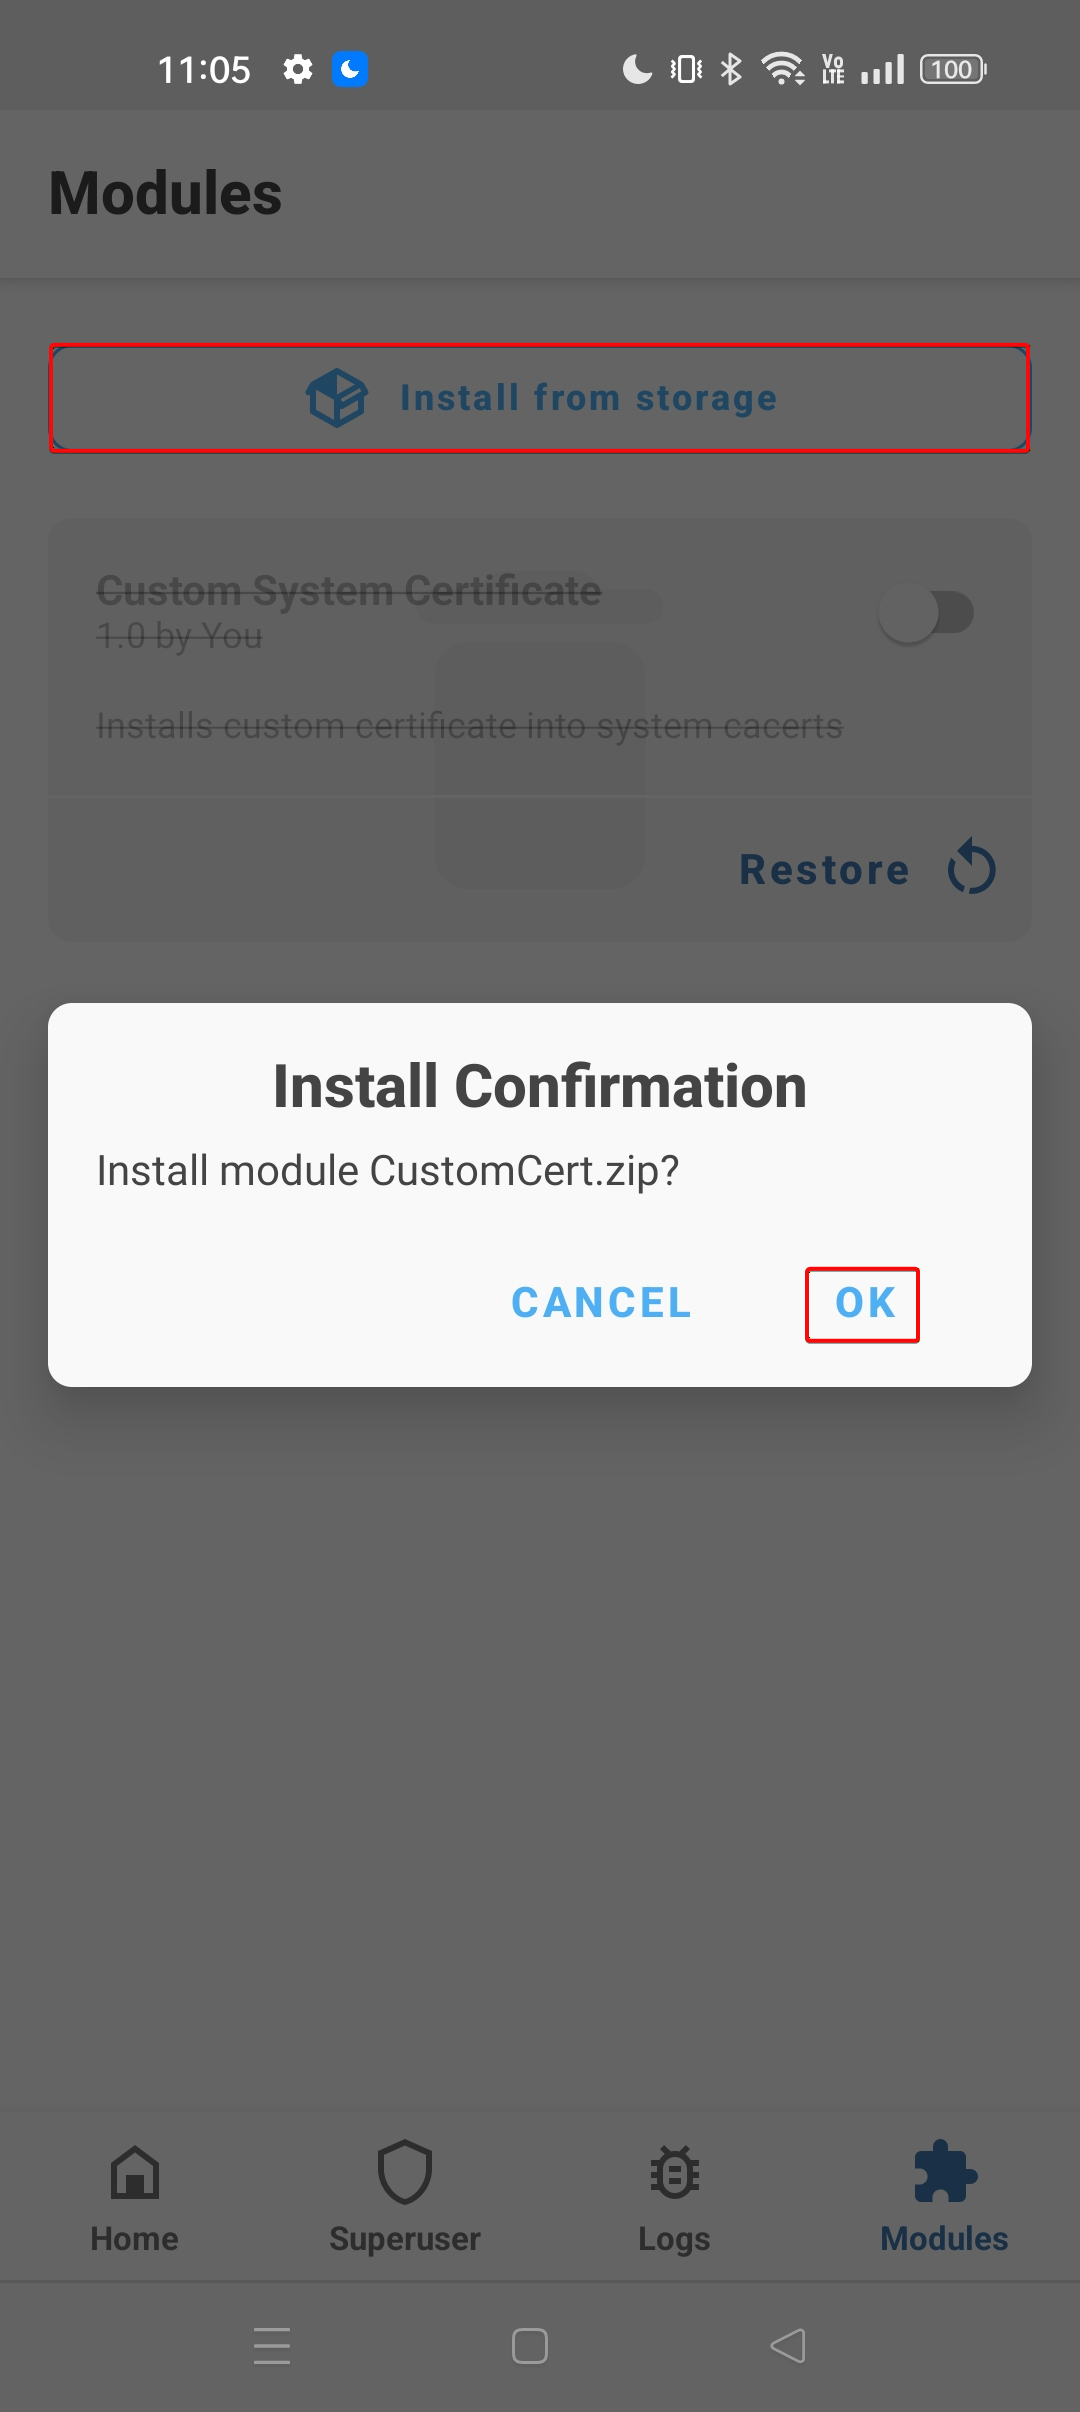
4. Select the “Install from storage” button and click the “OK” button.
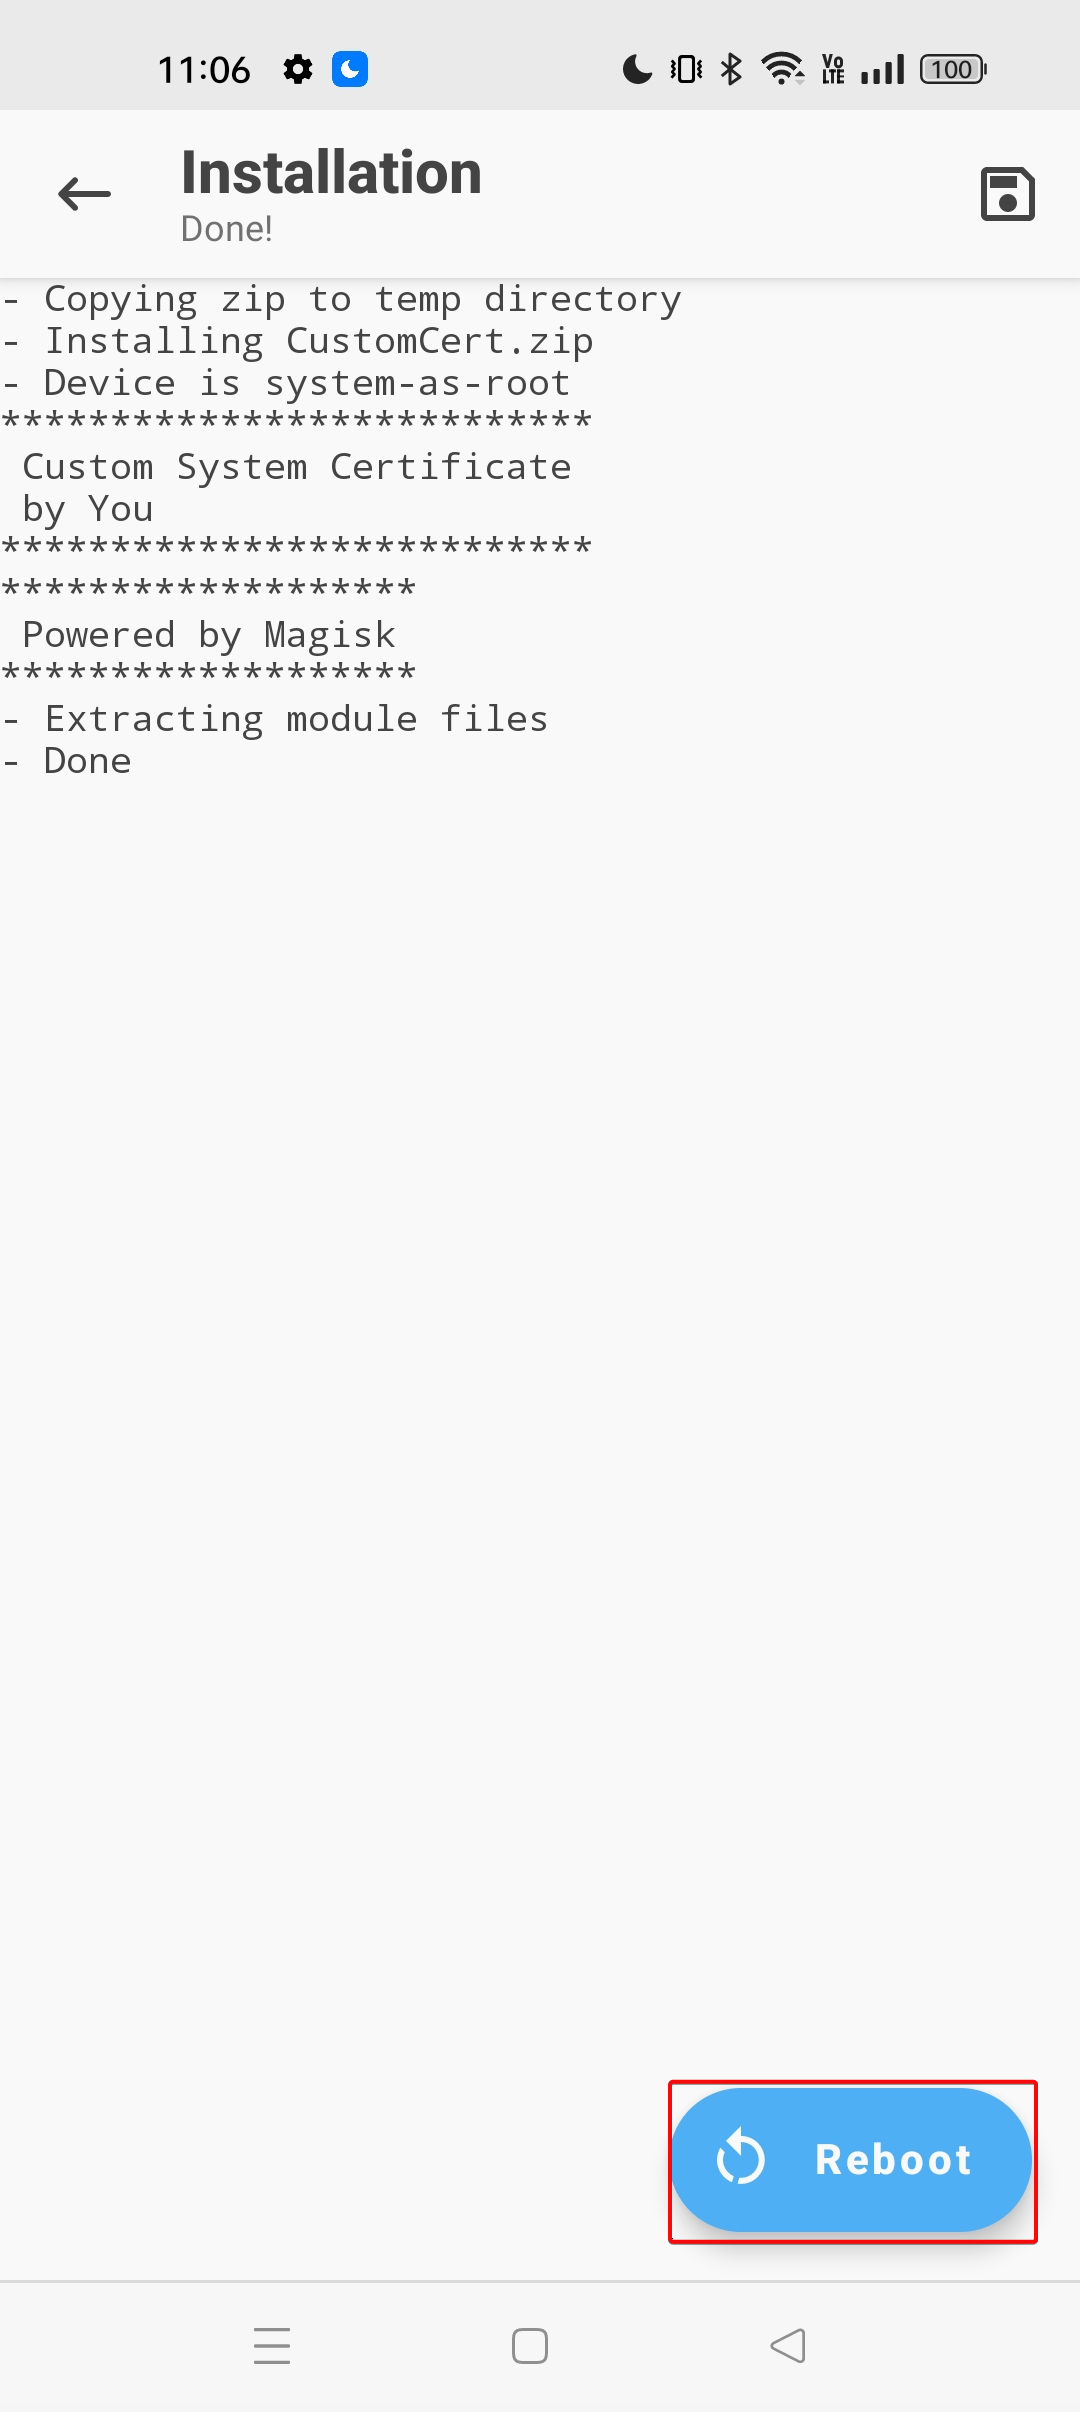
5. Observe the CustomCert.zipis installed successfully and click the “Reboot” button.
6. Open “Settings” application, search for “Trusted Certificates”, under system scroll down and search for “PortSwigger CA” and observer that PortSwigger CA is installed as system certificate.
Conclusion:
Installing Burp Suite’s CA certificate as a system certificate on Android 11 and above is no longer as straightforward as it was on earlier versions of Android. Due to enhanced security mechanisms such as read-only system partitions, dynamic partitioning, and Android Verified Boot (AVB), direct modification of “/system/etc/security/cacerts/” is no longer feasible even with root access.
To overcome these restrictions, we leverage Magisk’s systemless modification approach. By creating a properly structured Magisk module containing module.prop, post-fs-data.sh, and the correctly hashed certificate file (e.g., 9a5ba575.0) inside “system/etc/security/cacerts/”, we can safely overlay the Burp CA certificate at boot time without altering the actual system partition. This ensures the certificate is treated as a trusted system certificate while preserving system integrity and boot verification.
Note:It is important to note that this is not a one-time process. If the Burp Suite CA certificate changes for example, if you regenerate a new certificate in Burp or use a different PortSwigger CA instance the certificate hash will also change. Since Android relies on the hash-based filename (e.g., 9a5ba575.0), you must regenerate the correct hash and repeat the entire Magisk module setup process each time the CA certificate changes.